เพิ่มแผนที่พร้อมเครื่องหมาย
บทแนะนำนี้แสดงวิธีเพิ่มแผนที่ Google พร้อมเครื่องหมายลงในแอป iOS เหมาะสำหรับผู้ที่มีความรู้ระดับเริ่มต้นหรือระดับกลางเกี่ยวกับ Swift หรือ Objective-C รวมถึงความรู้ทั่วไปเกี่ยวกับ Xcode อ่านคู่มือสำหรับนักพัฒนาซอฟต์แวร์เพื่อดูคำแนะนำขั้นสูงในการ สร้างแผนที่
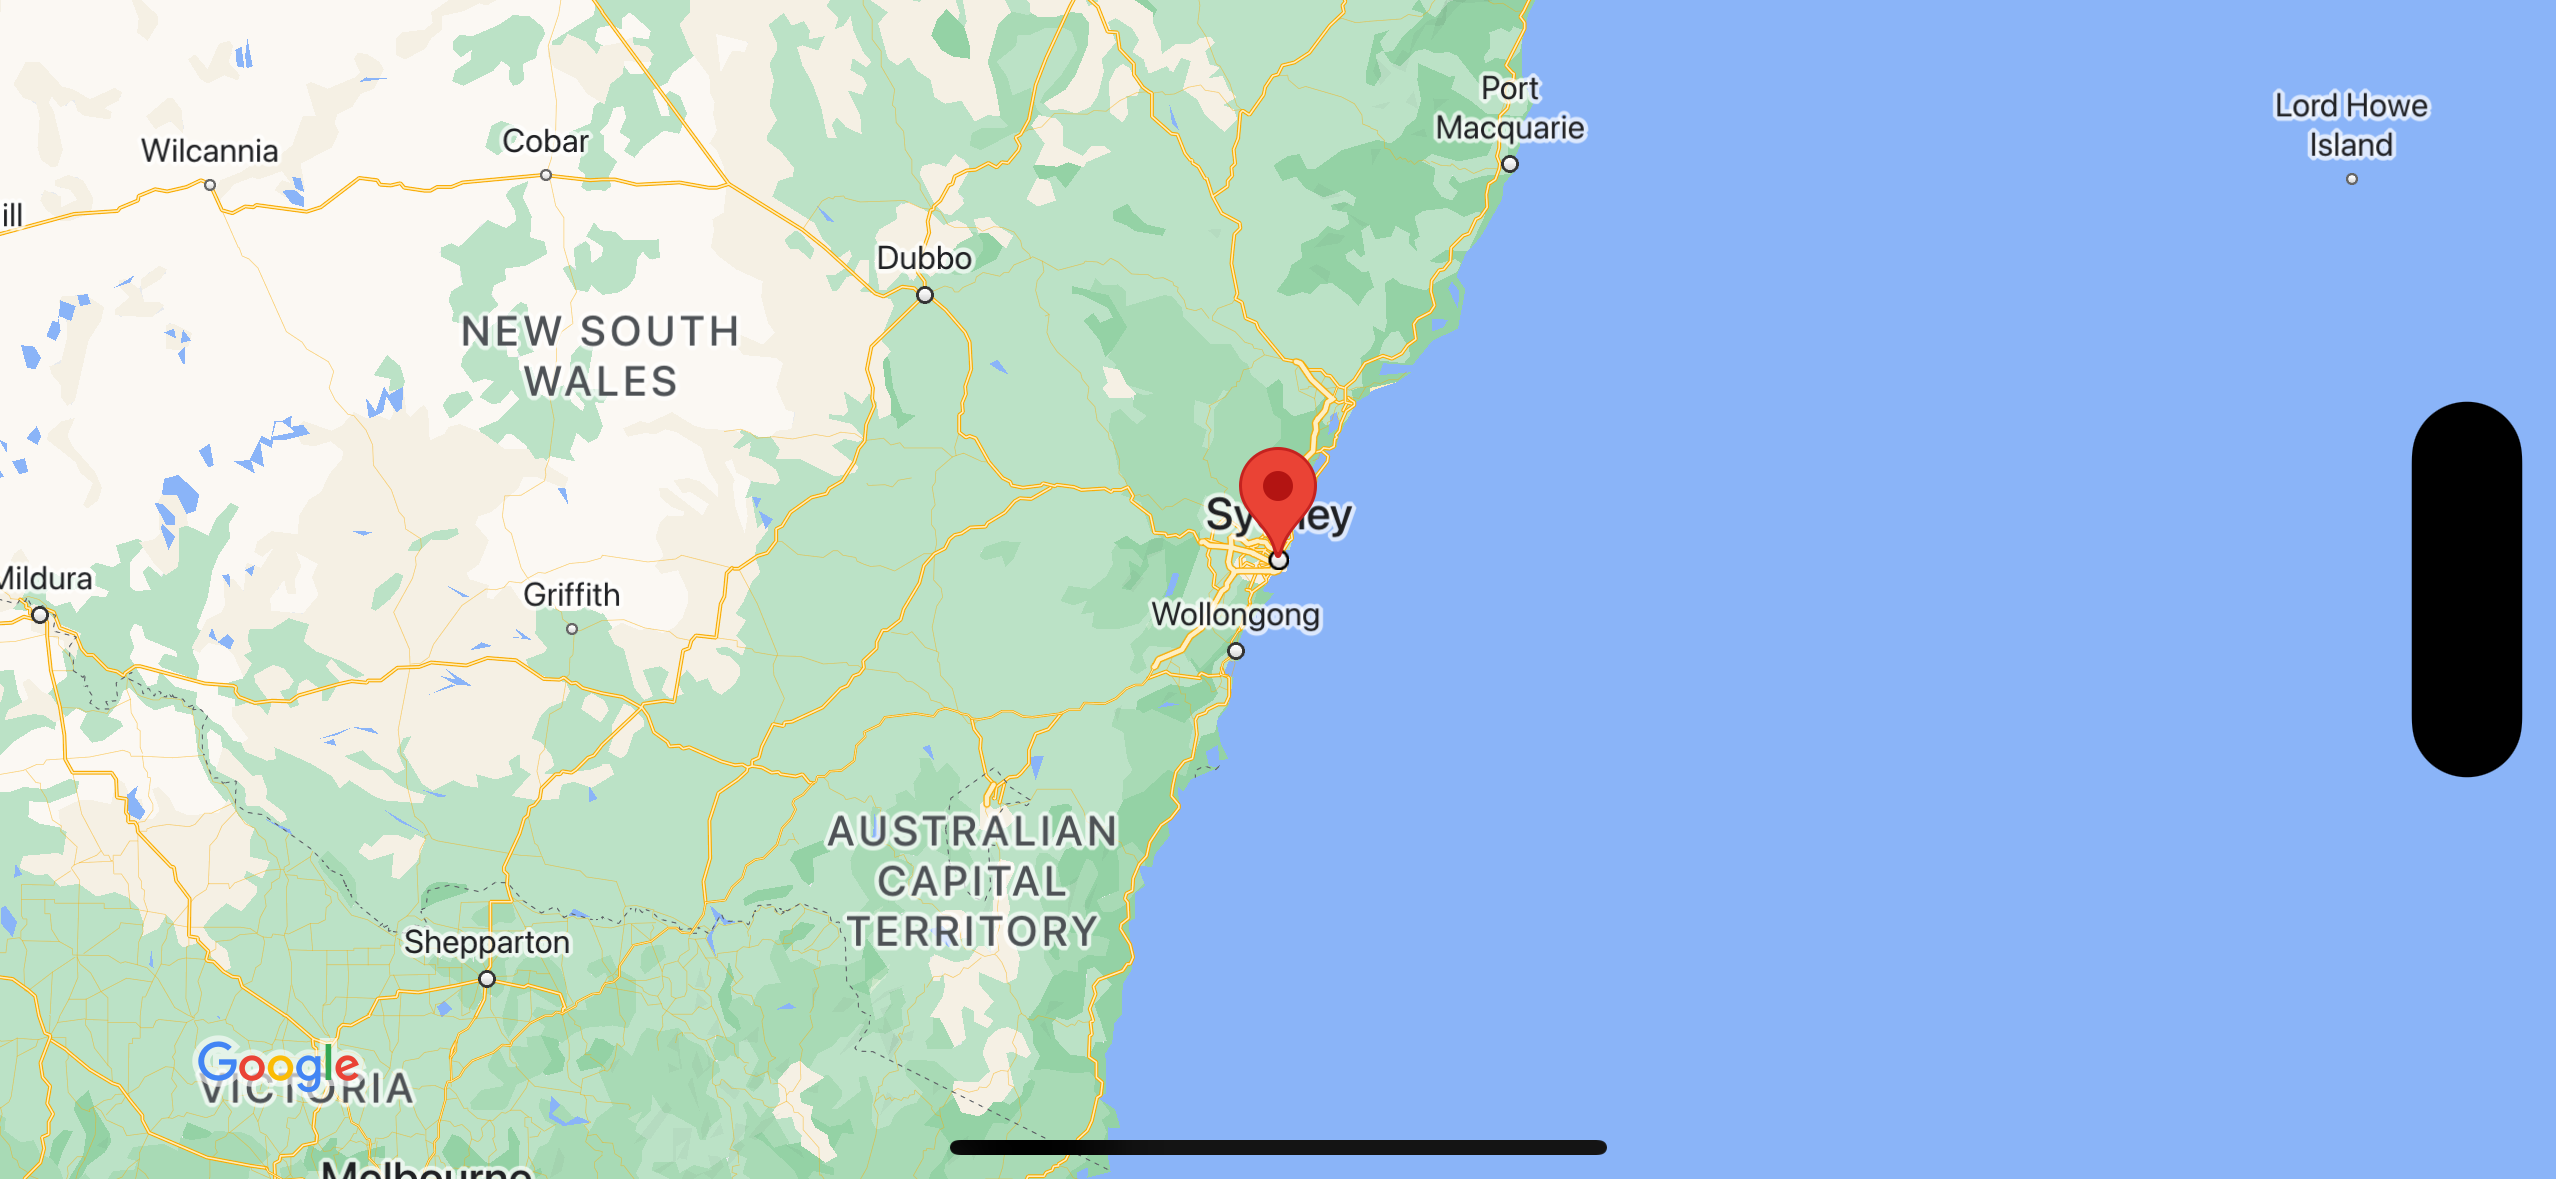
คุณจะสร้างแผนที่ต่อไปนี้โดยใช้บทแนะนำนี้ เครื่องหมายอยู่ที่ ซิดนีย์ ออสเตรเลีย
รับโค้ด
โคลนหรือดาวน์โหลดที่เก็บตัวอย่าง Google Maps สำหรับ iOS ใน GitHub
หรือคลิกปุ่มต่อไปนี้เพื่อดาวน์โหลดซอร์สโค้ด
Swift
import UIKit
import GoogleMaps

class ViewController: UIViewController {

    override func viewDidLoad() {
        super.viewDidLoad()
        // Do any additional setup after loading the view.
        // Create a GMSCameraPosition that tells the map to display the
        // coordinate -33.86,151.20 at zoom level 6.
        let camera = GMSCameraPosition.camera(withLatitude: -33.86, longitude: 151.20, zoom: 6.0)
        let mapView = GMSMapView.map(withFrame: self.view.frame, camera: camera)
        self.view.addSubview(mapView)

        // Creates a marker in the center of the map.
        let marker = GMSMarker()
        marker.position = CLLocationCoordinate2D(latitude: -33.86, longitude: 151.20)
        marker.title = "Sydney"
        marker.snippet = "Australia"
        marker.map = mapView
  }
}
Objective-C
#import "ViewController.h"
#import <GoogleMaps/GoogleMaps.h>

@interface ViewController ()

@end

@implementation ViewController

- (void)viewDidLoad {
    [super viewDidLoad];
  // Do any additional setup after loading the view.
  // Create a GMSCameraPosition that tells the map to display the
  // coordinate -33.86,151.20 at zoom level 6.
  GMSCameraPosition *camera = [GMSCameraPosition cameraWithLatitude:-33.86
                                                          longitude:151.20
                                                               zoom:6];
  GMSMapView *mapView = [GMSMapView mapWithFrame:self.view.frame camera:camera];
  mapView.myLocationEnabled = YES;
  [self.view addSubview:mapView];

  // Creates a marker in the center of the map.
  GMSMarker *marker = [[GMSMarker alloc] init];
  marker.position = CLLocationCoordinate2DMake(-33.86, 151.20);
  marker.title = @"Sydney";
  marker.snippet = @"Australia";
  marker.map = mapView;
}

@end
เริ่มต้นใช้งาน
Swift Package Manager
คุณติดตั้ง Maps SDK สำหรับ iOS ได้โดยใช้ Swift Package Manager
- นำทรัพยากร Dependency ของ Maps SDK สำหรับ iOS ที่มีอยู่ออก
- เปิดหน้าต่างเทอร์มินัลแล้วไปที่ไดเรกทอรี
tutorials/map-with-marker - ปิดพื้นที่ทำงาน Xcode แล้วเรียกใช้คำสั่งต่อไปนี้
sudo gem install cocoapods-deintegrate cocoapods-clean
pod deintegrate
pod cache clean --all
rm Podfile
rm map-with-marker.xcworkspace
- เปิดโปรเจ็กต์ Xcode แล้วลบ Podfile
- ไปที่ไฟล์ > เพิ่มการขึ้นต่อกันของแพ็กเกจ
- ป้อน https://github.com/googlemaps/ios-maps-sdk เป็น URL แล้วกด Enter เพื่อดึงแพ็กเกจ จากนั้นคลิกเพิ่มแพ็กเกจ
- คุณอาจต้องรีเซ็ตแคชแพ็กเกจโดยใช้ไฟล์ > แพ็กเกจ > รีเซ็ตแคชแพ็กเกจ
ใช้ CocoaPods
- ดาวน์โหลดและติดตั้ง Xcode เวอร์ชัน 16.0 ขึ้นไป
- หากยังไม่มี CocoaPods
ให้ติดตั้งใน macOS โดยเรียกใช้คำสั่งต่อไปนี้จากเทอร์มินัล
sudo gem install cocoapods
- ไปที่ไดเรกทอรี
tutorials/map-with-marker - เรียกใช้คำสั่ง
pod installซึ่งจะติดตั้ง Maps SDK ที่ระบุในPodfileพร้อมกับการอ้างอิงทั้งหมด - เรียกใช้
pod outdatedเพื่อเปรียบเทียบเวอร์ชันพ็อดที่ติดตั้งกับการอัปเดตใหม่ หากตรวจพบเวอร์ชันใหม่ ให้เรียกใช้pod updateเพื่ออัปเดตPodfileและติดตั้ง SDK เวอร์ชันล่าสุด ดูรายละเอียดเพิ่มเติมได้ที่คู่มือ CocoaPods - เปิด (ดับเบิลคลิก) ไฟล์ map-with-marker.xcworkspace
ของโปรเจ็กต์เพื่อเปิดใน Xcode คุณต้องใช้ไฟล์
.xcworkspaceเพื่อเปิดโปรเจ็กต์
รับคีย์ API และเปิดใช้ API ที่จำเป็น
หากต้องการทำตามบทแนะนำนี้ให้เสร็จสมบูรณ์ คุณต้องมีคีย์ Google API ที่ได้รับอนุญาตให้ใช้ Maps SDK สำหรับ iOS คลิกปุ่มต่อไปนี้เพื่อรับ คีย์และเปิดใช้งาน API
เริ่มต้นใช้งานดูรายละเอียดเพิ่มเติมได้ที่หัวข้อรับคีย์ API
เพิ่มคีย์ API ลงในแอปพลิเคชัน
เพิ่มคีย์ API ลงใน AppDelegate.swift ดังนี้
- โปรดทราบว่ามีการเพิ่มคำสั่งนำเข้าต่อไปนี้ลงในไฟล์
import GoogleMaps
- แก้ไขบรรทัดต่อไปนี้ในเมธอด
application(_:didFinishLaunchingWithOptions:)โดยแทนที่ YOUR_API_KEY ด้วยคีย์ API ของคุณGMSServices.provideAPIKey("YOUR_API_KEY")
สร้างและเรียกใช้แอป
- เชื่อมต่ออุปกรณ์ iOS กับคอมพิวเตอร์ หรือเลือกโปรแกรมจำลองจากเมนูสคีม Xcode
- หากคุณใช้อุปกรณ์ โปรดตรวจสอบว่าได้เปิดใช้บริการตำแหน่งแล้ว หากใช้โปรแกรมจำลอง ให้เลือกตำแหน่งจากเมนูฟีเจอร์
- ใน Xcode ให้คลิกตัวเลือกเมนู Product/Run (หรือไอคอนปุ่มเล่น)
- Xcode จะสร้างแอป แล้วเรียกใช้แอปในอุปกรณ์หรือในโปรแกรมจำลอง
- คุณควรเห็นแผนที่ที่มีเครื่องหมายอยู่ตรงกลางซิดนีย์บนชายฝั่งตะวันออกของออสเตรเลีย ซึ่งคล้ายกับรูปภาพในหน้านี้
การแก้ปัญหา:
- หากไม่เห็นแผนที่ ให้ตรวจสอบว่าคุณได้รับคีย์ API และเพิ่มคีย์ดังกล่าวลงในแอปตามที่อธิบายไว้ก่อนหน้านี้ ตรวจสอบคอนโซลการแก้ไขข้อบกพร่องของ Xcode เพื่อดูข้อความแสดงข้อผิดพลาดเกี่ยวกับคีย์ API
- หากคุณจำกัดคีย์ API ตามตัวระบุชุด iOS ให้แก้ไขคีย์เพื่อเพิ่มตัวระบุชุดสำหรับแอป
com.google.examples.map-with-marker - ตรวจสอบว่าคุณมีการเชื่อมต่อ Wi-Fi หรือ GPS ที่ดี
- ใช้เครื่องมือแก้ไขข้อบกพร่องของ Xcode เพื่อดูบันทึกและแก้ไขข้อบกพร่องของแอป
ทำความเข้าใจโค้ด
- สร้างแผนที่และตั้งเป็นมุมมองใน
viewDidLoad()Swift
// Create a GMSCameraPosition that tells the map to display the
// coordinate -33.86,151.20 at zoom level 6.
let camera = GMSCameraPosition.camera(withLatitude: -33.86, longitude: 151.20, zoom: 6.0)
let mapView = GMSMapView.map(withFrame: CGRect.zero, camera: camera)
view = mapView
Objective-C
// Create a GMSCameraPosition that tells the map to display the
// coordinate -33.86,151.20 at zoom level 6.
GMSCameraPosition *camera = [GMSCameraPosition cameraWithLatitude:-33.86
                                                        longitude:151.20
                                                             zoom:6.0];
GMSMapView *mapView = [[GMSMapView alloc] initWithFrame: CGRectZero camera:camera];
self.view = mapView;
- เพิ่มเครื่องหมายลงในแผนที่ใน
viewDidLoad()Swift
// Creates a marker in the center of the map.
let marker = GMSMarker()
marker.position = CLLocationCoordinate2D(latitude: -33.86, longitude: 151.20)
marker.title = "Sydney"
marker.snippet = "Australia"
marker.map = mapView
Objective-C
// Creates a marker in the center of the map.
GMSMarker *marker = [[GMSMarker alloc] init];
marker.position = CLLocationCoordinate2DMake(-33.86, 151.20);
marker.title = @"Sydney";
marker.snippet = @"Australia";
marker.map = mapView;
โดยค่าเริ่มต้น Maps SDK สำหรับ iOS จะแสดงเนื้อหาของหน้าต่างข้อมูลเมื่อผู้ใช้แตะเครื่องหมาย คุณไม่จำเป็นต้องเพิ่มเครื่องมือฟังการคลิกสำหรับเครื่องหมายหากต้องการใช้ลักษณะการทำงานเริ่มต้น
ยินดีด้วย คุณได้สร้างแอป iOS ที่แสดงแผนที่ Google พร้อมเครื่องหมายเพื่อระบุตำแหน่งที่เฉพาะเจาะจง นอกจากนี้ คุณยังได้เรียนรู้วิธีใช้ Maps SDK สำหรับ iOS ด้วย
ขั้นตอนถัดไป
ดูข้อมูลเพิ่มเติมเกี่ยวกับออบเจ็กต์แผนที่และสิ่งที่คุณทำได้ด้วยเครื่องหมาย