
Add a Map with a Marker
This tutorial shows how to add a Google map with a marker to your iOS app. It suits people with a beginner or intermediate knowledge of Swift or Objective-C along with general knowledge of Xcode. For an advanced guide to creating maps, read the developers' guide.
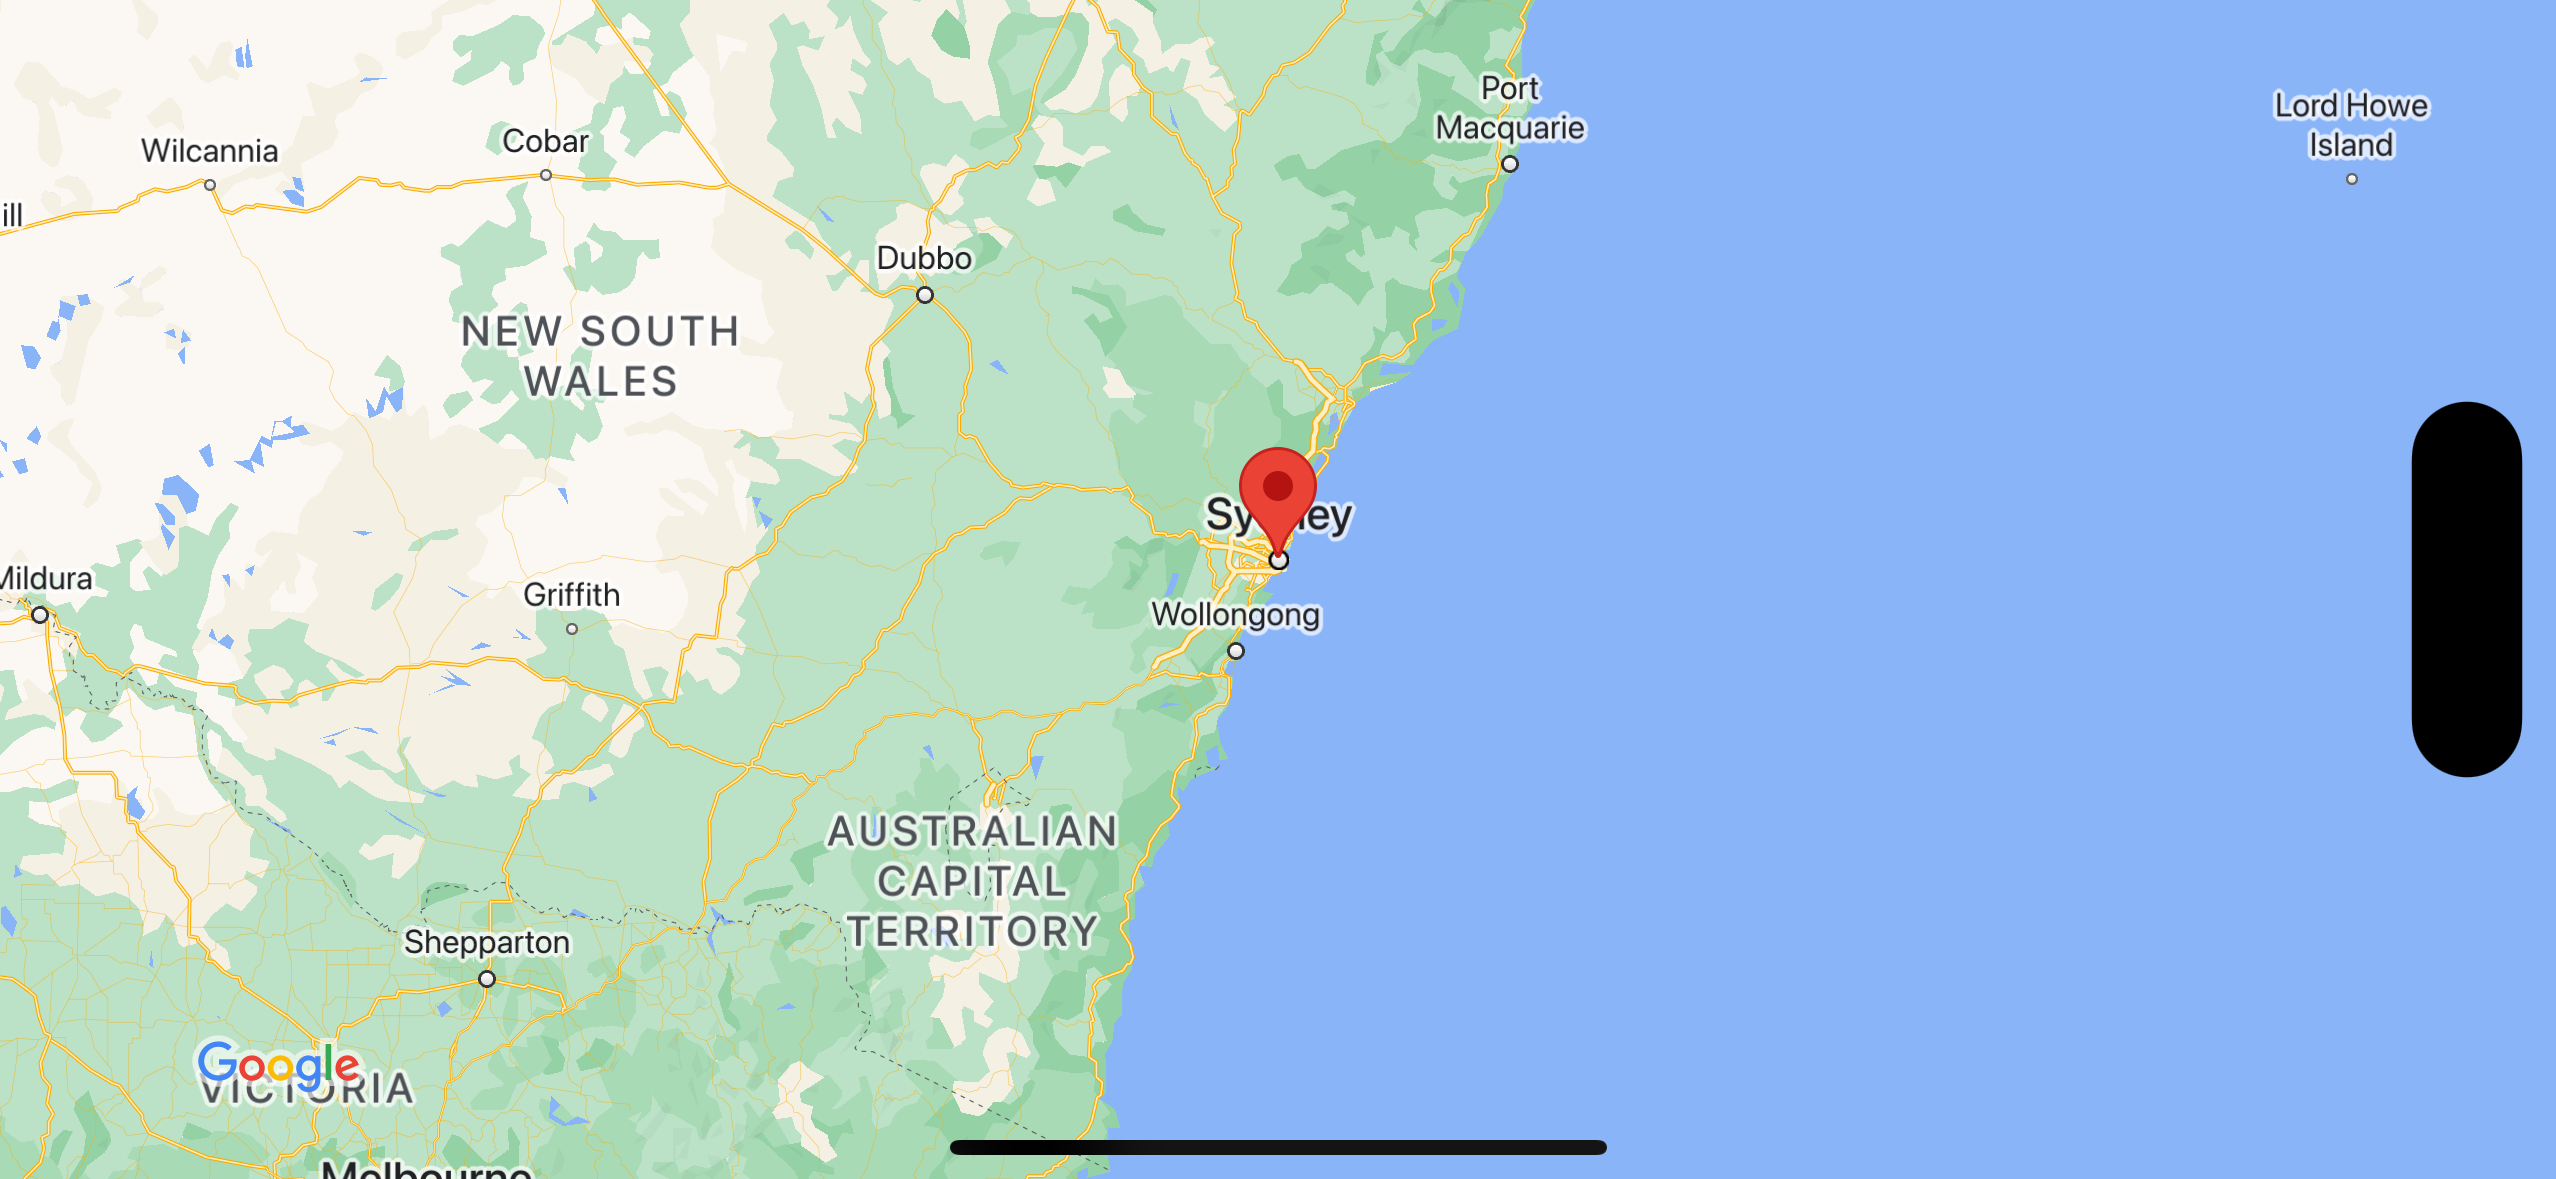
You'll create the following map using this tutorial. The marker is positioned at Sydney, Australia.
Get the code
Clone or download the Google Maps iOS samples repository on GitHub.
Alternatively, click the following button to download the source code:
Swift
import UIKit
import GoogleMaps

class ViewController: UIViewController {

    override func viewDidLoad() {
        super.viewDidLoad()
        // Do any additional setup after loading the view.
        // Create a GMSCameraPosition that tells the map to display the
        // coordinate -33.86,151.20 at zoom level 6.
        let camera = GMSCameraPosition.camera(withLatitude: -33.86, longitude: 151.20, zoom: 6.0)
        let mapView = GMSMapView.map(withFrame: self.view.frame, camera: camera)
        self.view.addSubview(mapView)

        // Creates a marker in the center of the map.
        let marker = GMSMarker()
        marker.position = CLLocationCoordinate2D(latitude: -33.86, longitude: 151.20)
        marker.title = "Sydney"
        marker.snippet = "Australia"
        marker.map = mapView
  }
}
Objective-C
#import "ViewController.h"
#import <GoogleMaps/GoogleMaps.h>

@interface ViewController ()

@end

@implementation ViewController

- (void)viewDidLoad {
    [super viewDidLoad];
  // Do any additional setup after loading the view.
  // Create a GMSCameraPosition that tells the map to display the
  // coordinate -33.86,151.20 at zoom level 6.
  GMSCameraPosition *camera = [GMSCameraPosition cameraWithLatitude:-33.86
                                                          longitude:151.20
                                                               zoom:6];
  GMSMapView *mapView = [GMSMapView mapWithFrame:self.view.frame camera:camera];
  mapView.myLocationEnabled = YES;
  [self.view addSubview:mapView];

  // Creates a marker in the center of the map.
  GMSMarker *marker = [[GMSMarker alloc] init];
  marker.position = CLLocationCoordinate2DMake(-33.86, 151.20);
  marker.title = @"Sydney";
  marker.snippet = @"Australia";
  marker.map = mapView;
}

@end
Get started
Swift Package Manager
The Maps SDK for iOS can be installed using Swift Package Manager.
- Remove any existing Maps SDK for iOS dependencies.
- Open a terminal window and navigate to the
tutorials/map-with-markerdirectory. - Close your Xcode workspace and run the following commands:
sudo gem install cocoapods-deintegrate cocoapods-clean
pod deintegrate
pod cache clean --all
rm Podfile
rm map-with-marker.xcworkspace
- Open your Xcode project and delete the podfile.
- Go to File > Add Package Dependencies.
- Enter https://github.com/googlemaps/ios-maps-sdk as the URL, press Enter to pull in the package, and click Add Package.
- You may need to reset your package cache using File > Packages > Reset Package Cache.
Use CocoaPods
- Download and install Xcode version 26.0 or later.
- If you don't already have CocoaPods,
install it on macOS by running the following command from the terminal:
sudo gem install cocoapods
- Navigate to the
tutorials/map-with-markerdirectory. - Run the
pod installcommand. This will install the Maps SDK specified in thePodfile, along with any dependencies. - Run
pod outdatedto compare the installed pod version with any new updates. If a new version is detected, runpod updateto update thePodfileand install the latest SDK. For more details, see the CocoaPods Guide. - Open (double-click) the project's map-with-marker.xcworkspace
file to open it in Xcode. You must use the
.xcworkspacefile to open the project.
Get an API key and enable the necessary APIs
To complete this tutorial, you need a Google API key that's authorized to use the Maps SDK for iOS. Click the following button to get a key and activate the API.
Get StartedFor more details, see Get an API key.
Add the API key to your application
Add your API key to your AppDelegate.swift as follows:
- Note that following import statement has been added to the file:
import GoogleMaps
- Edit the following line in your
application(_:didFinishLaunchingWithOptions:)method, replacing YOUR_API_KEY with your API key:GMSServices.provideAPIKey("YOUR_API_KEY")
Build and run your app
- Connect an iOS device to your computer, or select a simulator from the Xcode scheme menu.
- If you're using a device, make sure that location services are enabled. If you're using a simulator, select a location from the Features menu.
- In Xcode, click the Product/Run menu option (or the play button icon).
- Xcode builds the app, and then runs the app on the device or on the simulator.
- You should see a map with a marker centered on Sydney on the east coast of Australia, similar to the image on this page.
Troubleshooting:
- If you don't see a map, check that you've obtained an API key and added it to the app, as described previously. Check Xcode's debugging console for error messages about the API key.
- If you have restricted the API key by the iOS bundle identifier, edit the
key to add the bundle identifier for the app:
com.google.examples.map-with-marker. - Make sure that you have a good Wifi or GPS connection.
- Use the Xcode debugging tools to view logs and debug the app.
Understand the code
- Create a map and set it as the view in
viewDidLoad().Swift
// Create a GMSCameraPosition that tells the map to display the
// coordinate -33.86,151.20 at zoom level 6.
let camera = GMSCameraPosition.camera(withLatitude: -33.86, longitude: 151.20, zoom: 6.0)
let mapView = GMSMapView.map(withFrame: CGRect.zero, camera: camera)
view = mapView
Objective-C
// Create a GMSCameraPosition that tells the map to display the
// coordinate -33.86,151.20 at zoom level 6.
GMSCameraPosition *camera = [GMSCameraPosition cameraWithLatitude:-33.86
                                                        longitude:151.20
                                                             zoom:6.0];
GMSMapView *mapView = [[GMSMapView alloc] initWithFrame: CGRectZero camera:camera];
self.view = mapView;
- Add a marker to the map in
viewDidLoad().Swift
// Creates a marker in the center of the map.
let marker = GMSMarker()
marker.position = CLLocationCoordinate2D(latitude: -33.86, longitude: 151.20)
marker.title = "Sydney"
marker.snippet = "Australia"
marker.map = mapView
Objective-C
// Creates a marker in the center of the map.
GMSMarker *marker = [[GMSMarker alloc] init];
marker.position = CLLocationCoordinate2DMake(-33.86, 151.20);
marker.title = @"Sydney";
marker.snippet = @"Australia";
marker.map = mapView;
By default, the Maps SDK for iOS displays the content of the info window when the user taps a marker. There's no need to add a click listener for the marker if you're happy to use the default behavior.
Congratulations! You've built an iOS app that displays a Google map with a marker to indicate a particular location. You've also learned how to use the Maps SDK for iOS.
Next steps
Learn more about the map object, and what you can do with markers.