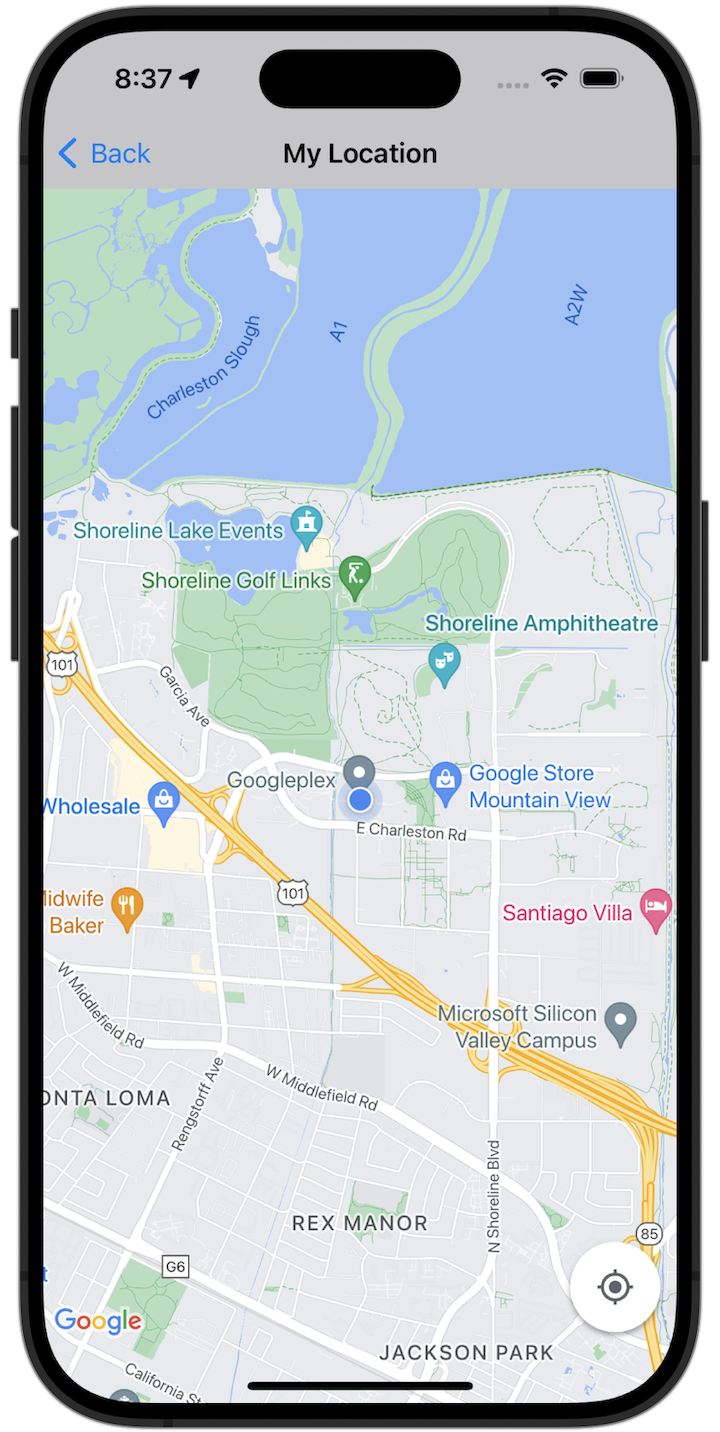
เริ่มต้นใช้งาน
คุณต้องกำหนดค่าสภาพแวดล้อมการพัฒนาซอฟต์แวร์ก่อนจึงจะลองใช้โค้ดตัวอย่างได้ ดูข้อมูลเพิ่มเติมได้ที่ตัวอย่างโค้ด Maps SDK สำหรับ iOS
ดูโค้ด
Swift
import GoogleMaps import UIKit class MyLocationViewController: UIViewController { private let cameraLatitude: CLLocationDegrees = -33.868 private let cameraLongitude: CLLocationDegrees = 151.2086 private let cameraZoom: Float = 12 lazy var mapView: GMSMapView = { let camera = GMSCameraPosition( latitude: cameraLatitude, longitude: cameraLongitude, zoom: cameraZoom) return GMSMapView(frame: .zero, camera: camera) }() var observation: NSKeyValueObservation? var location: CLLocation? { didSet { guard oldValue == nil, let firstLocation = location else { return } mapView.camera = GMSCameraPosition(target: firstLocation.coordinate, zoom: 14) } } override func viewDidLoad() { super.viewDidLoad() mapView.delegate = self mapView.settings.compassButton = true mapView.settings.myLocationButton = true mapView.isMyLocationEnabled = true view = mapView // Listen to the myLocation property of GMSMapView. observation = mapView.observe(\.myLocation, options: [.new]) { [weak self] mapView, _ in self?.location = mapView.myLocation } } deinit { observation?.invalidate() } } extension MyLocationViewController: GMSMapViewDelegate { func mapView(_ mapView: GMSMapView, didTapMyLocation location: CLLocationCoordinate2D) { let alert = UIAlertController( title: "Location Tapped", message: "Current location: <\(location.latitude), \(location.longitude)>", preferredStyle: .alert) alert.addAction(UIAlertAction(title: "OK", style: .default)) present(alert, animated: true) } }
Objective-C
#import "GoogleMapsDemos/Samples/MyLocationViewController.h" #import <GoogleMaps/GoogleMaps.h> @implementation MyLocationViewController { GMSMapView *_mapView; BOOL _firstLocationUpdate; } - (void)viewDidLoad { [super viewDidLoad]; GMSCameraPosition *camera = [GMSCameraPosition cameraWithLatitude:-33.868 longitude:151.2086 zoom:12]; _mapView = [GMSMapView mapWithFrame:CGRectZero camera:camera]; _mapView.delegate = self; _mapView.settings.compassButton = YES; _mapView.settings.myLocationButton = YES; // Listen to the myLocation property of GMSMapView. [_mapView addObserver:self forKeyPath:@"myLocation" options:NSKeyValueObservingOptionNew context:NULL]; self.view = _mapView; // Ask for My Location data after the map has already been added to the UI. GMSMapView *mapView = _mapView; dispatch_async(dispatch_get_main_queue(), ^{ mapView.myLocationEnabled = YES; }); } - (void)mapView:(GMSMapView *)mapView didTapMyLocation:(CLLocationCoordinate2D)location { NSString *message = [NSString stringWithFormat:@"My Location Dot Tapped at: [lat: %f, lng: %f]", location.latitude, location.longitude]; UIAlertController *alertController = [UIAlertController alertControllerWithTitle:@"Location Tapped" message:message preferredStyle:UIAlertControllerStyleAlert]; UIAlertAction *okAction = [UIAlertAction actionWithTitle:@"OK" style:UIAlertActionStyleDefault handler:^(UIAlertAction *action){ }]; [alertController addAction:okAction]; [self presentViewController:alertController animated:YES completion:nil]; } - (void)dealloc { [_mapView removeObserver:self forKeyPath:@"myLocation" context:NULL]; } #pragma mark - KVO updates - (void)observeValueForKeyPath:(NSString *)keyPath ofObject:(id)object change:(NSDictionary *)change context:(void *)context { if (!_firstLocationUpdate) { // If the first location update has not yet been received, then jump to that location. _firstLocationUpdate = YES; CLLocation *location = [change objectForKey:NSKeyValueChangeNewKey]; _mapView.camera = [GMSCameraPosition cameraWithTarget:location.coordinate zoom:14]; } } @end
เรียกใช้แอปตัวอย่างแบบเต็มในเครื่อง
แอปตัวอย่างของ Maps SDK สำหรับ iOS พร้อมให้ใช้งานเป็น ไฟล์เก็บถาวรที่ดาวน์โหลดได้ จาก GitHub ทำตามขั้นตอนต่อไปนี้เพื่อติดตั้งและลองใช้แอปตัวอย่าง Maps SDK สำหรับ iOS
- เรียกใช้
git clone https://github.com/googlemaps-samples/maps-sdk-for-ios-samples.gitเพื่อโคลนที่เก็บตัวอย่างลงในไดเรกทอรีในเครื่อง เปิดหน้าต่างเทอร์มินัล ไปที่ไดเรกทอรีที่คุณโคลนไฟล์ตัวอย่าง แล้ว เจาะลึกลงไปในไดเรกทอรี GoogleMaps
Swift
cd maps-sdk-for-ios-samples/GoogleMaps-Swift
open GoogleMapsSwiftXCFrameworkDemos.xcodeproj
Objective-C
cd maps-sdk-for-ios-samples-main/GoogleMaps
open GoogleMapsDemos.xcodeproj- ในโปรเจ็กต์ Xcode ให้ไปที่ไฟล์ > เพิ่มการอ้างอิงแพ็กเกจ
ป้อน
https://github.com/googlemaps/ios-maps-sdkเป็น URL กด Enter เพื่อดึงแพ็กเกจ แล้วคลิกเพิ่มแพ็กเกจ - ใน Xcode ให้กดปุ่มคอมไพล์เพื่อ
สร้างแอป
ด้วย Scheme ปัจจุบัน การสร้างจะทำให้เกิดข้อผิดพลาด ซึ่งจะแจ้งให้คุณป้อนคีย์ API
ในไฟล์
SDKConstants.swiftสำหรับ Swift หรือSDKDemoAPIKey.hสำหรับ Objective-C - รับคีย์ API จากโปรเจ็กต์ที่เปิดใช้ Maps SDK สำหรับ iOS
- แก้ไขไฟล์
SDKConstants.swiftสำหรับ Swift หรือไฟล์SDKDemoAPIKey.hสำหรับ Objective-C แล้ววางคีย์ API ลงในการกำหนดค่าของค่าคงที่apiKeyหรือkAPIKeyเช่นSwift
static let apiKey = "YOUR_API_KEY"Objective-C
static NSString *const kAPIKey = @"YOUR_API_KEY";
- ในไฟล์
SDKConstants.swift(Swift) หรือSDKDemoAPIKey.hไฟล์ (Objective-C) ให้นำบรรทัดต่อไปนี้ออก เนื่องจากใช้เพื่อลงทะเบียนปัญหาที่ผู้ใช้กำหนดSwift
#error (Register for API Key and insert here. Then delete this line.)
Objective-C
#error Register for API Key and insert here.
- สร้างและเรียกใช้โปรเจ็กต์ หน้าต่างโปรแกรมจำลอง iOS จะปรากฏขึ้นพร้อมแสดง รายการการสาธิต Maps SDK
- เลือกตัวเลือกใดตัวเลือกหนึ่งที่แสดงเพื่อทดลองใช้ฟีเจอร์ของ Maps SDK สำหรับ iOS
- หากได้รับข้อความแจ้งให้อนุญาตให้ GoogleMapsDemos เข้าถึงตำแหน่งของคุณ ให้เลือก อนุญาต

