Ten samouczek pokazuje, jak dodać mapę Google do aplikacji na Androida. Mapa zawiera znacznik (nazywany również pinezką), który wskazuje konkretną lokalizację.
Z tego samouczka dowiesz się, jak utworzyć aplikację na Androida za pomocą pakietu SDK Map Google na Androida. Zalecane środowisko programistyczne to Android Studio.
Pobierz kod
Wyświetl aktywność w Javie:
// Copyright 2020 Google LLC
//
// Licensed under the Apache License, Version 2.0 (the "License");
// you may not use this file except in compliance with the License.
// You may obtain a copy of the License at
//
// http://www.apache.org/licenses/LICENSE-2.0
//
// Unless required by applicable law or agreed to in writing, software
// distributed under the License is distributed on an "AS IS" BASIS,
// WITHOUT WARRANTIES OR CONDITIONS OF ANY KIND, either express or implied.
// See the License for the specific language governing permissions and
// limitations under the License.
package com.example.mapwithmarker;
import android.os.Bundle;
import androidx.appcompat.app.AppCompatActivity;
import com.google.android.gms.maps.CameraUpdateFactory;
import com.google.android.gms.maps.GoogleMap;
import com.google.android.gms.maps.OnMapReadyCallback;
import com.google.android.gms.maps.SupportMapFragment;
import com.google.android.gms.maps.model.LatLng;
import com.google.android.gms.maps.model.MarkerOptions;
/**
* An activity that displays a Google map with a marker (pin) to indicate a particular location.
*/
public class MapsMarkerActivity extends AppCompatActivity
implements OnMapReadyCallback {
@Override
protected void onCreate(Bundle savedInstanceState) {
super.onCreate(savedInstanceState);
// Retrieve the content view that renders the map.
setContentView(R.layout.activity_maps);
// Get the SupportMapFragment and request notification when the map is ready to be used.
SupportMapFragment mapFragment = (SupportMapFragment) getSupportFragmentManager()
.findFragmentById(R.id.map);
mapFragment.getMapAsync(this);
}
/**
* Manipulates the map when it's available.
* The API invokes this callback when the map is ready to be used.
* This is where we can add markers or lines, add listeners or move the camera. In this case,
* we just add a marker near Sydney, Australia.
* If Google Play services is not installed on the device, the user receives a prompt to install
* Play services inside the SupportMapFragment. The API invokes this method after the user has
* installed Google Play services and returned to the app.
*/
@Override
public void onMapReady(GoogleMap googleMap) {
// Add a marker in Sydney, Australia,
// and move the map's camera to the same location.
LatLng sydney = new LatLng(-33.852, 151.211);
googleMap.addMarker(new MarkerOptions()
.position(sydney)
.title("Marker in Sydney"));
googleMap.moveCamera(CameraUpdateFactory.newLatLng(sydney));
}
}
Wyświetl wersję aktywności Kotlin:
// Copyright 2020 Google LLC
//
// Licensed under the Apache License, Version 2.0 (the "License");
// you may not use this file except in compliance with the License.
// You may obtain a copy of the License at
//
// http://www.apache.org/licenses/LICENSE-2.0
//
// Unless required by applicable law or agreed to in writing, software
// distributed under the License is distributed on an "AS IS" BASIS,
// WITHOUT WARRANTIES OR CONDITIONS OF ANY KIND, either express or implied.
// See the License for the specific language governing permissions and
// limitations under the License.
package com.example.mapwithmarker
import android.os.Bundle
import android.widget.Toast
import androidx.appcompat.app.AppCompatActivity
import com.google.android.gms.maps.CameraUpdateFactory
import com.google.android.gms.maps.GoogleMap
import com.google.android.gms.maps.OnMapReadyCallback
import com.google.android.gms.maps.SupportMapFragment
import com.google.android.gms.maps.model.LatLng
import com.google.android.gms.maps.model.MarkerOptions
/**
* An activity that displays a Google map with a marker (pin) to indicate a particular location.
*/
class MapsMarkerActivity : AppCompatActivity(), OnMapReadyCallback {
override fun onCreate(savedInstanceState: Bundle?) {
super.onCreate(savedInstanceState)
// Retrieve the content view that renders the map.
setContentView(R.layout.activity_maps)
// Get the SupportMapFragment and request notification when the map is ready to be used.
val mapFragment = supportFragmentManager.findFragmentById(R.id.map) as? SupportMapFragment
mapFragment?.getMapAsync(this)
}
override fun onMapReady(googleMap: GoogleMap) {
val sydney = LatLng(-33.852, 151.211)
googleMap.addMarker(
MarkerOptions()
.position(sydney)
.title("Marker in Sydney")
)
googleMap.moveCamera(CameraUpdateFactory.newLatLng(sydney))
}
}
Konfigurowanie projektu programistycznego
Aby utworzyć projekt samouczka w Android Studio, wykonaj te czynności.
- Pobierz i zainstaluj Android Studio.
- Dodaj pakiet Usług Google Play do Android Studio.
- Sklonowanie lub pobranie repozytorium przykładowych wersji interfejsu API Map Google w wersji 2, jeśli nie zostało to zrobione podczas czytania tego samouczka.
Zaimportuj projekt samouczka:
- W Android Studio wybierz Plik > Nowy > Importuj projekt.
- Po pobraniu przejdź do lokalizacji, w której zapisane jest repozytorium próbek interfejsu API Map Google w wersji 2.
- Znajdź projekt MapWithMarker w tej lokalizacji:
PATH-TO-SAVED-REPO/android-samples/tutorials/java/MapWithMarker(Java) lub
PATH-TO-SAVED-REPO/android-samples/tutorials/kotlin/MapWithMarker(Kotlin) - Wybierz katalog projektu, a potem kliknij Otwórz. Android Studio tworzy teraz Twój projekt za pomocą narzędzia do kompilacji Gradle.
Włączanie niezbędnych interfejsów API i uzyskiwanie klucza interfejsu API
Aby ukończyć ten samouczek, musisz mieć projekt Google Cloud z włączonymi niezbędnymi interfejsami API oraz kluczem interfejsu API autoryzowanym do używania pakietu SDK Map Google na Androida. Więcej informacji:
Dodawanie klucza interfejsu API do aplikacji
- Otwórz plik
local.propertiesprojektu. Dodaj ten ciąg znaków, a następnie zastąp
YOUR_API_KEYwartością swojego klucza interfejsu API:MAPS_API_KEY=YOUR_API_KEYGdy tworzysz aplikację, wtyczka Gradle obiektów tajnych na Androida kopiuje klucz interfejsu API i udostępnia go jako zmienną kompilacji w pliku manifestu Androida, jak opisano poniżej.
Tworzenie i uruchamianie aplikacji
Aby skompilować i uruchomić aplikację:
Podłącz urządzenie z Androidem do komputera. Wykonaj instructions, aby włączyć opcje programisty na urządzeniu z Androidem i skonfigurować system tak, aby wykrywał to urządzenie.
Urządzenie wirtualne możesz też skonfigurować za pomocą Menedżera urządzeń wirtualnych (AVD) Android. Wybierając emulator, pamiętaj, aby wybrać obraz zawierający interfejsy API Google. Więcej informacji znajdziesz w artykule Konfigurowanie projektu Android Studio .
W Android Studio kliknij opcję menu Uruchom (lub ikonę przycisku odtwarzania). Wybierz urządzenie zgodnie z instrukcjami.
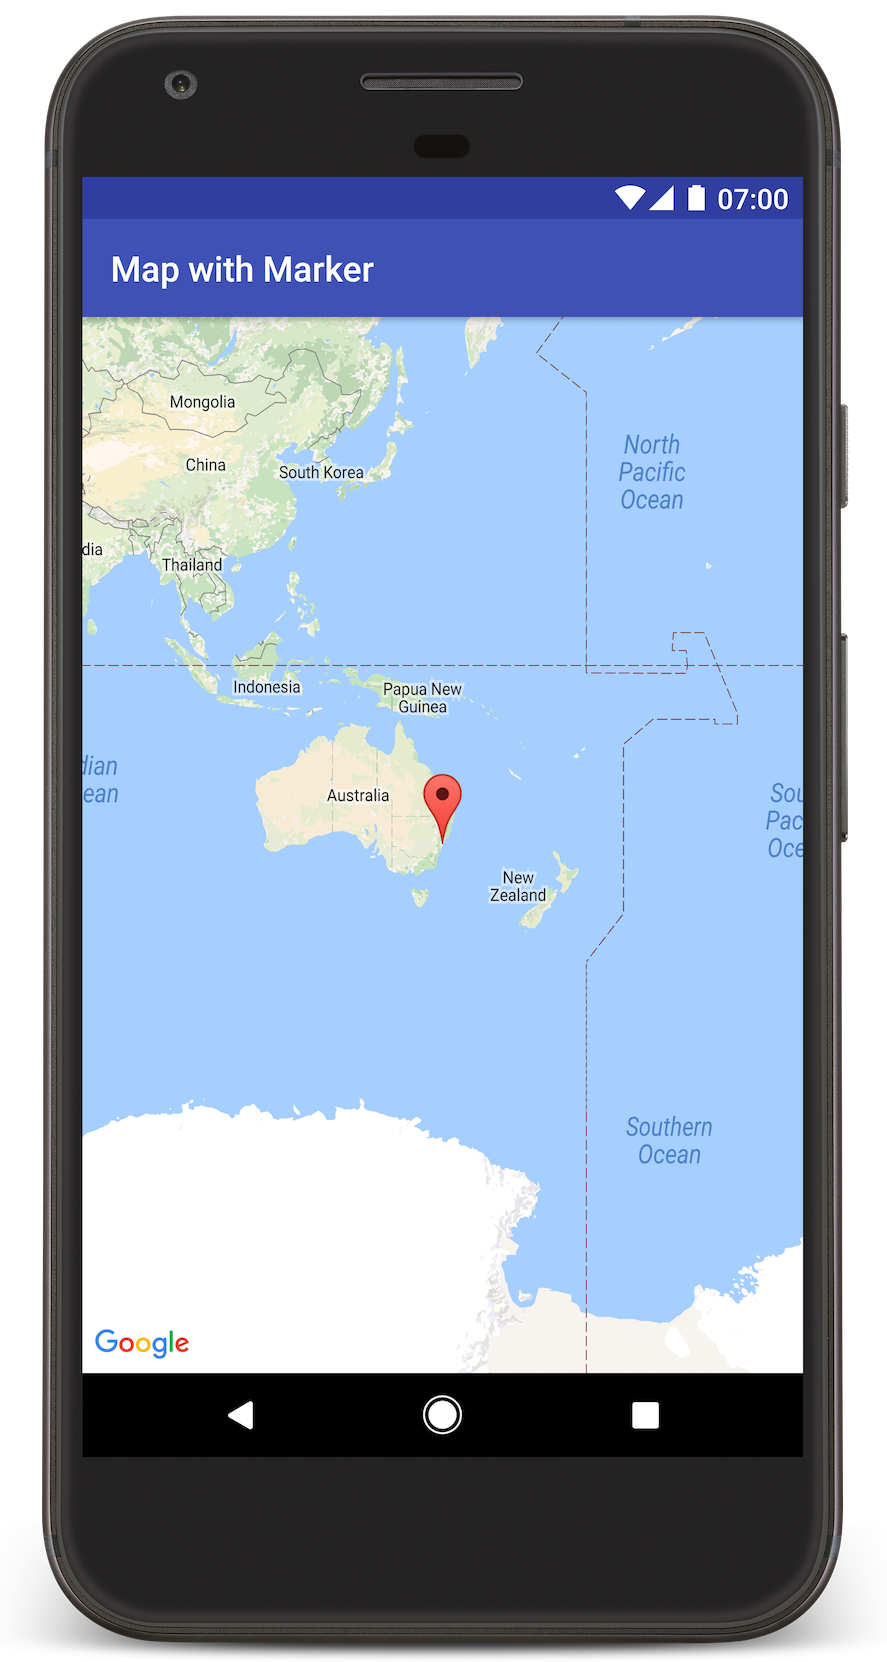
Android Studio wywołuje Gradle w celu skompilowania aplikacji, a następnie uruchamia ją na urządzeniu lub w emulatorze. Powinna wyświetlić się mapa ze znacznikiem wskazującym Sydney na wschodnim wybrzeżu Australii, podobna do przedstawionej na tej stronie.
Rozwiązywanie problemów:
- Jeśli nie widzisz mapy, sprawdź, czy udało Ci się uzyskać klucz interfejsu API i dodać go do aplikacji w sposób opisany powyżej. Sprawdź w dzienniku Android Monitor w Android Studio komunikaty o błędach dotyczące klucza interfejsu API.
- Aby wyświetlić logi i debugować aplikację, użyj narzędzi do debugowania w Android Studio.
Zrozumienie kodu
W tej części samouczka omawiamy najważniejsze części aplikacji MapWithMarker, aby pomóc Ci utworzyć podobną aplikację.
Sprawdź plik manifestu Androida
Zwróć uwagę na te elementy w pliku AndroidManifest.xml aplikacji:
Dodaj element
meta-data, aby umieścić wersję usług Google Play, z którą skompilowano aplikację.<meta-data android:name="com.google.android.gms.version" android:value="@integer/google_play_services_version" />Dodaj element
meta-dataokreślający klucz interfejsu API. W przykładzie dołączonym do tego samouczka wartość klucza interfejsu API jest mapowana na zmienną kompilacji pasującą do nazwy zdefiniowanego wcześniej klucza –MAPS_API_KEY. Gdy utworzysz aplikację, wtyczka Gradle obiektów tajnych na Androida udostępni klucze w plikulocal.propertiesjako zmienne kompilacji manifestu.<meta-data android:name="com.google.android.geo.API_KEY" android:value="${MAPS_API_KEY}" />Poniższy wiersz w pliku
build.gradleprzekazuje klucz interfejsu API do Twojego pliku manifestu Androida.id 'com.google.android.libraries.mapsplatform.secrets-gradle-plugin'
Oto przykład pełnego pliku manifestu:
<?xml version="1.0" encoding="utf-8"?>
<!--
Copyright 2020 Google LLC
Licensed under the Apache License, Version 2.0 (the "License");
you may not use this file except in compliance with the License.
You may obtain a copy of the License at
http://www.apache.org/licenses/LICENSE-2.0
Unless required by applicable law or agreed to in writing, software
distributed under the License is distributed on an "AS IS" BASIS,
WITHOUT WARRANTIES OR CONDITIONS OF ANY KIND, either express or implied.
See the License for the specific language governing permissions and
limitations under the License.
-->
<manifest xmlns:android="http://schemas.android.com/apk/res/android">
<application
android:allowBackup="true"
android:icon="@mipmap/ic_launcher"
android:label="@string/app_name"
android:supportsRtl="true"
android:theme="@style/AppTheme">
<meta-data
    android:name="com.google.android.gms.version"
    android:value="@integer/google_play_services_version" />
<!--
The API key for Google Maps-based APIs.
-->
<meta-data
  android:name="com.google.android.geo.API_KEY"
  android:value="${MAPS_API_KEY}" />
<activity
android:name=".MapsMarkerActivity"
android:label="@string/title_activity_maps"
android:exported="true">
<intent-filter>
<action android:name="android.intent.action.MAIN" />
<category android:name="android.intent.category.LAUNCHER" />
</intent-filter>
</activity>
</application>
</manifest>
Dodaj mapę
Wyświetl mapę za pomocą pakietu SDK Map Google na Androida.
Dodaj element
<fragment>do pliku układu aktywności (activity_maps.xml). Ten element definiujeSupportMapFragment, który działa jako kontener mapy i zapewnia dostęp do obiektuGoogleMap. Samouczek wykorzystuje wersję fragmentu mapy z biblioteką pomocy Androida, aby zapewnić zgodność wsteczną z wcześniejszymi wersjami platformy Androida.<!-- Copyright 2020 Google LLC Licensed under the Apache License, Version 2.0 (the "License"); you may not use this file except in compliance with the License. You may obtain a copy of the License at http://www.apache.org/licenses/LICENSE-2.0 Unless required by applicable law or agreed to in writing, software distributed under the License is distributed on an "AS IS" BASIS, WITHOUT WARRANTIES OR CONDITIONS OF ANY KIND, either express or implied. See the License for the specific language governing permissions and limitations under the License. --> <fragment xmlns:android="http://schemas.android.com/apk/res/android" xmlns:tools="http://schemas.android.com/tools" android:id="@+id/map" android:name="com.google.android.gms.maps.SupportMapFragment" android:layout_width="match_parent" android:layout_height="match_parent" tools:context="com.example.mapwithmarker.MapsMarkerActivity" />W metodzie
onCreate()aktywności ustaw plik układu jako widok treści. Uzyskaj uchwyt fragmentu mapy, wywołując metodęFragmentManager.findFragmentById(). Następnie użyj parametrugetMapAsync(), aby zarejestrować się na wywołanie zwrotne mapy:Java
@Override protected void onCreate(Bundle savedInstanceState) { super.onCreate(savedInstanceState); // Retrieve the content view that renders the map. setContentView(R.layout.activity_maps); // Get the SupportMapFragment and request notification when the map is ready to be used. SupportMapFragment mapFragment = (SupportMapFragment) getSupportFragmentManager() .findFragmentById(R.id.map); mapFragment.getMapAsync(this); }Kotlin
override fun onCreate(savedInstanceState: Bundle?) { super.onCreate(savedInstanceState) // Retrieve the content view that renders the map. setContentView(R.layout.activity_maps) // Get the SupportMapFragment and request notification when the map is ready to be used. val mapFragment = supportFragmentManager.findFragmentById(R.id.map) as? SupportMapFragment mapFragment?.getMapAsync(this) }Zaimplementuj interfejs
OnMapReadyCallbacki zastąp metodęonMapReady(), aby skonfigurować mapę, gdy dostępny jest obiektGoogleMap:Java
public class MapsMarkerActivity extends AppCompatActivity implements OnMapReadyCallback { // ... @Override public void onMapReady(GoogleMap googleMap) { LatLng sydney = new LatLng(-33.852, 151.211); googleMap.addMarker(new MarkerOptions() .position(sydney) .title("Marker in Sydney")); } }Kotlin
class MapsMarkerActivity : AppCompatActivity(), OnMapReadyCallback { // ... override fun onMapReady(googleMap: GoogleMap) { val sydney = LatLng(-33.852, 151.211) googleMap.addMarker( MarkerOptions() .position(sydney) .title("Marker in Sydney") ) } }
Domyślnie pakiet SDK Map Google na Androida wyświetla zawartość okna informacyjnego, gdy użytkownik kliknie znacznik. Jeśli odpowiada Ci działanie domyślne, nie musisz dodawać detektora kliknięć.
Dalsze kroki
Dowiedz się więcej o obiekcie mapy i o tym, co można zrobić z znacznikami.