
Page Summary
-
The Navigation SDK provides turn-by-turn navigation functionality and requires a Google Cloud account with an API key enabled for the SDK.
-
You must have the Maps SDK for iOS installed in your app before integrating the Navigation SDK.
-
To try the demo app, download it as a Cocoapod, add your API key, and build the app in Xcode using a compatible iOS device or simulator.
-
Xcode 12 users might encounter compilation issues for the simulator which can be resolved using steps outlined in the Navigation SDK FAQ.
-
For troubleshooting, use an iOS device or simulator with iOS 15 or above, enable Rosetta destinations if necessary, and disable User Script Sandboxing if encountering build failures related to rsync.samba().
The Navigation SDK is available as a static library. For more information, see the Navigation SDK reference documentation.
Before you begin
To run the demo, you must have a Google Cloud account and an API key enabled for the Navigation SDK by sales. Once you have a Google Cloud account, see Set up your development project and API key.
Set up your development project and API key
Create or open a project in the Google Cloud console to use with the Maps SDK for iOS. Wait for a few minutes until the project is visible on the Cloud console.
Enable Maps SDK for iOS in the Google Cloud console. In the project, open the APIs section and enable the Maps SDK for iOS.
Create an API key for the project, by selecting APIs & Services > Credentials > Create credentials > API key.
Add the Maps SDK for iOS to your API key. For more information, see Using API Keys.
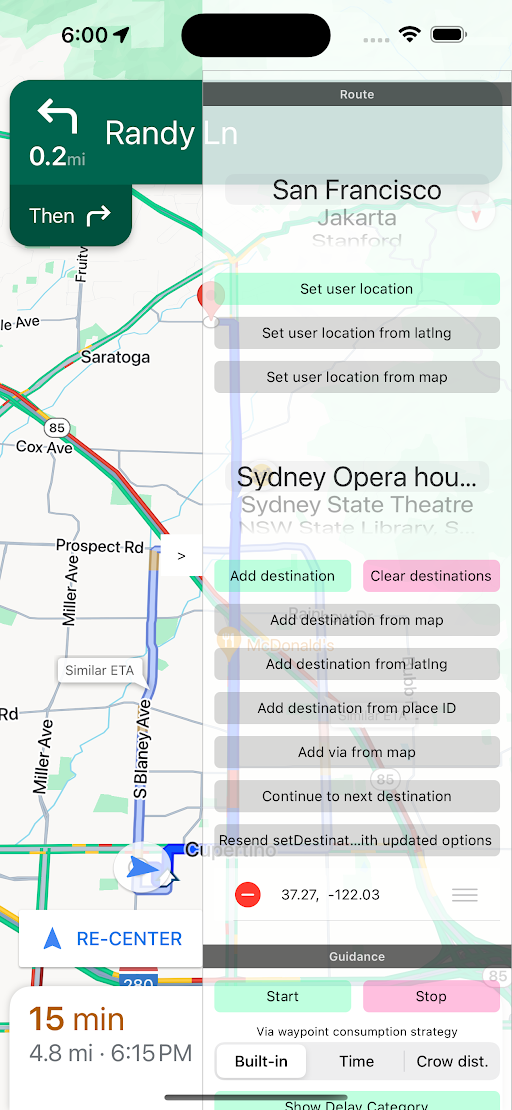
Try the demo app
You can now download, build, and run the demo.
Download the demo
- Clone the code samples repository:
git clone https://github.com/googlemaps-samples/ios-navigation-sdk-samples.git
You can also view the Swift navigation demo code on GitHub:
Configure the demo
Follow these steps to configure your demo app.
Install Xcode.
Navigate to the GoogleNavigation repository.
cd ios-navigation-sdk-samples/GoogleNavigation/Open the Xcode project:
open GoogleNavSwiftXCFrameworkDemos.xcodeprojAdd your own API key to the
SDKDemoAPIKey.swiftfile. You must use the API key that you created in the steps in Set up your development project and API key.Use Xcode to build and run the app.