
Page Summary
-
Create immersive 3D stories with real-world locations using the built-in editor to customize titles, descriptions, images, and camera angles for a captivating user journey.
-
Easily add chapters to your story by searching for locations, providing details such as titles, descriptions, and images, and reordering them as needed.
-
Fine-tune the camera settings for each chapter by controlling the tilt, rotate, and zoom to achieve the perfect perspective and enhance the visual experience.
-
Download the story configuration in JSON format once finalized to integrate it with the 3D Storytelling solution and share it with your audience.
-
Access the 3D Storytelling Admin app either through the hosted version or by downloading the code from GitHub to get started building your stories.
Ready to create captivating 3D stories that take viewers on a journey through real-world locations? This guide will show you how to build a new story using the built-in editor.
Use our intuitive interface to adjust titles, descriptions, images, and camera angles. It's perfect for beginners!
Open the story editor
The 3D Storytelling solution comes with a built-in Editor which lets you to build the story from the UI
The editor is on the left side of the page. Open by clicking this small icon:
You can access the editor by visiting the hosted version 3D Storytelling Admin app or by downloading and installing your own Storytelling instance from GitHub
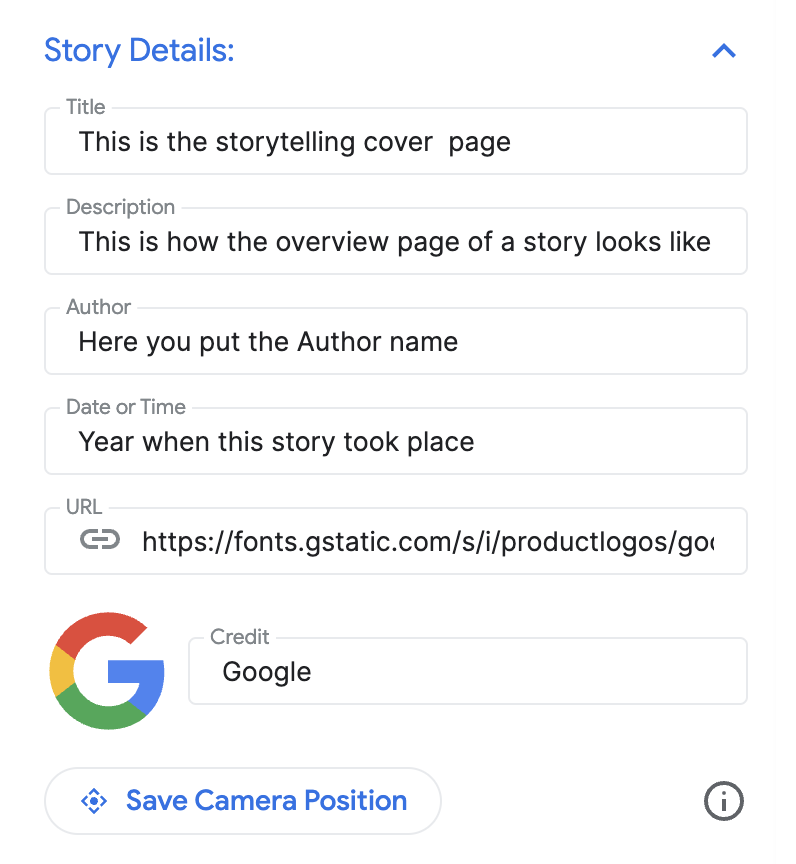
Create the cover page
Use the "Story details" section to set a title, image, description, and other details. This introduces your story to the viewer.
Add chapters
Each chapter is like a stop on your journey. Here's how to add them:
Search for a location using the built-in Autocomplete search bar.
Once a location is added you can add details to the chapter by clicking on the Edit button next to the location:

Click "Edit" to enter the title, description, image, and date for your chapter.

If you want to delete a particular chapter, there is a delete button right below the Edit button.
You can reorder the chapters by dragging and moving using the left hand dotted icons:

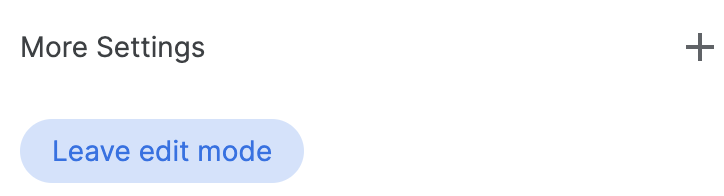
Save the chapter
To save a specific chapter just click the "Leave Edit mode" button. The Leave Edit mode button acts as a save button.
Customize camera settings
You can customize different camera settings:
Show/hide the location marker You may not want to show the pin on a specific location rather want to showcase a general area. Check/uncheck the "Display location marker" box to show or hide a pin.

Show a radius around an area You can choose to show an area around a specific location using the "Display Radius Focus" feature. When checked it will open up a radius slider that will allow you to control the boundary radius of the camera focus.
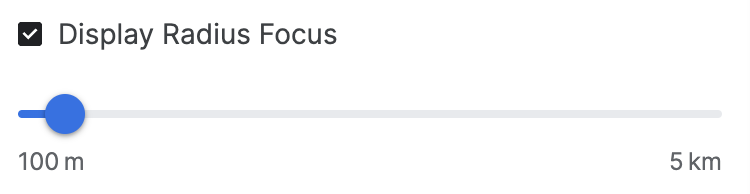
This shows how advanced camera options help create a customized experience.
Customize the camera location Fine tune the specific camera angle you want to show with easy camera controls:
Tilt: See the map from above or at ground level. Hold down the Control key (or Cmd on some computers) while clicking and dragging up or down with your mouse.
Rotate: Spin the map for a 360-degree view. Hold down the Control key (or Cmd on some computers) while clicking and dragging left or right with your mouse.
Zoom: Get a close-up or a wide-angle view. Use scroll wheel of your mouse or familiar zoom in/out gestures.
Experiment with combining tilt, rotate, and zoom to find the perfect angle for each location. The controls may vary slightly depending on your computer's setup.

Check how to control the 3D canvas to get your perfect camera angle.
Finalize and download
Once the story and the chapters are built, download the configuration.
Click "Download" to get your customized config in JSON format.
This configuration can be used to create your own 3D Storytelling by forking the code from GitHub.