
Page Summary
-
The Navigation SDK for Android enables your app to provide dynamic navigation and data reporting beyond basic map linking.
-
Two demo apps, GoogleNavigation and GoogleMap, are available on GitHub to help you explore the SDK's capabilities.
-
To get started, you'll need an API key, the SDK artifact, Android Studio, and the demo apps.
-
The Navigation SDK cannot be used in conjunction with the Maps SDK within the same application; it replaces the Maps SDK's functionalities.
-
The GoogleNavigation demo focuses on guided navigation sessions, while the GoogleMap demo showcases individual behaviors of the
GoogleMapinterface.
By integrating the Navigation SDK for Android, your app can go beyond linking to an external map view. With Google Maps navigation, your app can offer dynamic retrieval and single-look reporting of data about a user's journey. This guide explains how to run the Navigation SDK demo apps, which are available on GitHub.
Get ready
To get started with the Navigation SDK, be sure to have the following items.
- An API key provisioned for use with Navigation SDK. See Using API Keys for more information about creating and restricting keys.
- The SDK artifact. Verify that your project is configured to use Maven for the Navigation SDK.
- One or more of the demo apps.
- Android Studio, the recommended development environment for building an app with the Navigation SDK.
This documentation is designed for people familiar with Android development and object-oriented programming concepts. You should also be familiar with Google Maps from a user's point of view.
Get the demo apps
Google provides two apps to help you understand what the Navigation SDK offers on top of the Google Maps APIs, depending on your level of experience. Developers familiar with the Google Maps APIs can focus their attention on the GoogleNavigation demo. Developers new to both projects will find both apps helpful.
As of Navigation SDK for Android v4.1, the following demo apps are both available on GitHub to download.
GoogleNavigation demo: Showcases the integration of API behaviors and views as they pertain to the user's experience while in a guided-navigation session.
GoogleMap demo: showcases individual behaviors of the
GoogleMapinterface to customize the feel and presentation of maps.
The GoogleNavigation demo
The latest GoogleNavigation demo is available on GitHub.
Build
In Android Studio, import the demo app and allow Gradle to run.
Open
local.defaults.propertiesand update the value of theMAPS_API_KEYproperty:MAPS_API_KEY=YOUR_API_KEYClick build and examine the SDK implementation details.
In the Java class, note the implementation code.
In the layout XML, note the layout design and text.
In the
build.gradlefile, note the SDK in the dependencies.
See the Secrets Gradle plugin documentation for more information on how the API key is added to the manifest.
Run
Connect an Android device to your computer or use an emulator.
- Android device—Refer to the instructions to enable developer options on your Android device and configure your system to detect the device.
- Emulator—Use the Android Virtual Device (AVD) Manager to configure a virtual device. When choosing an emulator, make sure you pick an image that includes the Google APIs.
In Android Studio, click the Run menu option (or the play button icon); and then choose a deployment target.
When built and launched, the app presents the user with a landing page of a list of options.
NavViewActivity and NavFragmentActivity options
New adopters of the NavSDK will likely find these two options to be the most useful.
Option 1: NavViewActivity showcases behaviors using the NavigationView
in conjunction with the
Navigator.
Option 2: The second option, titled NavFragmentActivity, showcases
behaviors using the
SupportNavigationFragment
alongside the
Navigator.
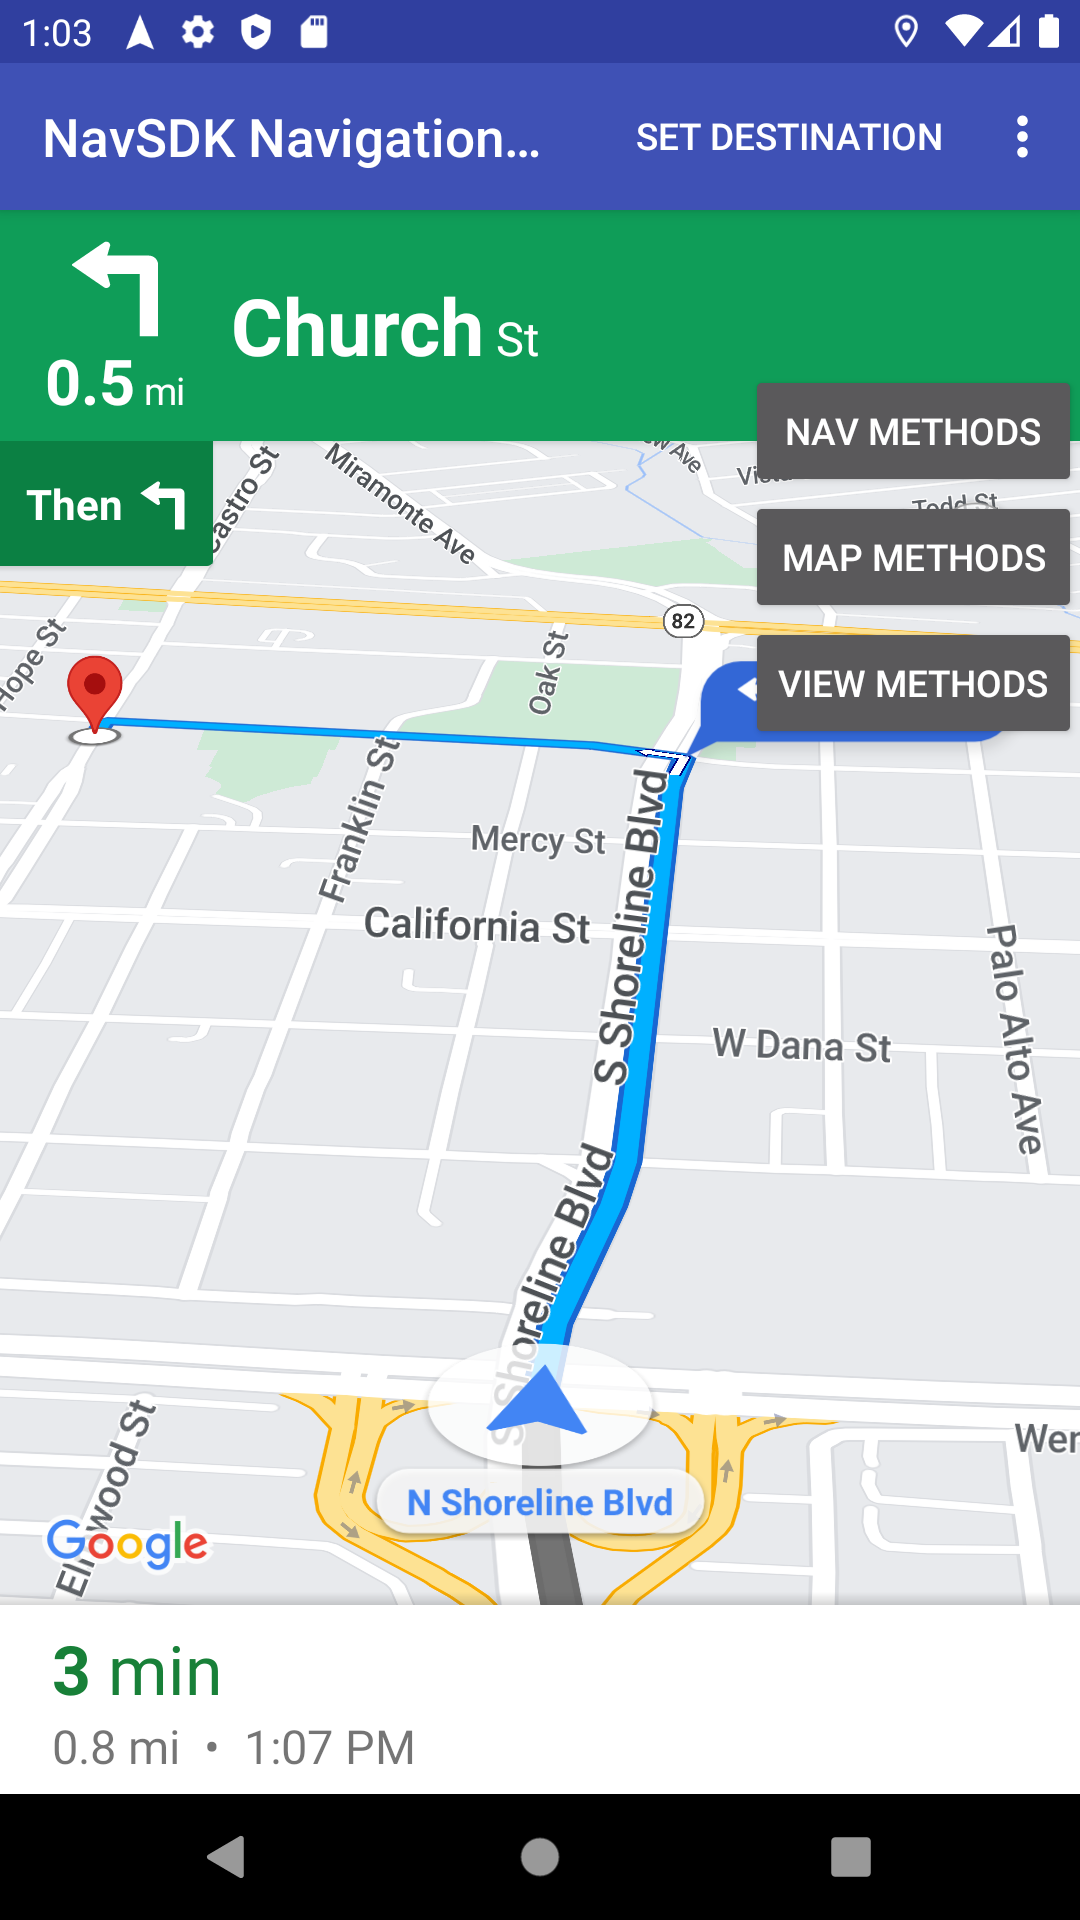
When you click one of these options, you'll be presented with the following:
- the navigation UI
- a "Set Destination" button in the app's menu
- an overlay that you can interact with to dynamically invoke methods on the API
- an overflow menu with more options
To get started, click Set Destination and pick an address. The app then simulates a trip from your current location to that address. Use the control panels overlay to see what happens when you call an API. For example, click View Methods to try forcing the SDK into night-mode to see what it looks like.
SwappingMapAndNavActivity option
The SwappingMapAndNavActivity showcases the following common patterns:
- displaying a
MapView - swapping to a
NavigationViewwhen navigation begins - returning to a
MapViewwhen navigation ends
The GoogleMap demo
The latest GoogleNavigation demo is available on GitHub.
Build
In Android Studio, import the demo app and allow Gradle to run.
Open
local.defaults.propertiesand update the value of theMAPS_API_KEYproperty:MAPS_API_KEY=YOUR_API_KEYClick build and examine the SDK implementation details.
In the Java class, note the implementation code.
In the layout XML, note the layout design and text.
In the
build.gradlefile, note the SDK in the dependencies.
See secrets gradle plugin for more information on how the API key is added to the Manifest.
Run

Connect an Android device to your computer or use an emulator.
- Android device Refer to the instructions to enable developer options on your Android device and configure your system to detect the device.
- Emulator Use the Android Virtual Device (AVD) Manager to configure a virtual device. When choosing an emulator, make sure you pick an image that includes the Google APIs.
In Android Studio, click the Run menu option (or the play button icon); and then choose a deployment target.
When built and launched, the app presents the user with a landing page of a list of demos.
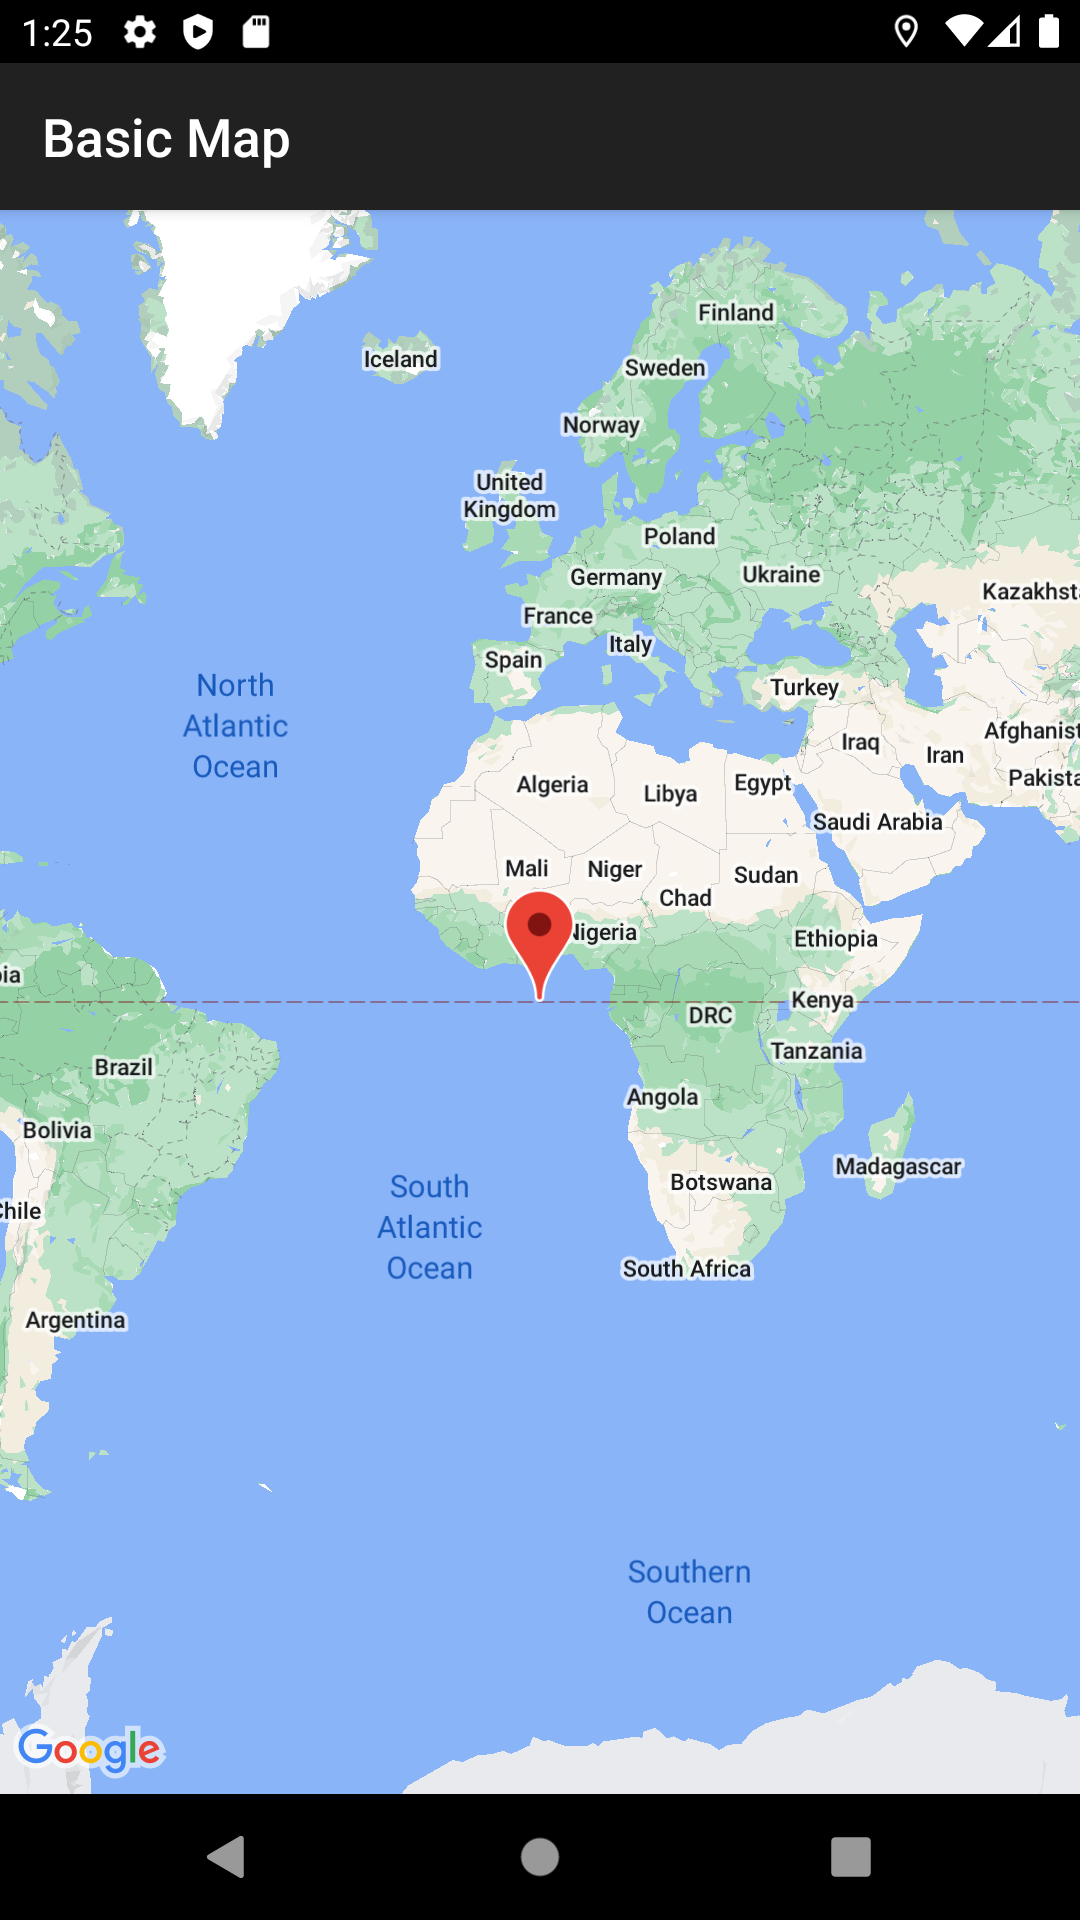
This presentation pattern and the corresponding structure of the source code
should be familiar to users of the Google Maps SDK demos. This is because the
GoogleMap demo is designed to be similar to the Maps API demo
app. The primary
difference is that the Navigation SDK demo lets the user choose which view class
they'd like to test-run a demo on:
NavigationView
or
MapView,
where applicable.
Google generally encourages adopters to use the
NavigationView.
This demo provides the flexibility to try these behaviors on both versions in
our demo app and choose whichever works for you. For example, it may still be
necessary to use a MapView in situations where you are using a third-party
library that expects to interact with that class.