Page Summary
-
A
Renderablerepresents a 3D model in Sceneform, built from elements like vertices, materials, and textures, and can be attached to aNodefor rendering within a scene. -
You can create
Renderables from Android widgets, resulting in flat cards displayed in the scene, or from 3D assets like OBJ, FBX, and glTF, which are converted to Sceneform binary assets (SFB). -
Sceneform supports runtime creation of basic shapes like spheres and cubes using
ShapeFactoryandMaterialFactory, as well as runtime loading of glTF/glb 3D models, offering flexibility but requiring thorough testing across devices and network conditions. -
Modifications to a
Renderableaffect all nodes using it, unlessmakeCopy()is called to create an independent instance, allowing for individual adjustments without impacting other nodes sharing the original.
A
Renderable
is a 3D model and consists of vertices, materials, textures, and more. It can be
attached to a
Node
and rendered as part of a scene. This page describes how to create and modify
Renderables.
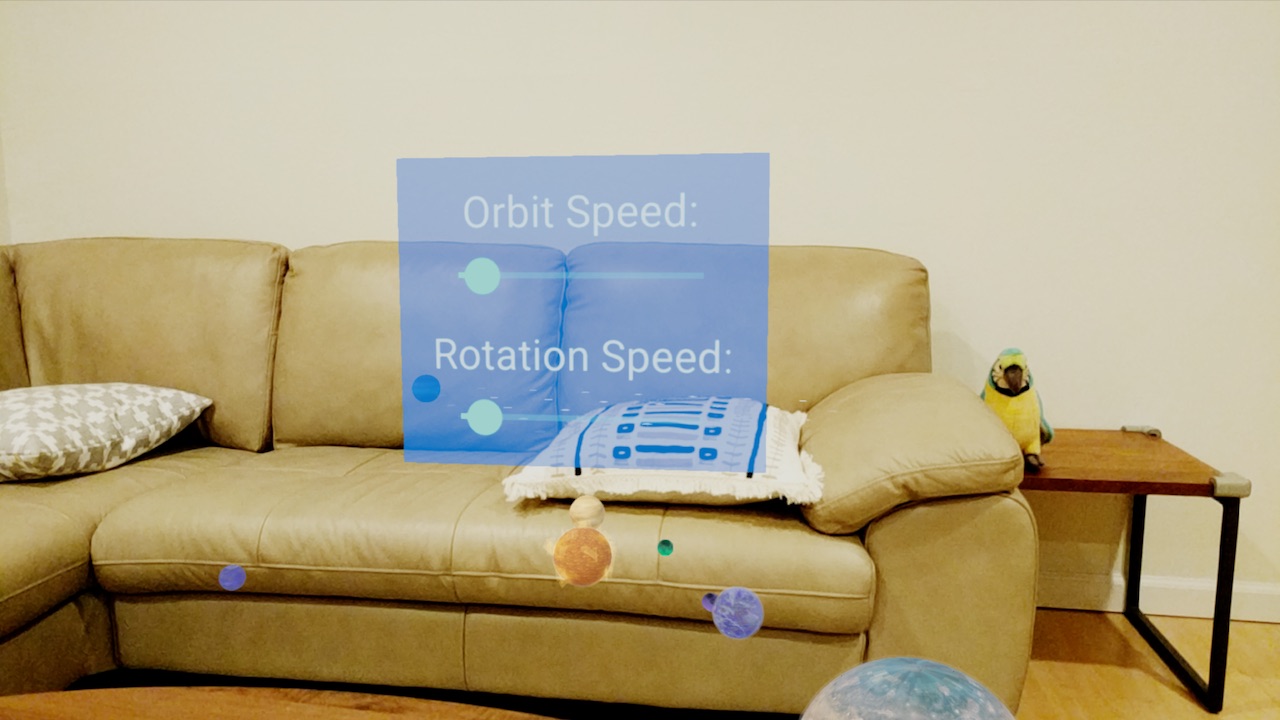
Create from Android widgets
You can create a
ViewRenderable
from standard android widgets. These are rendered as flat cards in the scene.
To create one:
Create a layout file in res > layout. For example:
<TextView xmlns:android="http://schemas.android.com/apk/res/android"
   android:id="@+id/planetInfoCard"
   android:layout_width="wrap_content"
   android:layout_height="wrap_content"
   android:layout_weight="1"
   android:background="@drawable/rounded_bg"
   android:gravity="center"
   android:orientation="vertical"
   android:padding="6dp"
   android:text="Test"
   android:textAlignment="center" />
Build the
ViewRenderable.ViewRenderable.builder() .setView(this, R.layout.test_view) .build() .thenAccept(renderable -> testViewRenderable = renderable);This version of
setView()takes the resource ID of the uninflated layout file. You can also callsetView(View)to create a renderable from programmatically created views.
All build() methods in Sceneform return a
CompletableFuture.
The object is built on a separate thread and the callback function is executed
on the main thread.
The size of the renderable is based on the size of the View object. By
default, every 250dp for the view becomes 1 meter for the renderable. Use
setSizer(ViewSizer)
to change how the size of the view is calculated.
Changes to the underlying view affect how the renderable is displayed. Nodes with a view renderable attached will dispatch touch events to the view, so you can, for example respond to a button press.
// update button text when the renderable's node is tapped
Button button = (Button) renderable.getView();
button.setOnClickListener((button) -> button.setText("clicked"));
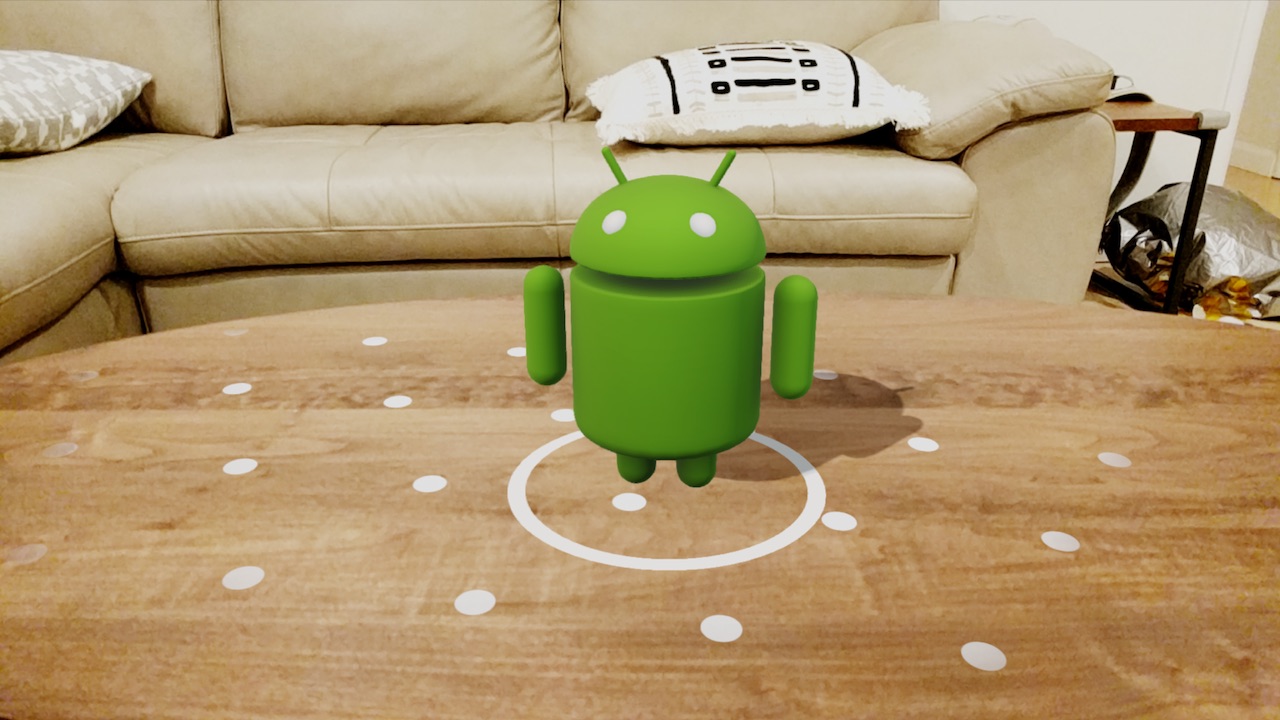
Create from a 3D asset
Sceneform provides tools and plugins for converting 3D assets files (OBJ, FBX,
glTF) to Sceneform binary assets (SFB), which can then be built into a
ModelRenderable.
For more information, see Import and Preview 3D Assets.
Create simple shapes at runtime
Simple shapes such as cubes, spheres and cylinders can be created using
ShapeFactory
and
MaterialFactory
let your create renderable objects from simple shapes and materials.
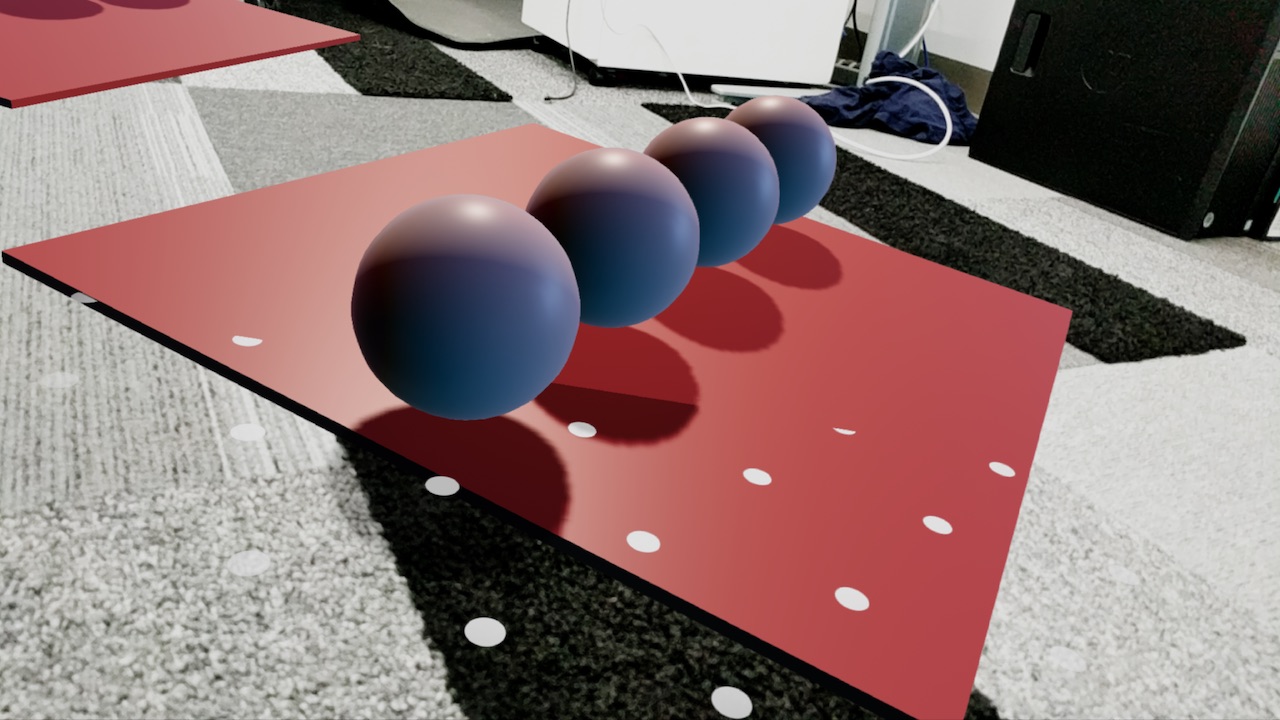
Here's how to create a red sphere:
MaterialFactory.makeOpaqueWithColor(this, new Color(android.graphics.Color.RED))
        .thenAccept(
            material -> {
              redSphereRenderable =
                  ShapeFactory.makeSphere(0.1f, new Vector3(0.0f, 0.15f, 0.0f), material); });
Load 3D models at runtime
3D models stored as glTF or glb files can be loaded at runtime without
conversion. This greatly improves the flexibility of the models rendered in your
application, but the trade-off is the model is read at runtime and does not
benefit from the optimization that is done during build time conversion to
sfb. Because of this, it is recommended you test your application and 3D
models on a wide range of devices and network conditions to make sure your users
have a great experience.
In order to use runtime asset loading you need to add the dependency on the
assets library in the app/build.gradle:
  dependencies {
     implementation 'com.google.ar.sceneform:assets:1.15.0'
  }
The
RenderableSource
class handles loading the glTF file and creating a source object for
ModelRenderable.Builder that creates the renderable object.
For example, loading a model from the internet looks like this:
 private static final String GLTF_ASSET =
   "https://github.com/KhronosGroup/glTF-Sample-Models/raw/master/2.0/Duck/glTF/Duck.gltf";

 /* When you build a Renderable, Sceneform loads model and related resources
 * in the background while returning a CompletableFuture.
 * Call thenAccept(), handle(), or check isDone() before calling get().
 */
 ModelRenderable.builder()
    .setSource(this, RenderableSource.builder().setSource(
            this,
            Uri.parse(GLTF_ASSET),
            RenderableSource.SourceType.GLTF2)
            .setScale(0.5f)  // Scale the original model to 50%.
            .setRecenterMode(RenderableSource.RecenterMode.ROOT)
            .build())
    .setRegistryId(GLTF_ASSET)
    .build()
    .thenAccept(renderable -> duckRenderable = renderable)
    .exceptionally(
        throwable -> {
          Toast toast =
              Toast.makeText(this, "Unable to load renderable " +
              GLTF_ASSET, Toast.LENGTH_LONG);
          toast.setGravity(Gravity.CENTER, 0, 0);
          toast.show();
          return null;
        });
Note: In order to access resources remotely, you need to include the Internet permission in your AndroidManifest.xml:
    <manifest …>
      <!-- Needed to load a glTF from the internet. -->
        <uses-permission android:name="android.permission.INTERNET"/>

    </manifest>
Modify renderables at runtime
If multiple nodes use the renderable, then changes to that renderable apply to
all nodes. To avoid that behavior, call
makeCopy()
to create a separate renderable instance. Note this also calls
makeCopy()
on every material in the renderable.
blueSphereRenderable = redSphereRenderable.makeCopy();
blueSphereRenderable.getMaterial().setFloat3(
                  MaterialFactory.MATERIAL_COLOR, new Color(android.graphics.Color.BLUE));