
This page walks through an example of how to add a basic 3D map to an Android app using the Maps 3D SDK for Android. The instructions on this page assume that you have already completed the steps in the Setup page and have the following:
- A Google Cloud project with the Maps 3D SDK for Android enabled
- An API key configured to use with the Maps 3D SDK for Android
- An Android Studio project set up to use with the Maps 3D SDK for Android
For more information about these prerequisites, see Setup.
Part 1: Update Layout File (activity_main.xml) to add the Map3DView component
The Map3DView component is the view that renders the 3D map within the app.
The following steps add the component and configure the initial state of the
map, including the camera position and related attributes:
Open your main activity's layout file, which is usually located at
app/src/main/res/layout/activity_main.xml.In the root
ConstraintLayout(or your root layout element), add themap3dXML namespace:xmlns:map3d="http://schemas.android.com/apk/res-auto"Delete the default
<TextView>that displays "Hello World!".Add the
Map3DViewcomponent to your layout. You can customize the camera position and other attributes:<?xml version="1.0" encoding="utf-8"?> <androidx.constraintlayout.widget.ConstraintLayout xmlns:android="http://schemas.android.com/apk/res/android" xmlns:app="http://schemas.android.com/apk/res-auto" xmlns:map3d="http://schemas.android.com/apk/res-auto" xmlns:tools="http://schemas.android.com/tools" android:id="@+id/main" android:layout_width="match_parent" android:layout_height="match_parent" tools:context=".MainActivity"> <com.google.android.gms.maps3d.Map3DView android:id="@+id/map3dView" android:layout_width="match_parent" android:layout_height="match_parent" map3d:mapMode="hybrid" map3d:centerLat="38.544012" map3d:centerLng="-107.670428" map3d:centerAlt="2427.6" map3d:heading="310" map3d:tilt="63" map3d:range="8266" map3d:roll="0" map3d:minAltitude="0" map3d:maxAltitude="1000000" map3d:minHeading="0" map3d:maxHeading="360" map3d:minTilt="0" map3d:maxTilt="90" app:layout_constraintBottom_toBottomOf="parent" app:layout_constraintEnd_toEndOf="parent" app:layout_constraintStart_toStartOf="parent" app:layout_constraintTop_toTopOf="parent" /> </androidx.constraintlayout.widget.ConstraintLayout>
Part 2: Update MainActivity.kt
The following steps initialize the Map3DView component added to the
activity_main.xml file in Part 1 and manage component lifecycle events.
Note that the Maps 3D SDK for Android only supports one active Map3DView
instance at a time. Displaying multiple Map3DView instances simultaneously
(e.g., in the same layout or different visible Activities or Fragments) isn't
supported and can lead to rendering issues, such as black screens on secondary
views.
Moreover, all the Map3DView will share and reflect the same map state
(e.g. camera position, added markers, polygons, etc.), which will persist even if
one Map3DView is destroyed (using onDestroy) and another is created, unless
manually cleared. For example, if you add markers to Map3DView1, then destroy
it and create Map3DView2, those same markers will still be present on
Map3DView2.
Developer Responsibilities:
- One view at a time: Ensure only one
Map3DViewis in an active part of your view hierarchy at any moment. - Manual cleanup: When switching from one
Map3DView(e.g.,Map3DView1) to another (e.g.,Map3DView2), you must callonDestroy()on the old instance (Map3DView1). Because the underlying map state is shared, to ensureMap3DView2starts with a fresh or specific state, you are responsible for manually clearing any state set byMap3DView1. This includes removing markers, overlays, etc., and resetting the camera position using theGoogleMap3Dobject obtained in theOnMap3DViewReadyCallback.
Open your
MainActivity.ktfile, which is usually located atapp/src/main/java/com/example/yourpackagename/MainActivity.kt.Add the necessary imports for the Maps 3D SDK for Android:
import com.google.android.gms.maps3d.GoogleMap3D
import com.google.android.gms.maps3d.Map3DView
import com.google.android.gms.maps3d.OnMap3DViewReadyCallback
Modify the
MainActivityclass to implementOnMap3DViewReadyCallback:class MainActivity : AppCompatActivity(), OnMap3DViewReadyCallback {Declare variables for
Map3DViewandGoogleMap3D:private lateinit var map3DView: Map3DView private var googleMap3D: GoogleMap3D? = nullIn the
onCreatemethod, aftersetContentView(...)and theViewCompat.setOnApplyWindowInsetsListenerblock, initialize themap3DView, call itsonCreatelifecycle method, and request the map asynchronously:override fun onCreate(savedInstanceState: Bundle?) { super.onCreate(savedInstanceState) enableEdgeToEdge() setContentView(R.layout.activity_main) ViewCompat.setOnApplyWindowInsetsListener(findViewById(R.id.main)) { v, insets -> val systemBars = insets.getInsets(WindowInsetsCompat.Type.systemBars()) v.setPadding(systemBars.left, systemBars.top, systemBars.right, systemBars.bottom) insets } map3DView = findViewById(R.id.map3dView) map3DView.onCreate(savedInstanceState) map3DView.getMap3DViewAsync(this) }Override the
onMap3DViewReadymethod. This callback is triggered when the map is ready to be used:override fun onMap3DViewReady(googleMap3D: GoogleMap3D) { // Interact with the googleMap3D object here this.googleMap3D = googleMap3D // You can now make calls to the googleMap3D object, e.g., // googleMap3D.cameraController.flyTo(camera { ... }) }Forward lifecycle events from your Activity to the
Map3DViewby adding the following overrides to theMainActivity:override fun onStart() { super.onStart() map3DView.onStart() } override fun onResume() { super.onResume() map3DView.onResume() } override fun onPause() { map3DView.onPause() super.onPause() } override fun onStop() { map3DView.onStop() super.onStop() } override fun onDestroy() { map3DView.onDestroy() super.onDestroy() } override fun onSaveInstanceState(outState: Bundle) { super.onSaveInstanceState(outState) map3DView.onSaveInstanceState(outState) } override fun onLowMemory() { super.onLowMemory() map3DView.onLowMemory() }
Part 3: Sync Gradle and Run
Now that you've updated your app's layout and activity, you can build and run the app to see the 3D map view.
To sync your project with Gradle, select File > Sync Project with Gradle Files.
To build and run your app on an emulator or a physical device, select Run > Run.
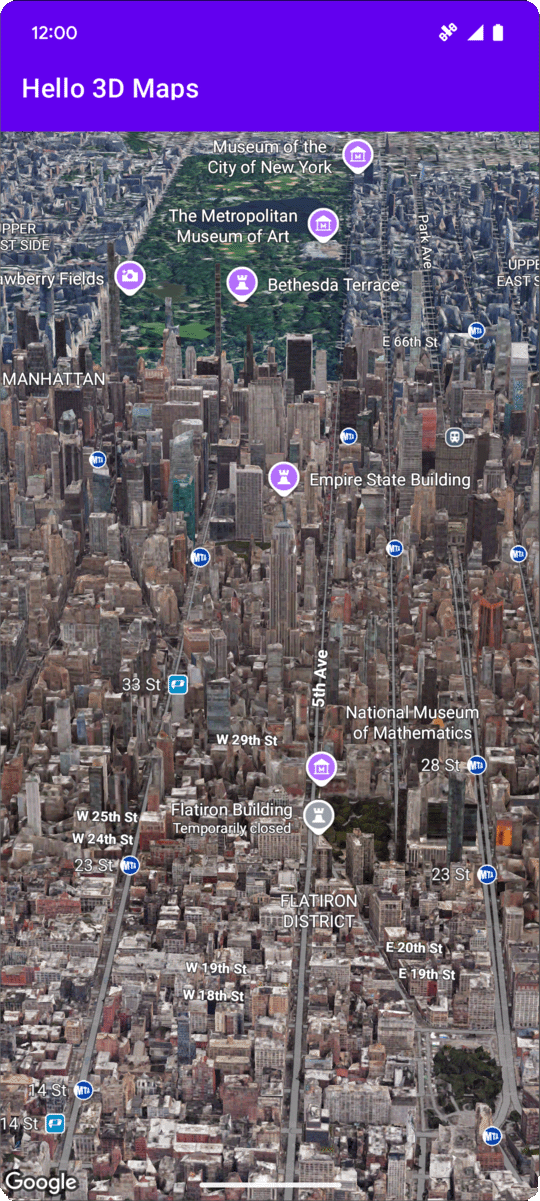
If everything is configured correctly, you should see a 3D map displayed in
your app, centered near the coordinates specified in your
activity_main.xml.
Next steps
Now that you've added a basic 3D map to your app, you can explore more advanced features of the Maps 3D SDK for Android, such as camera path animations, 3D markers, or polygons.
Listen for map click events
To listen to click events on the map, use
GoogleMap3D.setMap3DClickListener. This listener is triggered when a user
clicks on the map, and provides the location and place ID of the clicked
point.
The following example shows how to set a map click listener:
googleMap3D.setMap3DClickListener { location, placeId ->
    lifecycleScope.launch(Dispatchers.Main) {
        if (placeId != null) {
            Toast.makeText(this@MainActivity, "Clicked on place with ID: $placeId", Toast.LENGTH_SHORT).show()
        } else {
            Toast.makeText(this@MainActivity, "Clicked on location: $location", Toast.LENGTH_SHORT).show()
        }
    }
}
Note that the click handler does not run on the Main (or UI) thread. If you
want to make changes to the UI (such as showing a Toast message), you must
switch to the Main thread. For Kotlin, you can do this using
lifecycleScope.launch(Dispatchers.Main).