Route to a Single Destination

Follow this guide to plot a route within your app to a single destination, using the 
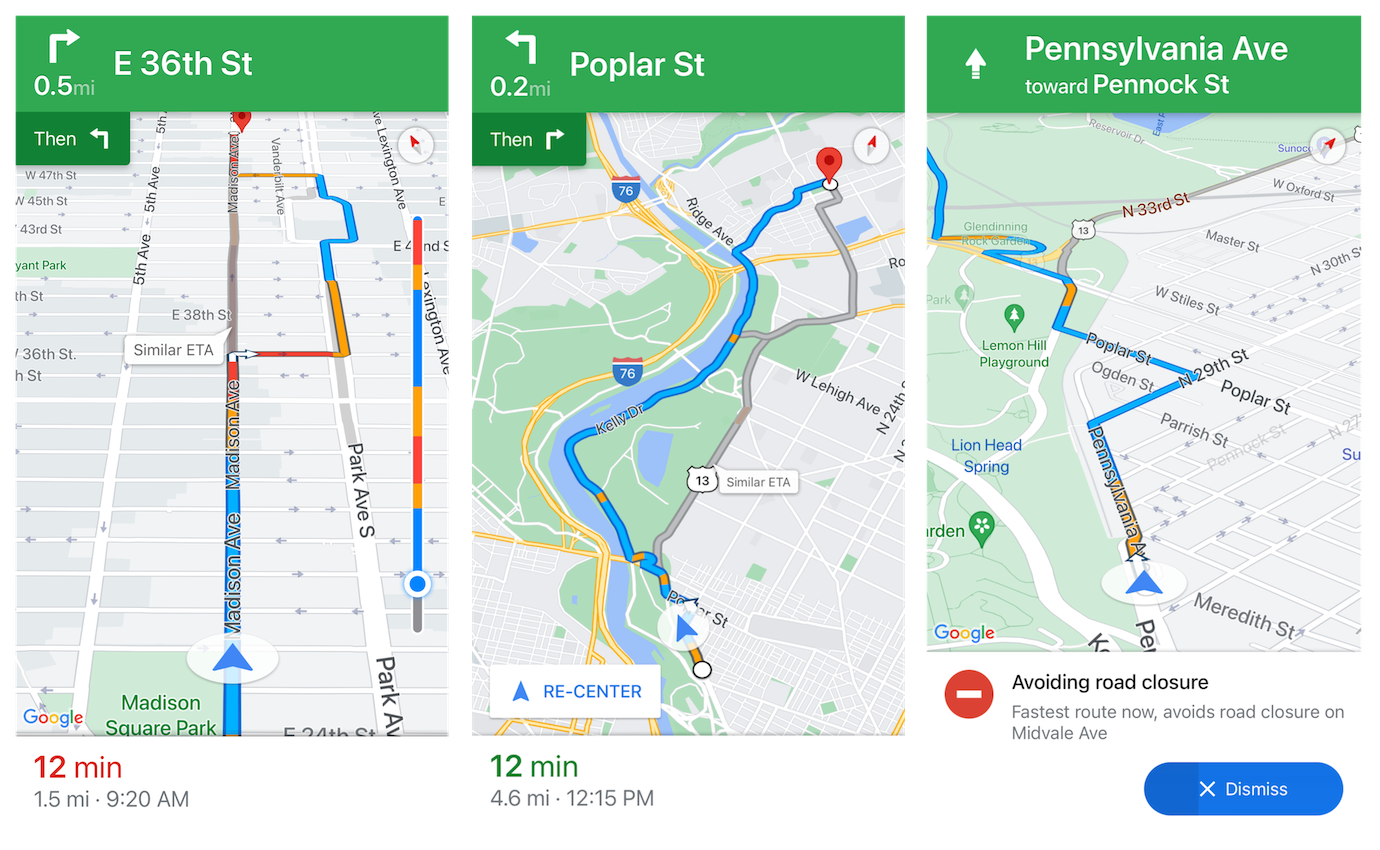
Navigation SDK for Android.

Overview

  1. Integrate the Navigation SDK into your app, as described in the configuration guide.
  2. Add a NavigationFragment or NavigationView to your app. This UI element adds the interactive map and turn-by-turn navigation UI to your activity.
  3. Use the NavigationApi class to initialize the SDK.
  4. Define a Navigator to control turn-by-turn navigation:

  5. Build and run your app.

See the code

Add a navigation fragment

The NavigationFragment is the UI component that displays the visual output of navigation, including an interactive map and turn-by-turn directions. You can declare the fragment in your XML layout file as shown below:

<?xml version="1.0" encoding="utf-8"?>
<fragment xmlns:android="http://schemas.android.com/apk/res/android"
    android:name="com.google.android.libraries.navigation.NavigationFragment"
    android:id="@+id/navigation_fragment"
    android:layout_width="match_parent"
    android:layout_height="match_parent"/>

Alternatively, you can construct the fragment programmatically, as described in the Android documentation.

For apps using the support version of Fragment, the Navigation SDK provides compatibility through the SupportNavigationFragment. This fragment behaves identically to NavigationFragment, and you can manage it programmatically using FragmentActivity.getSupportFragmentManager().

As an alternative to a fragment, the UI component is also available as a NavigationView. Please note the information at the top of the class description, particularly about the requirement to forward life cycle methods.

Request location permission

Your app must request location permission in order to determine the location of the device.

This tutorial provides the code you need to request fine location permission. For more details, see the guide to Android permissions.

  1. Add the permission as a child of the <manifest> element in your Android manifest:

    <manifest xmlns:android="http://schemas.android.com/apk/res/android"
        package="com.example.navsdksingledestination">
        <uses-permission android:name="android.permission.ACCESS_FINE_LOCATION" />
    </manifest>
    
  2. Request runtime permissions in your app, giving the user the opportunity to allow or deny location permission. The following code checks whether the user has granted fine location permission. If not, it requests the permission:

    if (ContextCompat.checkSelfPermission(this.getApplicationContext(),
            android.Manifest.permission.ACCESS_FINE_LOCATION)
                == PackageManager.PERMISSION_GRANTED) {
        mLocationPermissionGranted = true;
    } else {
        ActivityCompat.requestPermissions(this,
                new String[] { android.Manifest.permission.ACCESS_FINE_LOCATION },
                PERMISSIONS_REQUEST_ACCESS_FINE_LOCATION);
    }
    
    if (!mLocationPermissionGranted) {
        displayMessage("Error loading Navigation SDK: "
                + "The user has not granted location permission.");
        return;
    }
    
  3. Override the onRequestPermissionsResult() callback to handle the result of the permission request:

    @Override
    public void onRequestPermissionsResult(int requestCode, @NonNull String permissions[],
                                           @NonNull int[] grantResults) {
        mLocationPermissionGranted = false;
        switch (requestCode) {
            case PERMISSIONS_REQUEST_ACCESS_FINE_LOCATION: {
                // If request is canceled, the result arrays are empty.
                if (grantResults.length > 0
                        && grantResults[0] == PackageManager.PERMISSION_GRANTED) {
                    mLocationPermissionGranted = true;
                }
            }
        }
    }
    

Initialize the Navigation SDK and configure a journey

The NavigationApi class provides initialization logic that authorizes your app to use Google navigation. The Navigator class provides control over configuring and starting/stopping a navigation journey.

  1. Initialize the Navigation SDK and override the onNavigatorReady() callback to start navigation when the navigator is ready.

  2. (Optionally) Set the last digit of the license plate to enable road restrictions in supported countries (currently Brazil and Indonesia). If this call is used for any other country codes the api will ignore it. This call only needs to be made once. Subsequent directions requests will continue to use it.

    NavigationApi.getNavigator(this, new NavigationApi.NavigatorListener() {
                /**
                 * Sets up the navigation UI when the navigator is ready for use.
                 */
                @Override
                public void onNavigatorReady(Navigator navigator) {
                    displayMessage("Navigator ready.");
                    mNavigator = navigator;
                    mNavFragment = (NavigationFragment) getFragmentManager()
                            .findFragmentById(R.id.navigation_fragment);
    
                    // Set the last digit of the car's license plate to get route restrictions
                    // in supported countries. (optional)
                    // mNavigator.setLicensePlateRestrictionInfo(getLastDigit(), "BZ");
    
                    // Set the camera to follow the device location with 'TILTED' driving view.
                    mNavFragment.getCamera().followMyLocation(Camera.Perspective.TILTED);
    
                    // Set the travel mode (DRIVING, WALKING, CYCLING, TWO_WHEELER, or TAXI).
                    mRoutingOptions =  new RoutingOptions();
                    mRoutingOptions.travelMode(RoutingOptions.TravelMode.DRIVING);
    
                    // Navigate to a place, specified by Place ID.
                    navigateToPlace(SYDNEY_OPERA_HOUSE, mRoutingOptions);
                }
    
                /**
                 * Handles errors from the Navigation SDK.
                 * @param errorCode The error code returned by the navigator.
                 */
                @Override
                public void onError(@NavigationApi.ErrorCode int errorCode) {
                    switch (errorCode) {
                        case NavigationApi.ErrorCode.NOT_AUTHORIZED:
                            displayMessage("Error loading Navigation SDK: Your API key is "
                                    + "invalid or not authorized to use the Navigation SDK.");
                            break;
                        case NavigationApi.ErrorCode.TERMS_NOT_ACCEPTED:
                            displayMessage("Error loading Navigation SDK: User did not accept "
                                    + "the Navigation Terms of Use.");
                            break;
                        case NavigationApi.ErrorCode.NETWORK_ERROR:
                            displayMessage("Error loading Navigation SDK: Network error.");
                            break;
                        case NavigationApi.ErrorCode.LOCATION_PERMISSION_MISSING:
                            displayMessage("Error loading Navigation SDK: Location permission "
                                    + "is missing.");
                            break;
                        default:
                            displayMessage("Error loading Navigation SDK: " + errorCode);
                    }
                }
            });
    
  3. Using the Navigator obtained above, set a destination Waypoint for this journey. After calculating directions, the NavigationFragment displays a polyline representing the route on the map, and a marker at the destination.

    private void navigateToPlace(String placeId, RoutingOptions travelMode) {
        Waypoint destination;
        try {
            destination = Waypoint.builder().setPlaceIdString(placeId).build();
        } catch (Waypoint.UnsupportedPlaceIdException e) {
            displayMessage("Error starting navigation: Place ID is not supported.");
            return;
        }
    
        // Create a future to await the result of the asynchronous navigator task.
        ListenableResultFuture<Navigator.RouteStatus> pendingRoute =
                mNavigator.setDestination(destination, travelMode);
    
        // Define the action to perform when the SDK has determined the route.
        pendingRoute.setOnResultListener(
                new ListenableResultFuture.OnResultListener<Navigator.RouteStatus>() {
                    @Override
                    public void onResult(Navigator.RouteStatus code) {
                        switch (code) {
                            case OK:
                                // Hide the toolbar to maximize the navigation UI.
                                if (getActionBar() != null) {
                                    getActionBar().hide();
                                }
    
                                // Enable voice audio guidance (through the device speaker).
                                mNavigator.setAudioGuidance(
                                        Navigator.AudioGuidance.VOICE_ALERTS_AND_GUIDANCE);
    
                                // Simulate vehicle progress along the route for demo/debug builds.
                                if (BuildConfig.DEBUG) {
                                    mNavigator.getSimulator().simulateLocationsAlongExistingRoute(
                                            new SimulationOptions().speedMultiplier(5));
                                }
    
                                // Start turn-by-turn guidance along the current route.
                                mNavigator.startGuidance();
                                break;
                            // Handle error conditions returned by the navigator.
                            case NO_ROUTE_FOUND:
                                displayMessage("Error starting navigation: No route found.");
                                break;
                            case NETWORK_ERROR:
                                displayMessage("Error starting navigation: Network error.");
                                break;
                            case ROUTE_CANCELED:
                                displayMessage("Error starting navigation: Route canceled.");
                                break;
                            default:
                                displayMessage("Error starting navigation: "
                                        + String.valueOf(code));
                        }
                    }
                });
    }
    

Build and run your app

  1. Connect an Android device to your computer. Follow the instructions to enable developer options on your Android device and configure your system to detect the device. (Alternatively, you can use the Android Virtual Device (AVD) Manager to configure a virtual device. When choosing an emulator, make sure you pick an image that includes the Google APIs.)
  2. In Android Studio, click the Run menu option (or the play button icon). Choose a device as prompted.

Hints for improved user experience

  • The user must accept the Google Navigation Terms of Service before navigation becomes available. This acceptance is only required once. By default, the SDK prompts for acceptance the first time the navigator is invoked. If you prefer, you can trigger the Navigation Terms of Service dialog at an early point in your app's UX flow, such as during signup or login, using showTermsAndConditionsDialog().
  • Navigation quality and ETA accuracy are significantly improved if you use place IDs to initialize a waypoint, rather than a latitude/longitude destination.
  • This sample derives the destination waypoint from a specific place ID (for the Sydney Opera House). You can use the place ID finder to get place IDs for other specific locations. Alternatively, you can offer the user the opportunity to choose a destination, by adding a place picker to your app. To try a working sample of the place picker with the Navigation SDK, see the demo app described in the introduction.

Next step

Find out how to navigate to multiple destinations within one journey. If your contract with Google specifies per-transaction billing, set up your billable transactions.