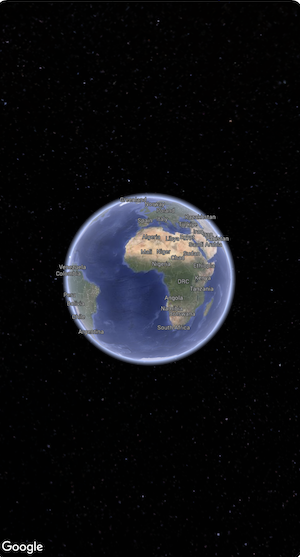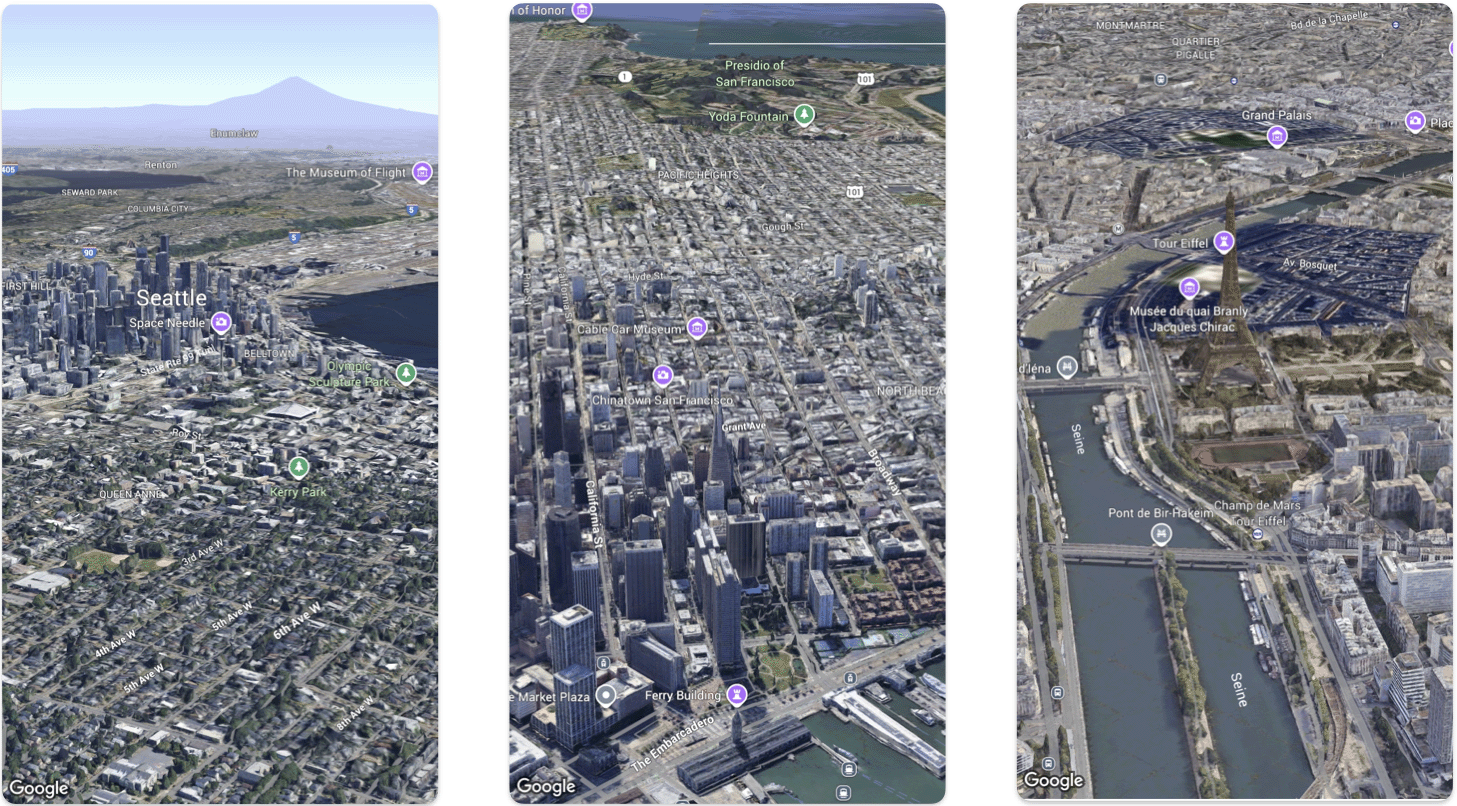
En esta página, se explica un ejemplo de cómo agregar un mapa 3D básico a una app para iOS con el SDK de Maps 3D para iOS. En las instrucciones de esta página, se supone que ya completaste los pasos de la página Configuración y que tienes lo siguiente:
Un proyecto de Google Cloud con el SDK de Maps 3D para iOS habilitado
Una clave de API del SDK de Maps 3D para iOS
Xcodeversión 16.0 o posterior con el paquete del SDK de Maps 3D para iOS agregado
Para obtener más información sobre estos requisitos previos, consulta Configuración.
Establece el Nombre del producto como Hello3DWorld, con el identificador de la organización establecido en com.example. El nombre del paquete debe ser com.example.Hello3DWorld.
La clave de API debe establecerse antes de que se inicialice el mapa. Para ello, configura Map.apiKey en el controlador de eventos init() del View que contiene el mapa.
Parte 4: Usa una cámara para controlar la vista de mapa
Las vistas de mapa en 3D se controlan con la clase Camera. En este paso, aprenderás a especificar la ubicación, la altitud, el rumbo, la inclinación, el balanceo y el alcance para personalizar la vista del mapa.
Cambia la llamada a la función Map() para incluir una propiedad initialCamera.
Inicializa initialCamera para mostrar una vista del centro de Manhattan.
El código anterior establece valores para estos parámetros:
heading: Es el rumbo en grados desde el norte para apuntar la cámara.
tilt: Ángulo de inclinación en grados, donde 0 es directamente desde arriba y 90 es horizontal.
roll: Ángulo de alabeo alrededor del plano vertical de la cámara, en grados.
range: Distancia en metros de la cámara desde la ubicación de latitud y longitud
altitude: Es la altura de la cámara sobre el nivel del mar.
Si no proporcionas ninguno de estos parámetros adicionales, se usará un valor predeterminado.
Para que la vista de la cámara muestre más datos en 3D, establece los parámetros iniciales para mostrar una vista más cercana y con una inclinación.
Parte 6: Obtén una vista previa de tu app y ejecútala
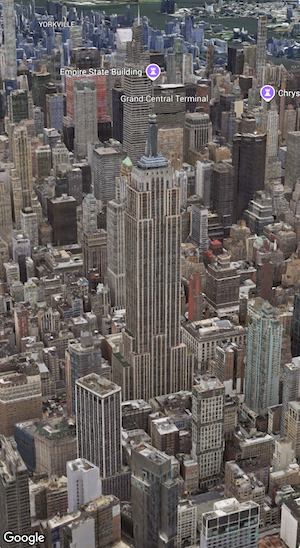
Agrega una vista previa de Xcode
Las vistas previas son una potente función de Xcode que te permite ver tu app y, también, interactuar con ella sin tener que usar el simulador o un dispositivo externo.
Para agregar una vista previa, agrega un bloque de código #Preview {} fuera de tu struct.
[[["Fácil de comprender","easyToUnderstand","thumb-up"],["Resolvió mi problema","solvedMyProblem","thumb-up"],["Otro","otherUp","thumb-up"]],[["Falta la información que necesito","missingTheInformationINeed","thumb-down"],["Muy complicado o demasiados pasos","tooComplicatedTooManySteps","thumb-down"],["Desactualizado","outOfDate","thumb-down"],["Problema de traducción","translationIssue","thumb-down"],["Problema con las muestras o los códigos","samplesCodeIssue","thumb-down"],["Otro","otherDown","thumb-down"]],["Última actualización: 2025-09-05 (UTC)"],[],[],null,["# Add a 3D map to your app\n\nSelect platform: [Android](/maps/documentation/maps-3d/android-sdk/add-a-3d-map \"View this page for the Android platform docs.\") [iOS](/maps/documentation/maps-3d/ios-sdk/add-a-3d-map \"View this page for the iOS platform docs.\") [JavaScript](/maps/documentation/javascript/3d/get-started \"View this page for the JavaScript platform docs.\")\n\n\u003cbr /\u003e\n\n\u003cbr /\u003e\n\n| This product or feature is Experimental (pre-GA). Pre-GA products and features might have limited support, and changes to pre-GA products and features might not be compatible with other pre-GA versions. Pre-GA Offerings are covered by the [Google\n| Maps Platform Service Specific Terms](https://cloud.google.com/maps-platform/terms/maps-service-terms). For more information, see the [launch stage descriptions](/maps/launch-stages).\n\n\u003cbr /\u003e\n\nThis page walks through an example of how to add a basic 3D map to an iOS app\nusing the Maps 3D SDK for iOS. The instructions on this page assume that you have\nalready completed the steps in the\n[Setup](/maps/documentation/maps-3d/ios-sdk/setup) page and have the following:\n\n- A Google Cloud project with the Maps 3D SDK for iOS enabled\n- An API key Maps 3D SDK for iOS\n- [Xcode](https://developer.apple.com/xcode/) **version\n 16.0** or later with the Maps 3D SDK for iOS package added.\n\nFor more information about these prerequisites, see\n[Setup](/maps/documentation/maps-3d/ios-sdk/setup).\n\n[Follow a more advanced codelab](/codelabs/maps-platform/maps-platform-101-3d-maps-ios).\n\n[See more code samples on\nGitHub](https://github.com/googlemaps-samples/ios-maps-3d-sdk-samples).\n\nPart 1: Create a basic SwiftUI app\n----------------------------------\n\n1. Create a new app in Xcode.\n2. Set your **Product Name** to `Hello3DWorld`, with the organization identifier set to `com.example`. The package name should be `com.example.Hello3DWorld`.\n3. Choose the SwiftUI interface.\n4. Add the Maps 3D library to your app. [See instructions in the setup\n section](/maps/documentation/maps-3d/ios-sdk/setup#step_2_create_the_xcode_project_and_install_the).\n\nPart 2: Add a map\n-----------------\n\n1. Open the file called `ContentView.swift`. This is the entry point and main\n navigation for your app.\n\n2. Import `SwiftUI` and the `GoogleMaps3D` package.\n\n3. Replace all the code inside the body declaration with Map(mode: .hybrid).\n\n The minimum initial configuration you need to supply to initialize a `Map`\n is the `MapMode`:\n - .hybrid, or\n - .satellite\n\n Your `ContentView.swift` file should look like this: \n\n import SwiftUI\n import GoogleMaps3D\n\n struct ContentView: View {\n var body: some View {\n Map(mode: .hybrid)\n }\n }\n\n #Preview {\n ContentView()\n }\n\nPart 3: Set your API key.\n-------------------------\n\n1. The API key must be set before the Map initializes. Do this by setting\n `Map.apiKey` in the `init()` event handler of the `View` that contains the\n Map.\n\n **Warning:** Don't check the API key into external or public source control \n\n import SwiftUI\n import GoogleMaps3D\n\n struct ContentView: View {\n init () {\n Map.apiKey = \"YOUR_API_KEY\"\n }\n\n var body: some View {\n Map(mode: .hybrid)\n }\n }\n\nPart 4: Use a camera to control the map view\n--------------------------------------------\n\n3D Map views are controlled by the `Camera` class. In this step you will learn\nhow to specify the location, altitude, heading, tilt, roll and range to\ncustomize the map view.\n\n1. Change the `Map()` function call to include an `initialCamera` property.\n Initialize `initialCamera` to show a view of downtown Manhattan.\n\n **Note:** Parameter order matters. The Camera is initialized by providing latitude first, then longitude. Make sure you specify the correct values for each, especially when pasting in from another source, or the camera may show an unexpected location. \n\n import SwiftUI\n import GoogleMaps3D\n\n struct ContentView: View {\n init () {\n Map.apiKey = \"YOUR_API_KEY\"\n }\n var body: some View {\n Map(initialCamera: .init(\n latitude: 40.748339,\n longitude: -73.985912,\n altitude: 211.1,\n heading: 52,\n tilt: 68,\n range: 1039\n ), mode: .hybrid)\n }\n }\n\nThe code above sets values for these parameters:\n\n- `heading`: The bearing in degrees from north to point the camera towards.\n- `tilt`: The angle of tilt in degrees, where 0 is directly overhead and 90 is looking horizontally.\n- `roll`: The angle of roll around the vertical plane of the camera, in degrees.\n- `range`: The distance in metres of the camera from the latitude, longitude location\n- `altitude`: The height of the camera above sea level.\n\nIf you don't supply any of these additional parameters, a default value will be\nused.\n| **Note:** Camera altitude is an absolute value. In areas where ground level is well above sea level, setting an altitude lower than ground level may cause strange visual effects.\n| **Note:** You can also adjust the relative altitude of the camera using tilt and range.\n\nTo make the camera view show more 3D data, set the initial parameters to show a\ncloser, tilted view.\n\nPart 6: Preview and run your App\n--------------------------------\n\n1. Add an Xcode Preview\n\n Previews are a powerful XCode feature that let you see and interact with\n your App without having to use the Simulator or an external device.\n\n To add a preview, add a `#Preview {}` code block outside your struct. \n\n #Preview {\n CameraDemo()\n }\n\n2. Run the app\n\nBuild and run the app.\n\nCongratulations!\n----------------\n\nYou've successfully added a 3D map to an app!\n\nNext, you can explore more advanced features of the Maps 3D SDK for iOS, such as\n[camera path\nanimations](/maps/documentation/maps-3d/ios-sdk/custom-camera-paths), [3D\nmarkers](/maps/documentation/maps-3d/ios-sdk/add-a-marker), or\n[polygons](/en/maps/documentation/maps-3d/ios-sdk/add-polygons)."]]