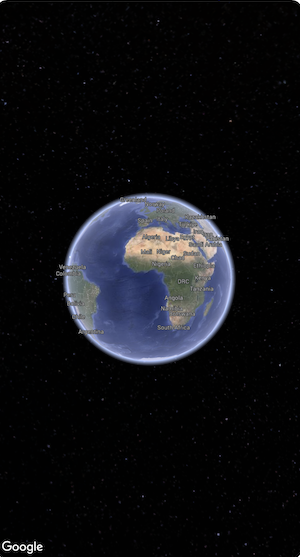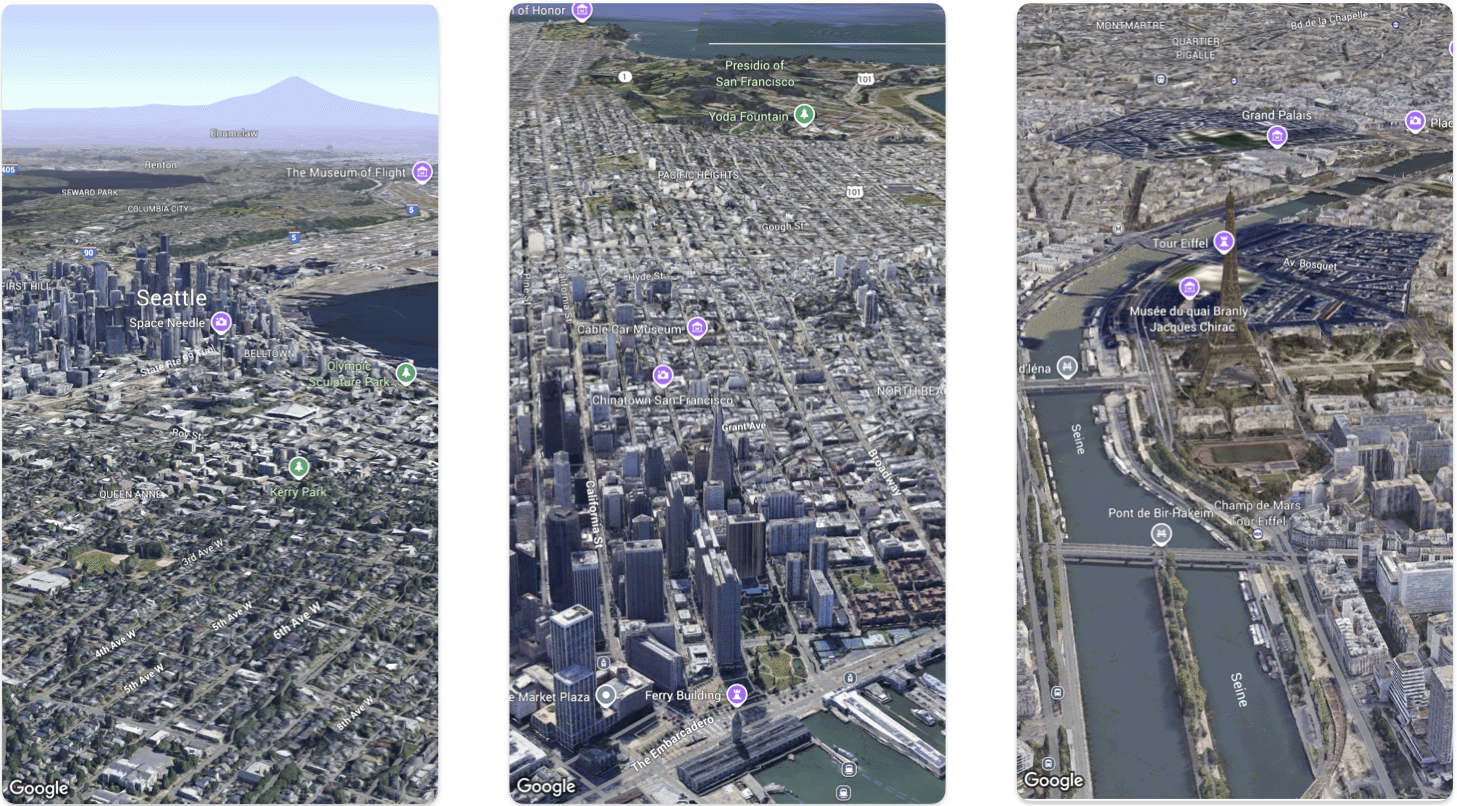
Cette page présente un exemple d'ajout d'une carte 3D de base à une application iOS à l'aide du SDK Maps 3D pour iOS. Les instructions figurant sur cette page supposent que vous avez déjà suivi les étapes de la page Configuration et que vous disposez des éléments suivants :
Un projet Google Cloud avec le SDK Maps 3D pour iOS activé
Clé API SDK Maps 3D pour iOS
Xcodeversion 16.0 ou ultérieure avec le package SDK Maps 3D pour iOS ajouté.
Pour en savoir plus sur ces prérequis, consultez Configuration.
Définissez Product Name sur Hello3DWorld, avec l'identifiant de l'organisation défini sur com.example. Le nom du package doit être com.example.Hello3DWorld.
La clé API doit être définie avant l'initialisation de la carte. Pour ce faire, définissez Map.apiKey dans le gestionnaire d'événements init() du View contenant la carte.
Partie 4 : Utiliser une caméra pour contrôler la vue de la carte
Les vues de carte 3D sont contrôlées par la classe Camera. Dans cette étape, vous allez apprendre à spécifier la position, l'altitude, le cap, l'inclinaison, le roulis et la distance pour personnaliser la vue de la carte.
Modifiez l'appel de fonction Map() pour inclure une propriété initialCamera.
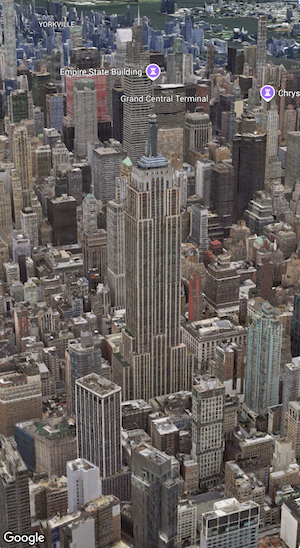
Initialisez initialCamera pour afficher une vue du centre-ville de Manhattan.
Le code ci-dessus définit des valeurs pour les paramètres suivants :
heading : cap en degrés depuis le nord vers lequel pointer la caméra.
tilt : angle d'inclinaison en degrés, où 0 correspond à une vue verticale et 90 à une vue horizontale.
roll : angle de roulis autour du plan vertical de la caméra, en degrés.
range : distance en mètres de la caméra par rapport à la latitude et à la longitude
altitude : hauteur de la caméra au-dessus du niveau de la mer.
Si vous ne fournissez aucun de ces paramètres supplémentaires, une valeur par défaut sera utilisée.
Pour que la vue de la caméra affiche davantage de données 3D, définissez les paramètres initiaux de manière à afficher une vue plus rapprochée et inclinée.
Partie 6 : Prévisualiser et exécuter votre application
Ajouter un aperçu Xcode
Les aperçus sont une fonctionnalité puissante d'Xcode qui vous permet de voir votre application et d'interagir avec elle sans avoir à utiliser le simulateur ni un appareil externe.
Pour ajouter un aperçu, ajoutez un bloc de code #Preview {} en dehors de votre struct.
#Preview{CameraDemo()}
Exécuter l'application
Créez et exécutez l'application.
Félicitations !
Vous avez bien ajouté une carte 3D à une application.
Sauf indication contraire, le contenu de cette page est régi par une licence Creative Commons Attribution 4.0, et les échantillons de code sont régis par une licence Apache 2.0. Pour en savoir plus, consultez les Règles du site Google Developers. Java est une marque déposée d'Oracle et/ou de ses sociétés affiliées.
Dernière mise à jour le 2025/09/05 (UTC).
[[["Facile à comprendre","easyToUnderstand","thumb-up"],["J'ai pu résoudre mon problème","solvedMyProblem","thumb-up"],["Autre","otherUp","thumb-up"]],[["Il n'y a pas l'information dont j'ai besoin","missingTheInformationINeed","thumb-down"],["Trop compliqué/Trop d'étapes","tooComplicatedTooManySteps","thumb-down"],["Obsolète","outOfDate","thumb-down"],["Problème de traduction","translationIssue","thumb-down"],["Mauvais exemple/Erreur de code","samplesCodeIssue","thumb-down"],["Autre","otherDown","thumb-down"]],["Dernière mise à jour le 2025/09/05 (UTC)."],[],[],null,["# Add a 3D map to your app\n\nSelect platform: [Android](/maps/documentation/maps-3d/android-sdk/add-a-3d-map \"View this page for the Android platform docs.\") [iOS](/maps/documentation/maps-3d/ios-sdk/add-a-3d-map \"View this page for the iOS platform docs.\") [JavaScript](/maps/documentation/javascript/3d/get-started \"View this page for the JavaScript platform docs.\")\n\n\u003cbr /\u003e\n\n\u003cbr /\u003e\n\n| This product or feature is Experimental (pre-GA). Pre-GA products and features might have limited support, and changes to pre-GA products and features might not be compatible with other pre-GA versions. Pre-GA Offerings are covered by the [Google\n| Maps Platform Service Specific Terms](https://cloud.google.com/maps-platform/terms/maps-service-terms). For more information, see the [launch stage descriptions](/maps/launch-stages).\n\n\u003cbr /\u003e\n\nThis page walks through an example of how to add a basic 3D map to an iOS app\nusing the Maps 3D SDK for iOS. The instructions on this page assume that you have\nalready completed the steps in the\n[Setup](/maps/documentation/maps-3d/ios-sdk/setup) page and have the following:\n\n- A Google Cloud project with the Maps 3D SDK for iOS enabled\n- An API key Maps 3D SDK for iOS\n- [Xcode](https://developer.apple.com/xcode/) **version\n 16.0** or later with the Maps 3D SDK for iOS package added.\n\nFor more information about these prerequisites, see\n[Setup](/maps/documentation/maps-3d/ios-sdk/setup).\n\n[Follow a more advanced codelab](/codelabs/maps-platform/maps-platform-101-3d-maps-ios).\n\n[See more code samples on\nGitHub](https://github.com/googlemaps-samples/ios-maps-3d-sdk-samples).\n\nPart 1: Create a basic SwiftUI app\n----------------------------------\n\n1. Create a new app in Xcode.\n2. Set your **Product Name** to `Hello3DWorld`, with the organization identifier set to `com.example`. The package name should be `com.example.Hello3DWorld`.\n3. Choose the SwiftUI interface.\n4. Add the Maps 3D library to your app. [See instructions in the setup\n section](/maps/documentation/maps-3d/ios-sdk/setup#step_2_create_the_xcode_project_and_install_the).\n\nPart 2: Add a map\n-----------------\n\n1. Open the file called `ContentView.swift`. This is the entry point and main\n navigation for your app.\n\n2. Import `SwiftUI` and the `GoogleMaps3D` package.\n\n3. Replace all the code inside the body declaration with Map(mode: .hybrid).\n\n The minimum initial configuration you need to supply to initialize a `Map`\n is the `MapMode`:\n - .hybrid, or\n - .satellite\n\n Your `ContentView.swift` file should look like this: \n\n import SwiftUI\n import GoogleMaps3D\n\n struct ContentView: View {\n var body: some View {\n Map(mode: .hybrid)\n }\n }\n\n #Preview {\n ContentView()\n }\n\nPart 3: Set your API key.\n-------------------------\n\n1. The API key must be set before the Map initializes. Do this by setting\n `Map.apiKey` in the `init()` event handler of the `View` that contains the\n Map.\n\n **Warning:** Don't check the API key into external or public source control \n\n import SwiftUI\n import GoogleMaps3D\n\n struct ContentView: View {\n init () {\n Map.apiKey = \"YOUR_API_KEY\"\n }\n\n var body: some View {\n Map(mode: .hybrid)\n }\n }\n\nPart 4: Use a camera to control the map view\n--------------------------------------------\n\n3D Map views are controlled by the `Camera` class. In this step you will learn\nhow to specify the location, altitude, heading, tilt, roll and range to\ncustomize the map view.\n\n1. Change the `Map()` function call to include an `initialCamera` property.\n Initialize `initialCamera` to show a view of downtown Manhattan.\n\n **Note:** Parameter order matters. The Camera is initialized by providing latitude first, then longitude. Make sure you specify the correct values for each, especially when pasting in from another source, or the camera may show an unexpected location. \n\n import SwiftUI\n import GoogleMaps3D\n\n struct ContentView: View {\n init () {\n Map.apiKey = \"YOUR_API_KEY\"\n }\n var body: some View {\n Map(initialCamera: .init(\n latitude: 40.748339,\n longitude: -73.985912,\n altitude: 211.1,\n heading: 52,\n tilt: 68,\n range: 1039\n ), mode: .hybrid)\n }\n }\n\nThe code above sets values for these parameters:\n\n- `heading`: The bearing in degrees from north to point the camera towards.\n- `tilt`: The angle of tilt in degrees, where 0 is directly overhead and 90 is looking horizontally.\n- `roll`: The angle of roll around the vertical plane of the camera, in degrees.\n- `range`: The distance in metres of the camera from the latitude, longitude location\n- `altitude`: The height of the camera above sea level.\n\nIf you don't supply any of these additional parameters, a default value will be\nused.\n| **Note:** Camera altitude is an absolute value. In areas where ground level is well above sea level, setting an altitude lower than ground level may cause strange visual effects.\n| **Note:** You can also adjust the relative altitude of the camera using tilt and range.\n\nTo make the camera view show more 3D data, set the initial parameters to show a\ncloser, tilted view.\n\nPart 6: Preview and run your App\n--------------------------------\n\n1. Add an Xcode Preview\n\n Previews are a powerful XCode feature that let you see and interact with\n your App without having to use the Simulator or an external device.\n\n To add a preview, add a `#Preview {}` code block outside your struct. \n\n #Preview {\n CameraDemo()\n }\n\n2. Run the app\n\nBuild and run the app.\n\nCongratulations!\n----------------\n\nYou've successfully added a 3D map to an app!\n\nNext, you can explore more advanced features of the Maps 3D SDK for iOS, such as\n[camera path\nanimations](/maps/documentation/maps-3d/ios-sdk/custom-camera-paths), [3D\nmarkers](/maps/documentation/maps-3d/ios-sdk/add-a-marker), or\n[polygons](/en/maps/documentation/maps-3d/ios-sdk/add-polygons)."]]