Due to Intelligent Tracking Prevention (ITP), an additional warm welcome page is displayed for ITP browsers, like Chrome on iOS, Safari, and FireFox. With this change, the One Tap UX works across multiple platforms, and thus provides consistent experience for both users and developers.
You can control whether the One Tap on ITP UX should be enabled or not by
setting the data-itp_support attribute.
Opt Out
One Tap on ITP browsers is enabled by default for all websites that are not explicitly opted out.
To opt out, you can add data-itp_support="false" to your code, as shown in the
following snippet:
<div id="g_id_onload"
     data-client_id="YOUR_GOOGLE_CLIENT_ID"
     data-itp_support="false"
     data-login_uri="https://your.domain/your_login_endpoint">
</div>
One good example is, you want to roll it out at a later time, or by a percentage roll out fully controlled by yourself. In this case, you can just opt out now, and then remove the opt-out later at your own control.
Key user journeys
The user journeys vary based on the following statuses.
Session status on Google websites. The following terms are used to indicate different Google session status when the user journey starts.
- Has-Google-session: There is at least one active session on Google websites.
- No-Google-session: There is no active session on Google websites.
Whether the selected Google Account has approved your website when the user journey starts. The following terms are used to indicate different approval status.
- New user: The selected account hasn't approved your website.
- Returning user: The selected account has approved your website before.
Has-Google-session new user journey
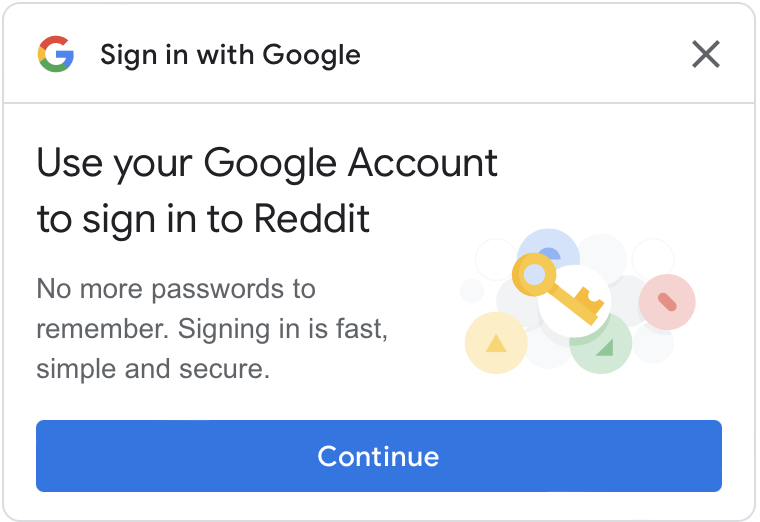
The welcome page.
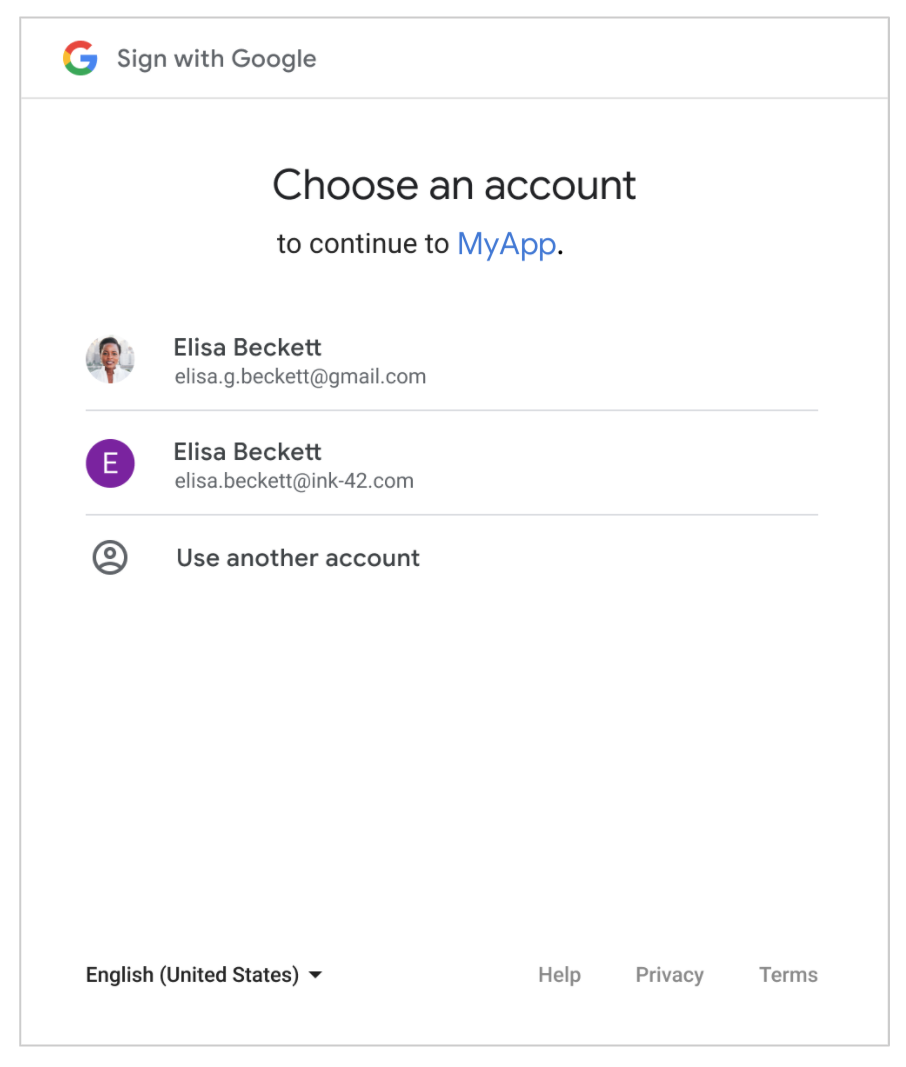
The account chooser page.
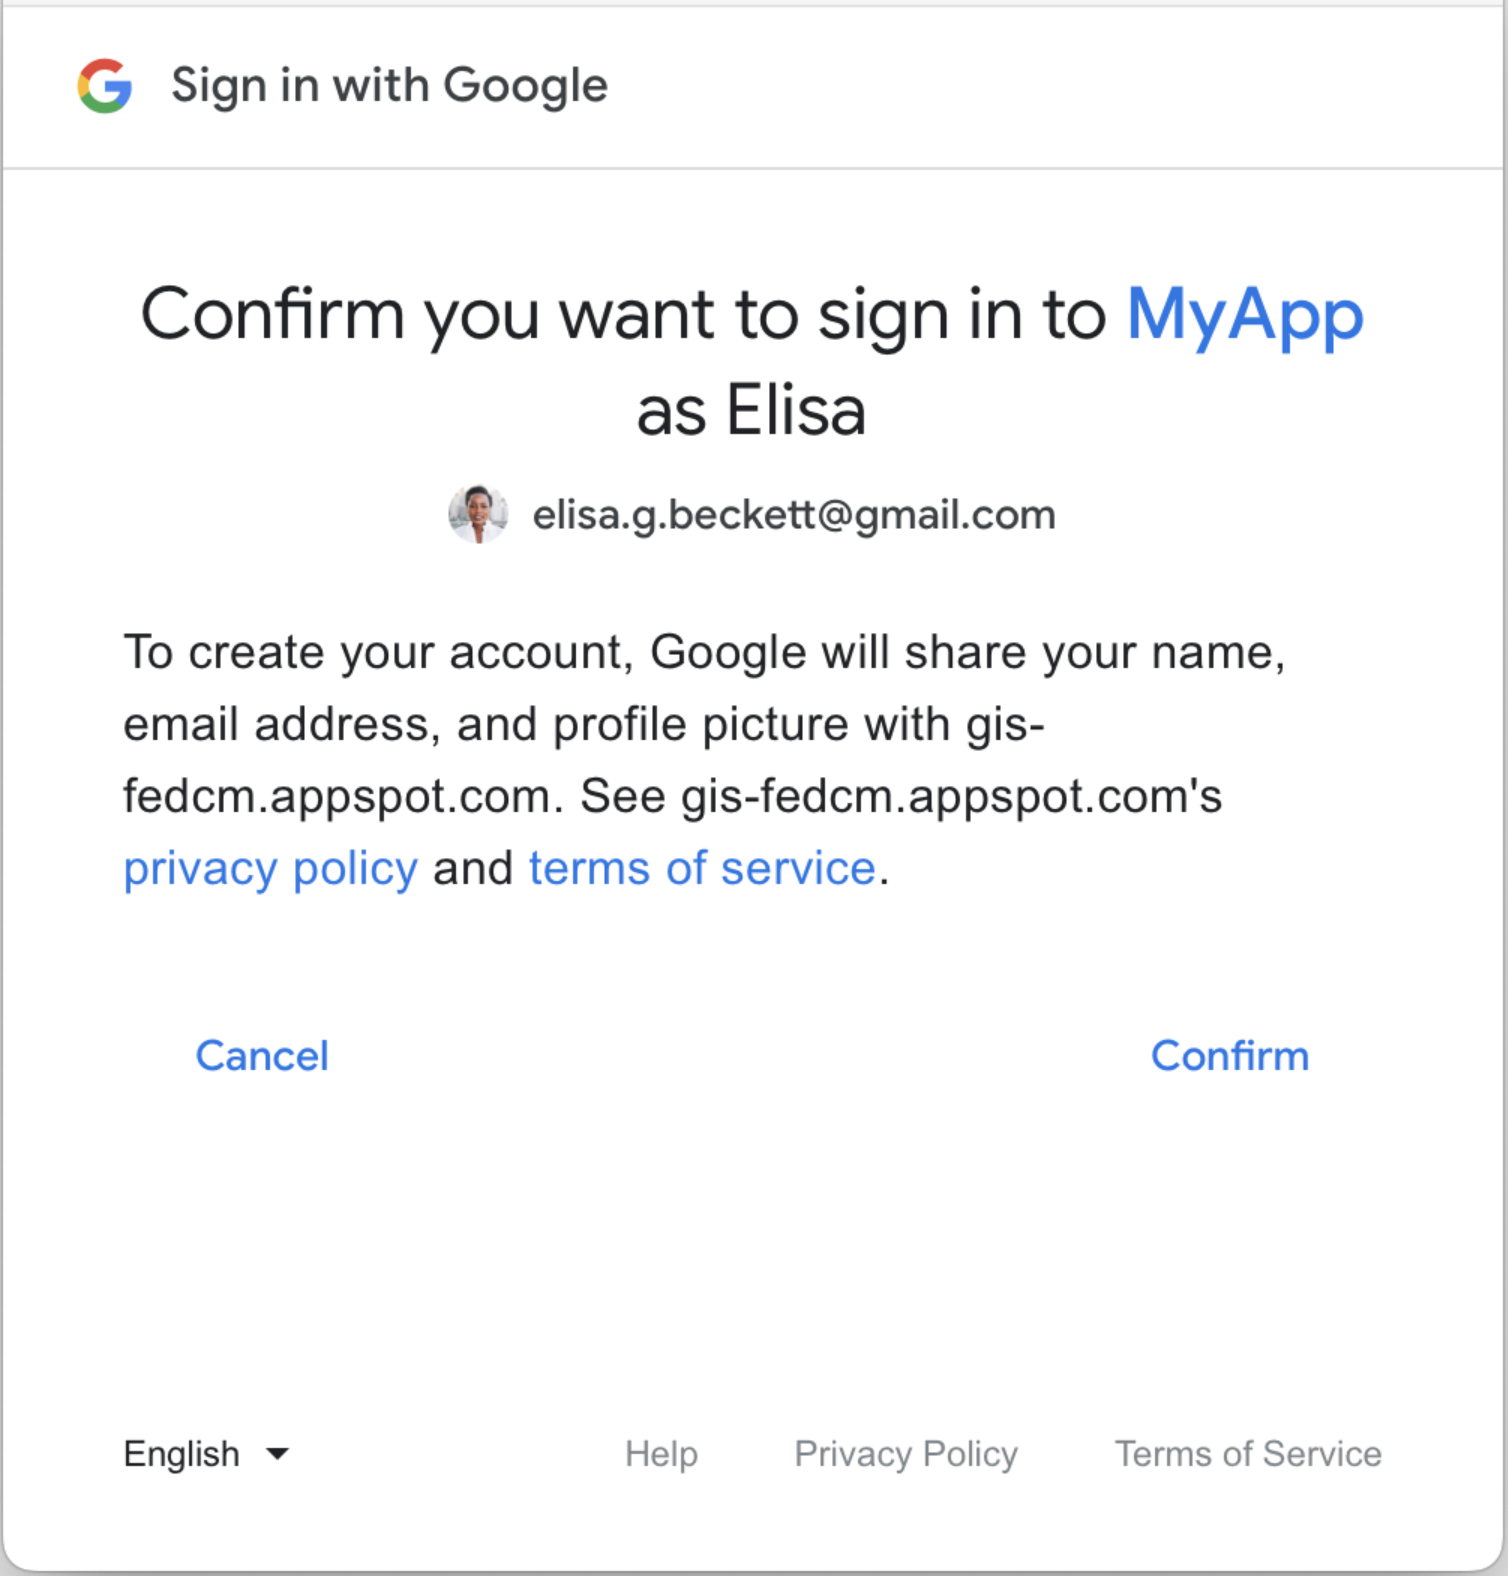
The new user consent page.
After the user confirms, an ID token is shared with your website.
Users can add a new Google session by clicking the Use another account button, refer to the No-Google-session user journeys, below.
Has-Google-session returning user journey
The welcome page.

The account chooser page.

After the user chooses a returning account, an ID token is shared with your website.
Users can add a new Google session by clicking the Use another account button, refer to the No-Google-session user journeys, below.
No-Google-session new user journey
The welcome page.

The first page to add a new Google session.
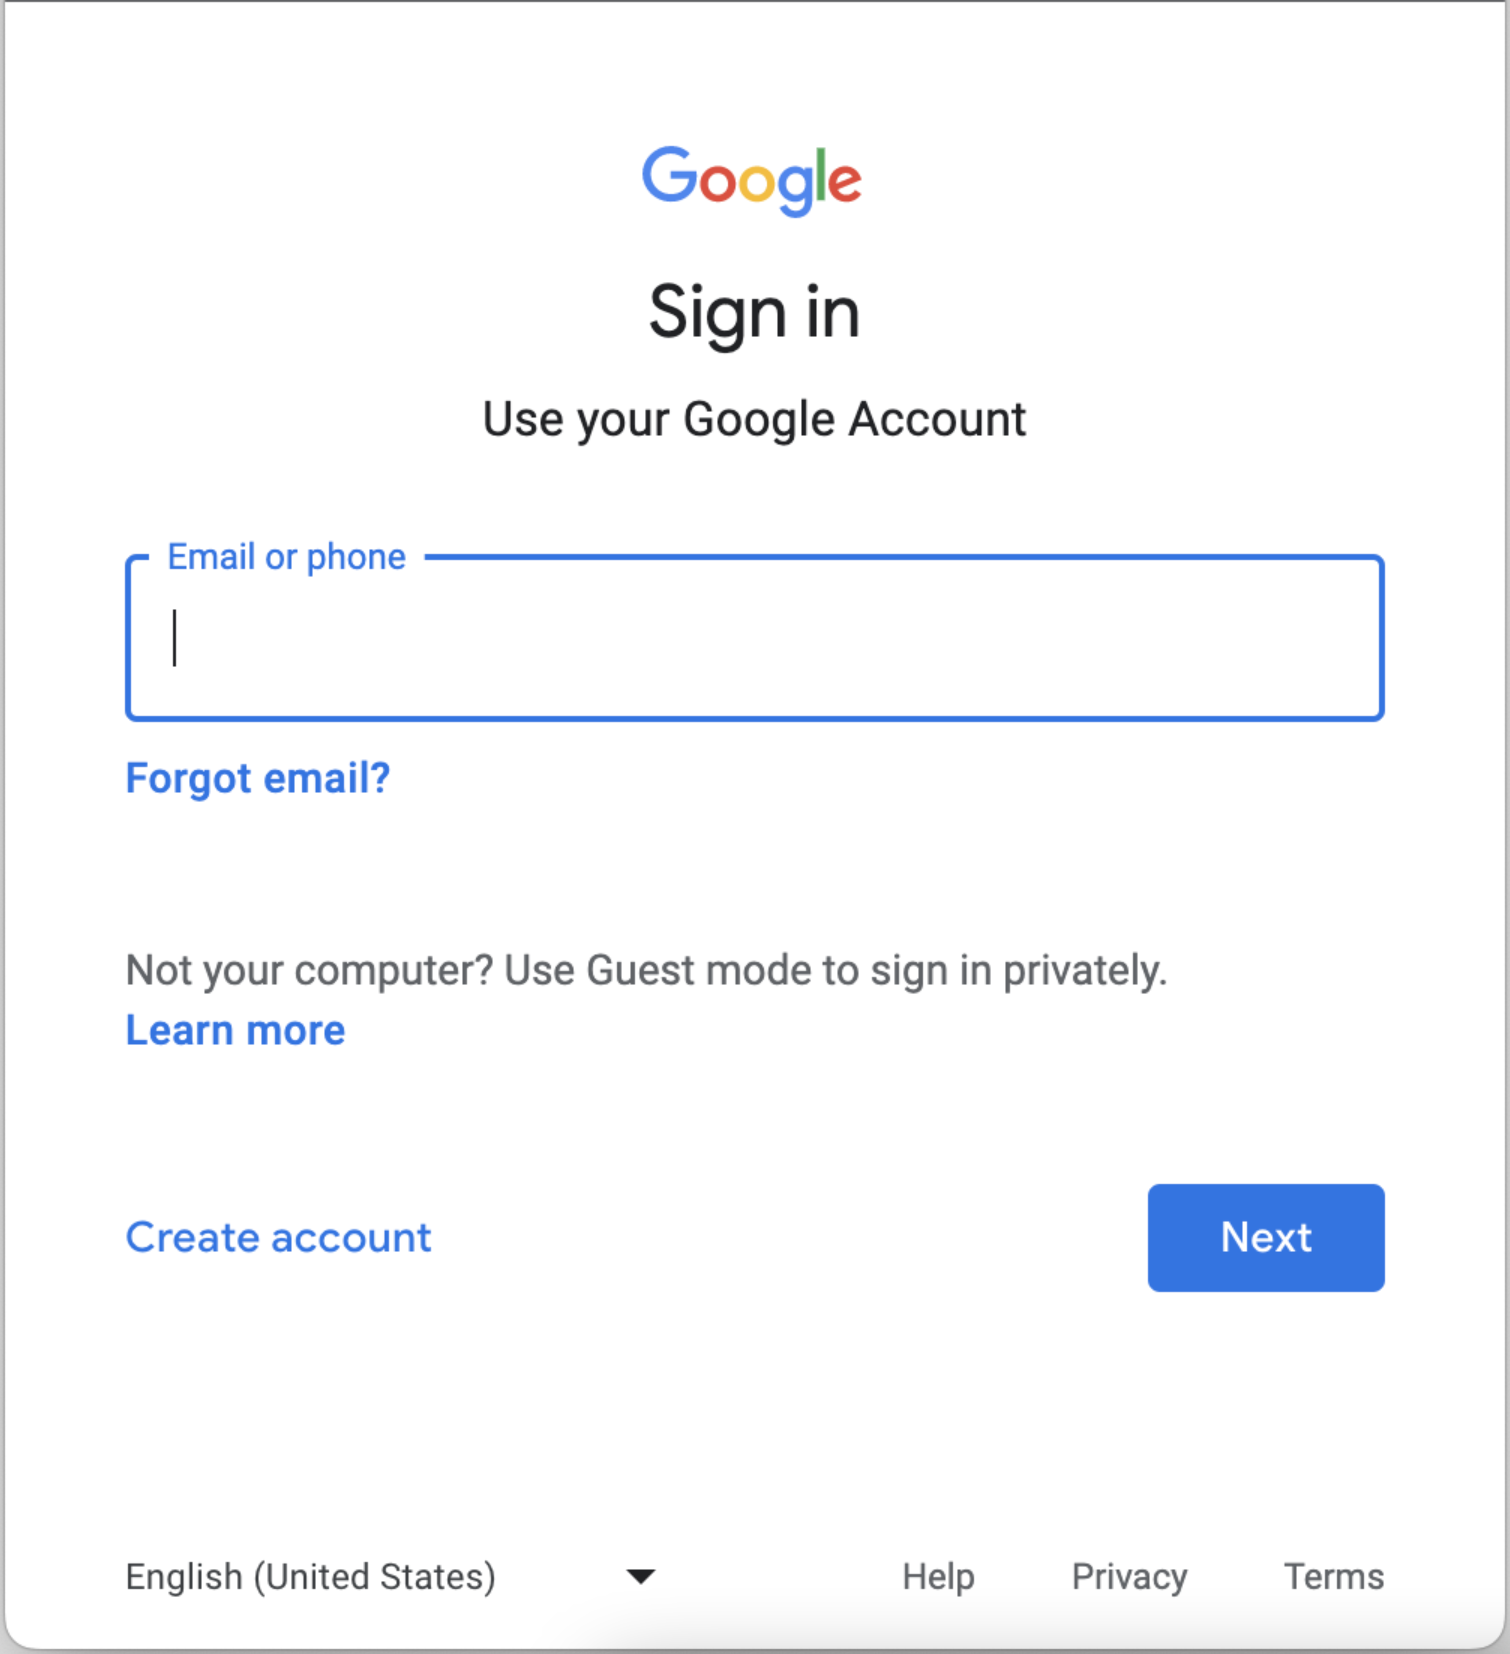
The second page to add a new Google session.
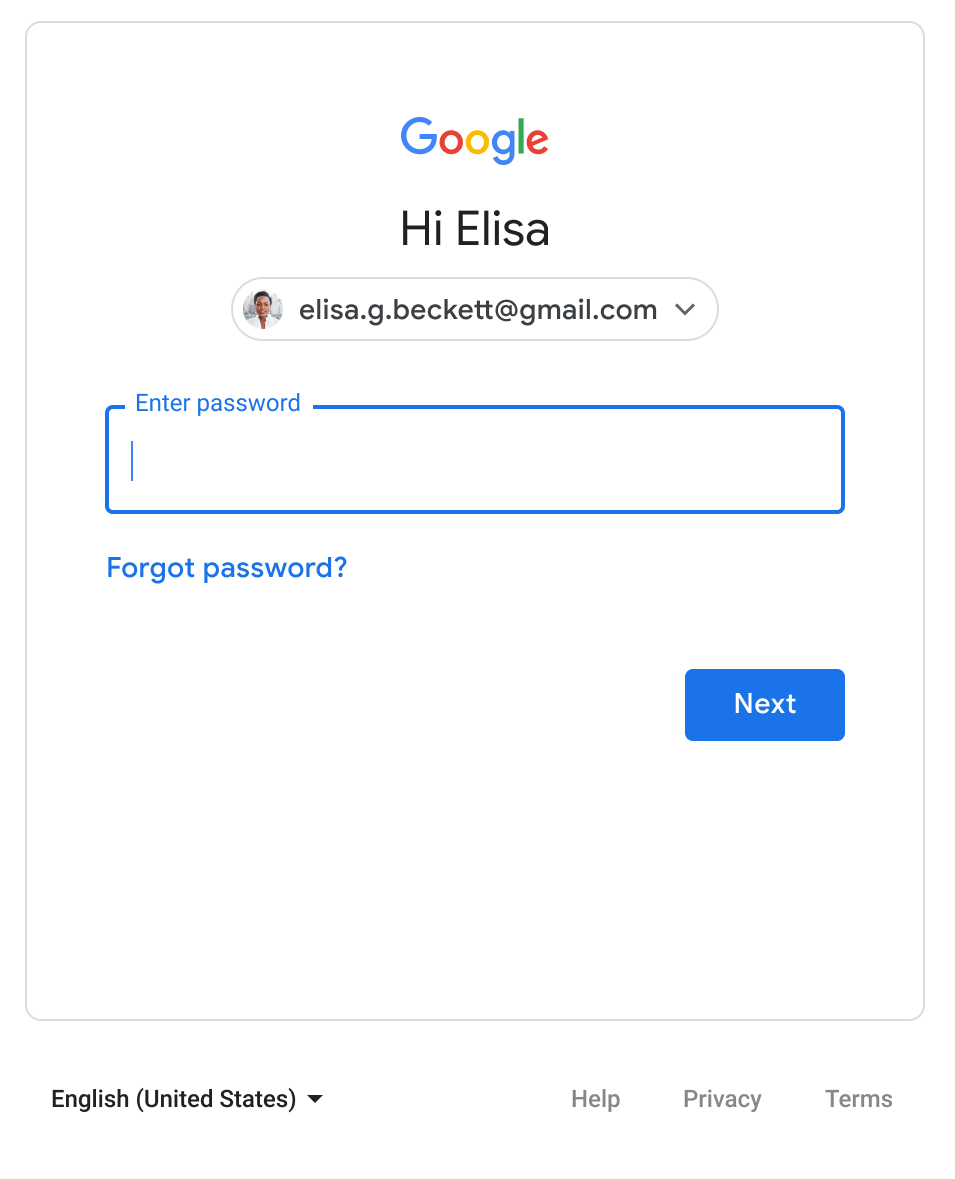
The new user consent page.

After the user confirms, an ID token is shared with your website.
No-Google-session returning user journey
The welcome page.

The first page to add a new Google session.

The second page to add a new Google session.

After the user clicks the Next button, an ID token is shared with your website.