
این راهنما نحوه فعال کردن تبلیغات آزمایشی در ادغام تبلیغات شما را توضیح میدهد. فعال کردن تبلیغات آزمایشی در طول توسعه مهم است تا بتوانید بدون پرداخت هزینه از تبلیغکنندگان گوگل، روی آنها کلیک کنید. اگر بدون قرار گرفتن در حالت آزمایشی، روی تبلیغات زیادی کلیک کنید، خطر علامتگذاری حساب کاربری شما به دلیل فعالیت نامعتبر وجود دارد.
دو راه برای دریافت تبلیغات آزمایشی وجود دارد:
- از یکی از واحدهای تبلیغاتی نمایشی گوگل استفاده کنید.
- از واحد تبلیغاتی خودتان استفاده کنید و دستگاههای آزمایشی را فعال کنید .
پیشنیاز
قبل از ادامه، Google Mobile Ads SDK را راهاندازی کنید .
واحدهای تبلیغاتی نمایشی
سریعترین راه برای فعال کردن قابلیت آزمایش، استفاده از واحدهای تبلیغاتی آزمایشی ارائه شده توسط گوگل است. این واحدهای تبلیغاتی با حساب AdMob شما مرتبط نیستند، بنابراین هیچ خطری برای ایجاد ترافیک نامعتبر توسط حساب شما هنگام استفاده از این واحدهای تبلیغاتی وجود ندارد.
در اینجا واحدهای تبلیغاتی آزمایشی وجود دارد که به خلاقیتهای آزمایشی خاص برای هر قالب اشاره میکنند:
| قالب تبلیغ | شناسه واحد تبلیغات نمایشی |
|---|---|
| برنامه باز است | ca-app-pub-3940256099942544/9257395921 |
| بنر تطبیقی آکورد | ca-app-pub-3940256099942544/9214589741 |
| بنر تطبیقی درون خطی | ca-app-pub-3940256099942544/9214589741 |
| بنر با اندازه ثابت | ca-app-pub-3940256099942544/6300978111 |
| بینابینی | ca-app-pub-3940256099942544/1033173712 |
| تبلیغات جایزهدار | ca-app-pub-3940256099942544/5224354917 |
| تبلیغات بینابینی پاداشدار | ca-app-pub-3940256099942544/5354046379 |
| بومی | ca-app-pub-3940256099942544/2247696110 |
| ویدیوی بومی | ca-app-pub-3940256099942544/1044960115 |
فعال کردن دستگاههای آزمایشی
اگر میخواهید آزمایشهای دقیقتری با تبلیغات شبیه به محصول نهایی انجام دهید، اکنون میتوانید دستگاه خود را به عنوان یک دستگاه آزمایشی پیکربندی کنید و از شناسههای واحد تبلیغاتی خود که در رابط کاربری AdMob ایجاد کردهاید استفاده کنید. دستگاههای آزمایشی را میتوان یا در رابط کاربری AdMob یا به صورت برنامهنویسی با استفاده از Google Mobile Ads SDK اضافه کرد.
برای اضافه کردن دستگاه خود به عنوان دستگاه آزمایشی، مراحل زیر را دنبال کنید.
دستگاه آزمایشی خود را در رابط کاربری AdMob اضافه کنید
برای یک روش غیر برنامهنویسی برای اضافه کردن یک دستگاه آزمایشی و آزمایش نسخههای جدید یا موجود برنامه، از رابط کاربری AdMob استفاده کنید. نحوه انجام این کار را بیاموزید .
دستگاه تست خود را به صورت برنامهنویسی اضافه کنید
برای ثبت دستگاه آزمایشی خود، مراحل زیر را انجام دهید:
- برنامهی یکپارچه با تبلیغات خود را بارگذاری کنید و درخواست تبلیغ دهید.
- خروجی logcat را برای پیامی مشابه زیر بررسی کنید، که شناسه دستگاه شما و نحوه اضافه کردن آن به عنوان یک دستگاه آزمایشی را نشان میدهد:
I/Ads: Use RequestConfiguration.Builder.setTestDeviceIds(Arrays.asList("33BE2250B43518CCDA7DE426D04EE231")) to get test ads on this device." کد خود را طوری تغییر دهید که
RequestConfiguration.Builder.setTestDeviceIds()را فراخوانی کند و لیستی از شناسههای دستگاههای آزمایشی شما را به آن ارسال کند.جاوا
کاتلین
TEST_DEVICE_ID را با شناسه دستگاه آزمایشی خود جایگزین کنید.
شما میتوانید به صورت اختیاری
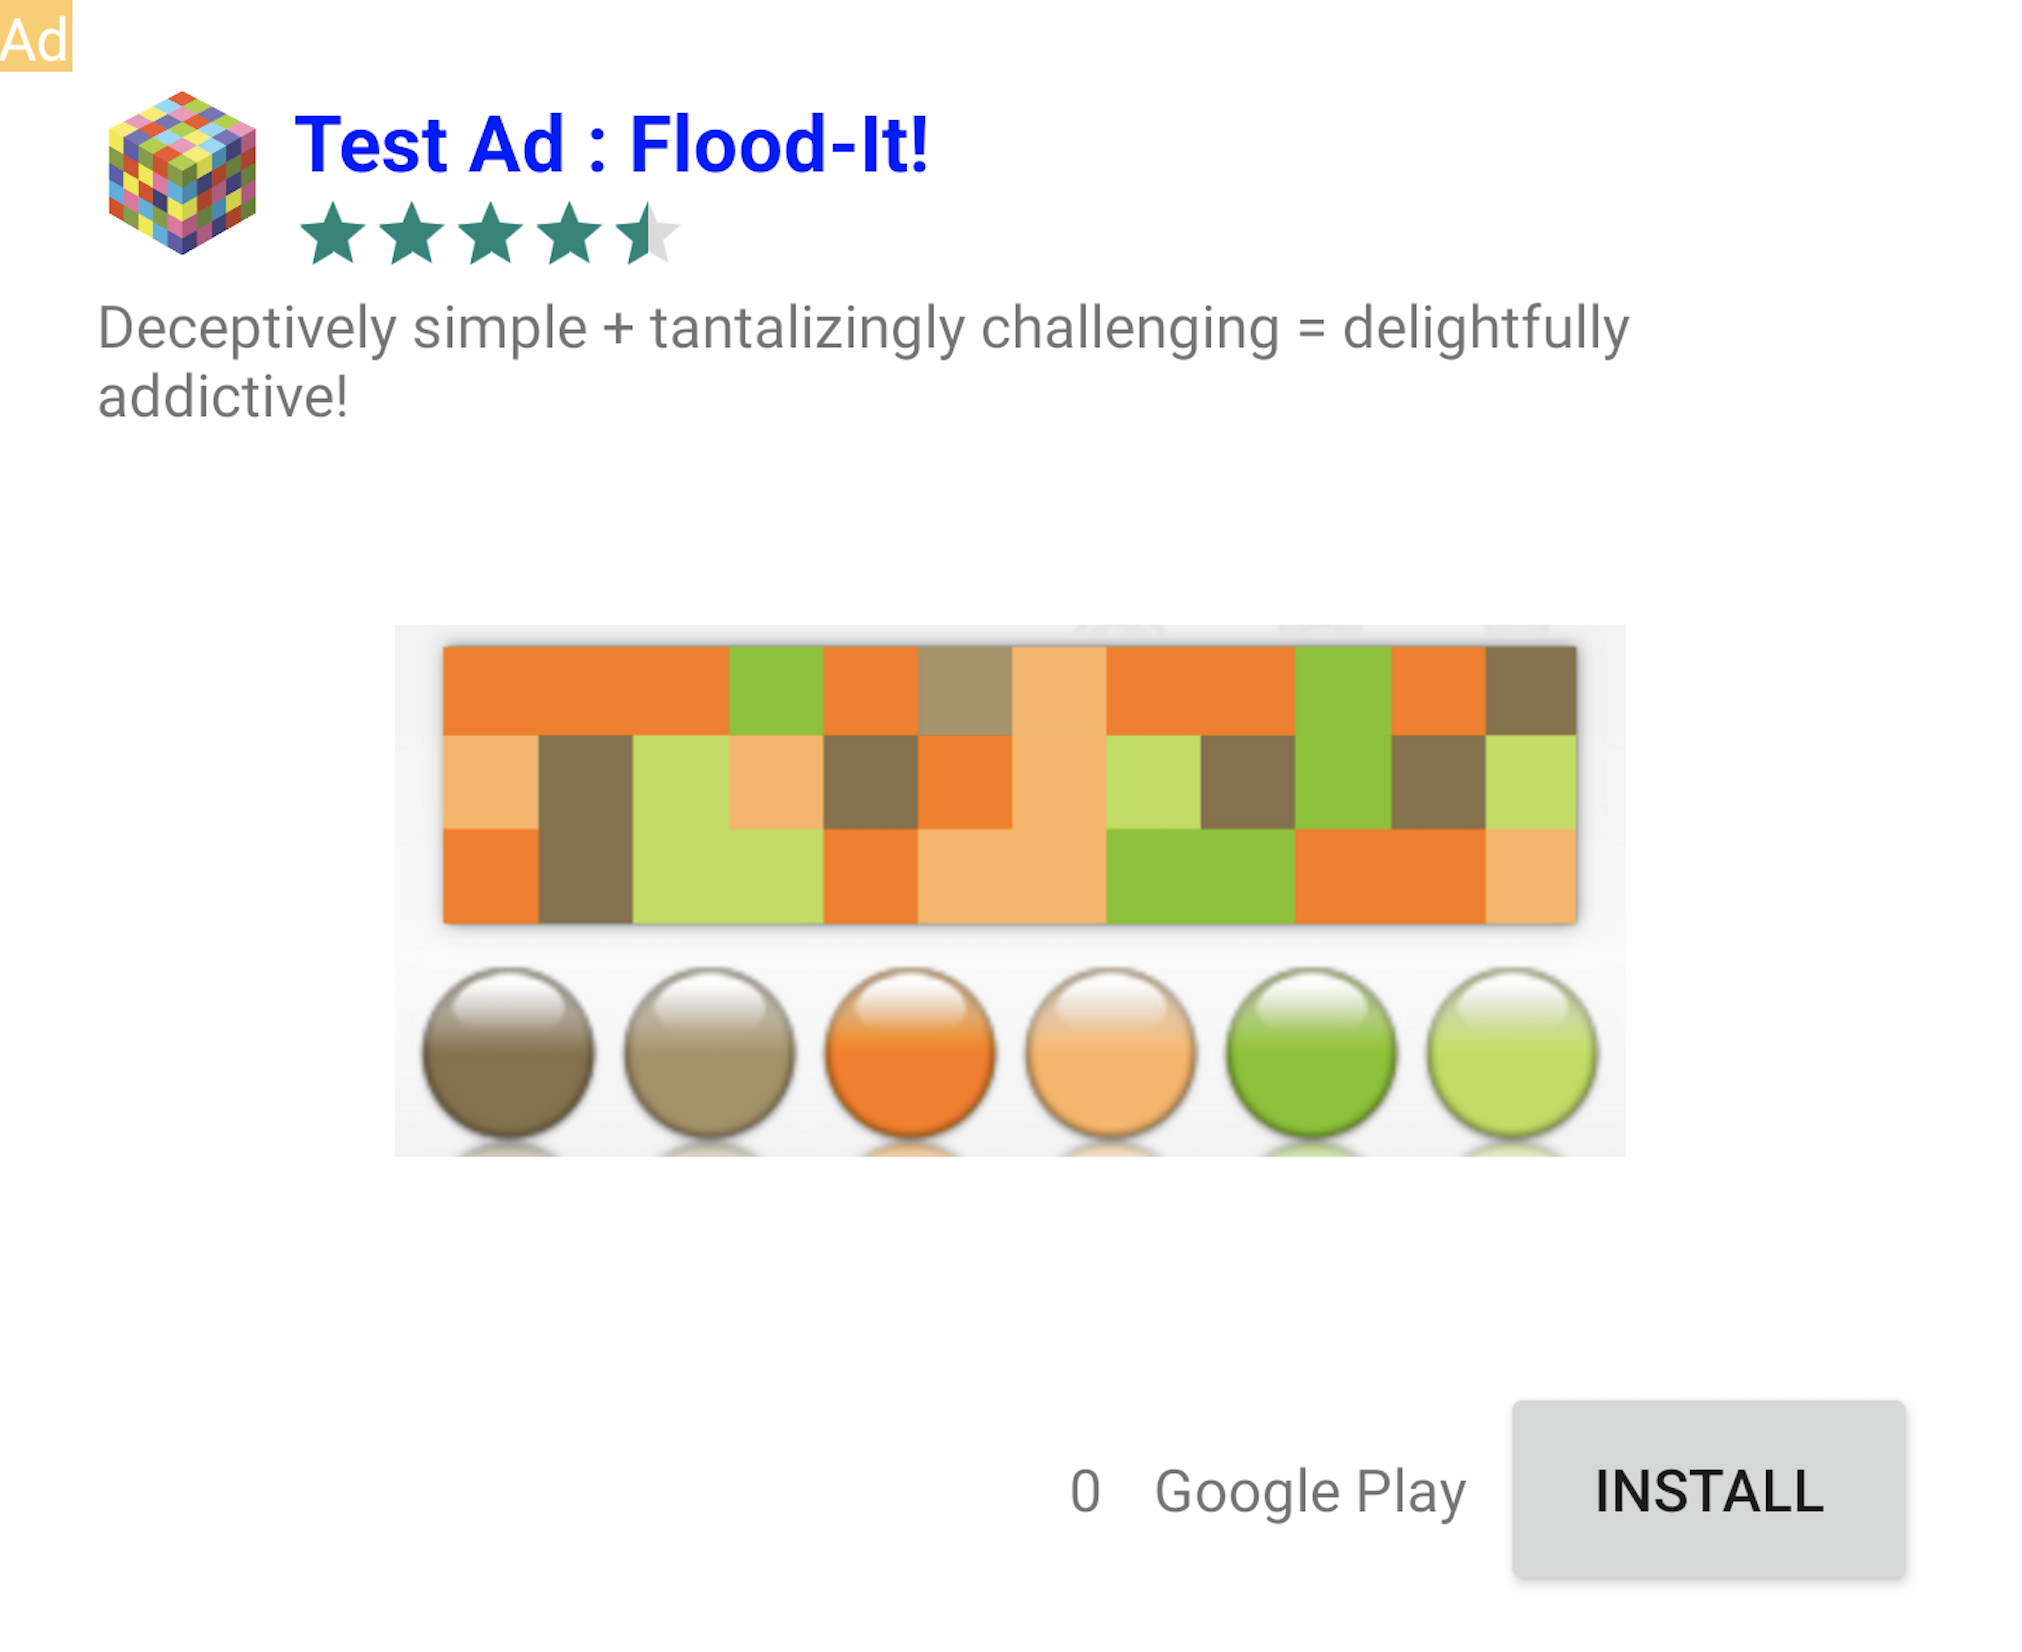
isTestDevice()را بررسی کنید تا تأیید کنید که دستگاه شما به درستی به عنوان یک دستگاه آزمایشی اضافه شده است.برنامه خود را دوباره اجرا کنید. اگر تبلیغ، تبلیغ گوگل باشد، یک برچسب «تست اد» در بالای تبلیغ (بنر، بینابینی یا ویدیوی جایزهدار) مشاهده خواهید کرد:

برای تبلیغات پیشرفته بومی، عبارت Test Ad به ابتدای عنوان اضافه میشود.
کلیک روی تبلیغاتی که برچسب «تبلیغ آزمایشی» دارند، بیخطر است. درخواستها، تعداد نمایشها و کلیکها روی تبلیغات آزمایشی در گزارشهای حساب شما نمایش داده نمیشوند.
آزمایش با میانجیگری
واحدهای تبلیغاتی نمونه گوگل فقط تبلیغات گوگل را نشان میدهند. برای آزمایش پیکربندی AdMob Mediation خود، باید از رویکرد فعالسازی دستگاههای آزمایشی استفاده کنید.
تبلیغات واسطهای برچسب «تبلیغ آزمایشی» را نمایش نمیدهند . شما مسئول هستید که مطمئن شوید تبلیغات آزمایشی برای هر یک از شبکههای واسطهگری شما فعال هستند تا این شبکهها حساب شما را به دلیل فعالیت نامعتبر علامتگذاری نکنند. برای اطلاعات بیشتر به راهنمای واسطهگری مربوط به هر شبکه مراجعه کنید.
اگر مطمئن نیستید که آیا یک آداپتور شبکه تبلیغاتی میانجی از تبلیغات آزمایشی پشتیبانی میکند یا خیر، بهتر است در طول توسعه از کلیک کردن روی تبلیغات آن شبکه خودداری کنید. میتوانید از متد getMediationAdapterClassName() روی هر یک از قالبهای تبلیغاتی استفاده کنید تا بفهمید کدام شبکه تبلیغاتی، تبلیغ فعلی را ارائه میدهد.