Page Summary
-
Server-side tagging in Google Tag Manager improves page load times by moving Google Ads remarketing tags from the webpage to the server.
-
Before implementation, ensure you have admin rights to Google Ads and Google Tag Manager, a configured Google Tag Manager account, a server container setup, and the Google Analytics: GA4 client established.
-
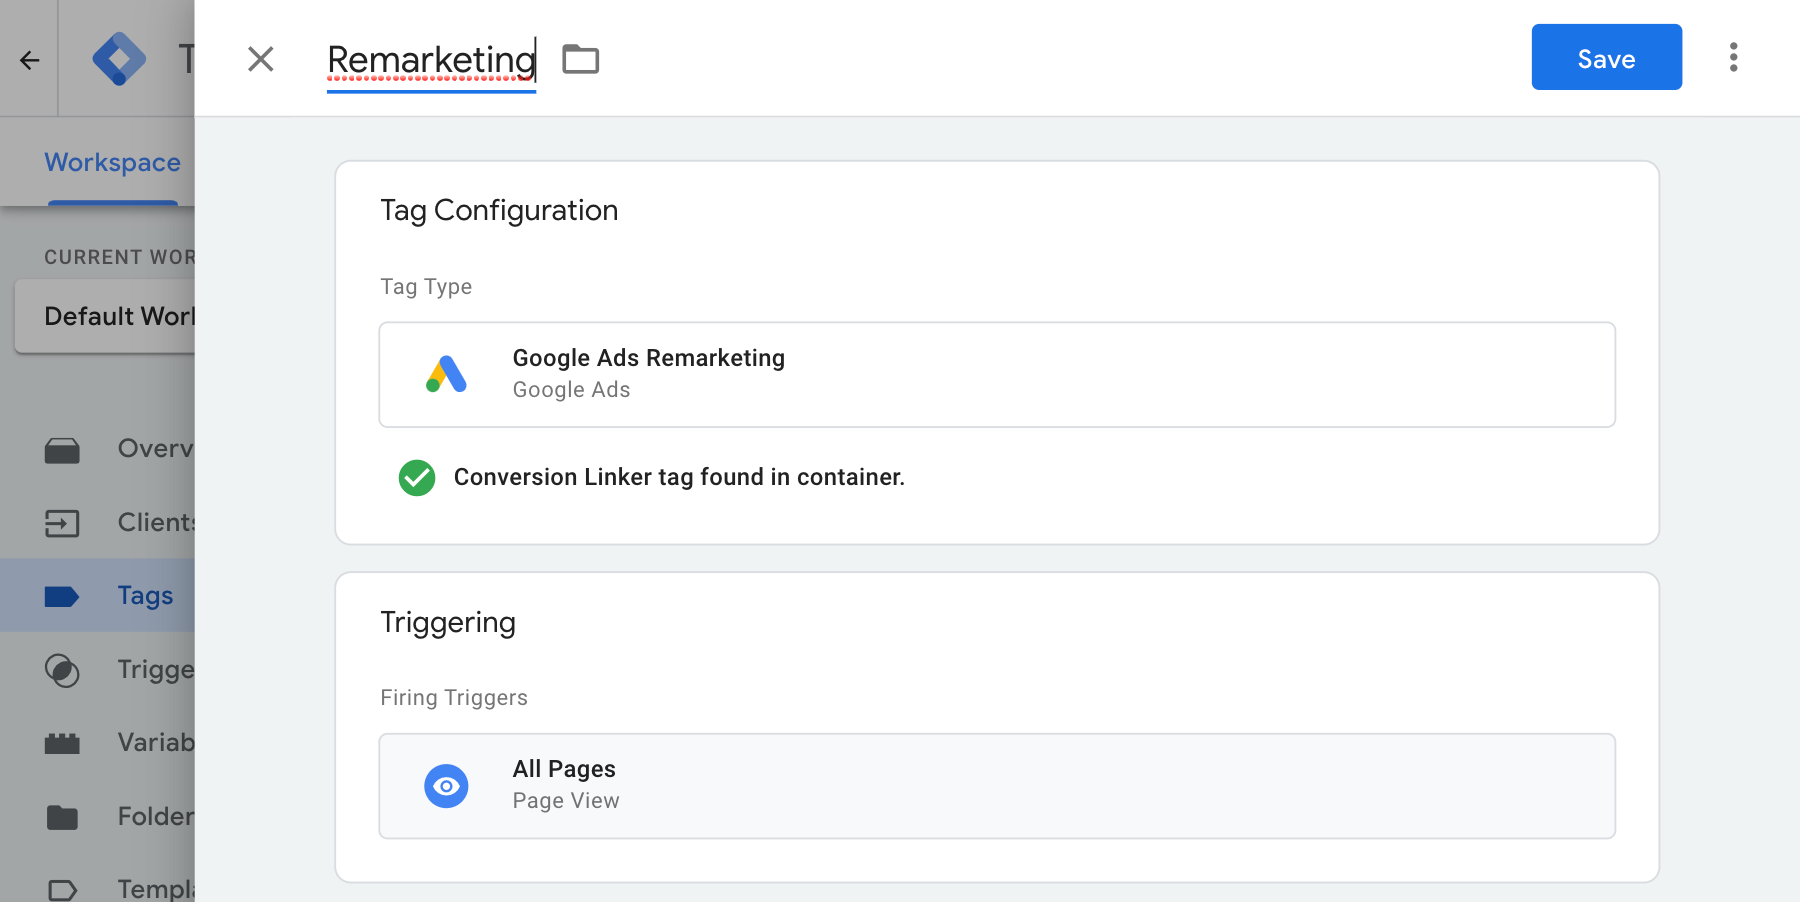
The Google Ads Remarketing tag is set up within the server container's tag settings by specifying the Conversion ID and triggering it on all pages.
-
Validation involves using Tag Assistant to confirm tag firing and reviewing the console for data transmission errors within the server container preview mode.
-
To prevent data duplication after successful setup, remove any identical remarketing tags residing in web containers.
Server-side Tag Manager allows you to move your Google Ads remarketing tags from the web page to the server. Moving these tags to the server will reduce the amount of code you have to run in the page, and may help improve page load times.
Before you begin
This article assumes that you have:
- Admin rights to Google Ads and Google Tag Manager
- Set up Google Tag Manager
- Set up a server container
- Set up the Google Analytics: GA4 client
Set up the Ads Remarketing tag in the server container
To set up the Google Ads Remarketing tag:
In your server container workspace, open the Tags menu on the left side of the page.
Click New to add a new tag.
Select the Google Ads Remarketing tag type.
Enter the Conversion ID. Help Center: How to find the Conversion ID.
In Triggering, add the All Pages trigger.

Enter a tag name and click Save.
Validate your setup
Once you start sending data with the server container, you can check to see if it’s working properly by following these steps:
- Open your website.
- In your Google Tag Manager server container, select Preview. Tag Assistant will start and load your server container.
- The Tags tab shows you all tags that have fired. Make sure to check if the tag you configured fired.
- The Console tab shows any errors that occurred during the data transmission to the server container. Check for errors and resolve them.
For more help with debugging Tag Manager containers see preview and debug help.
Next steps
Once your Google Ads Remarketing tag works as intended, you can remove any Remarketing tags with the same ID that are in a web container to avoid data duplication.