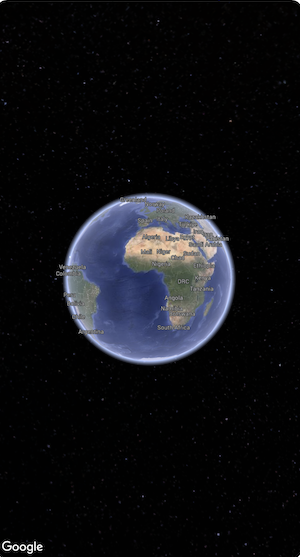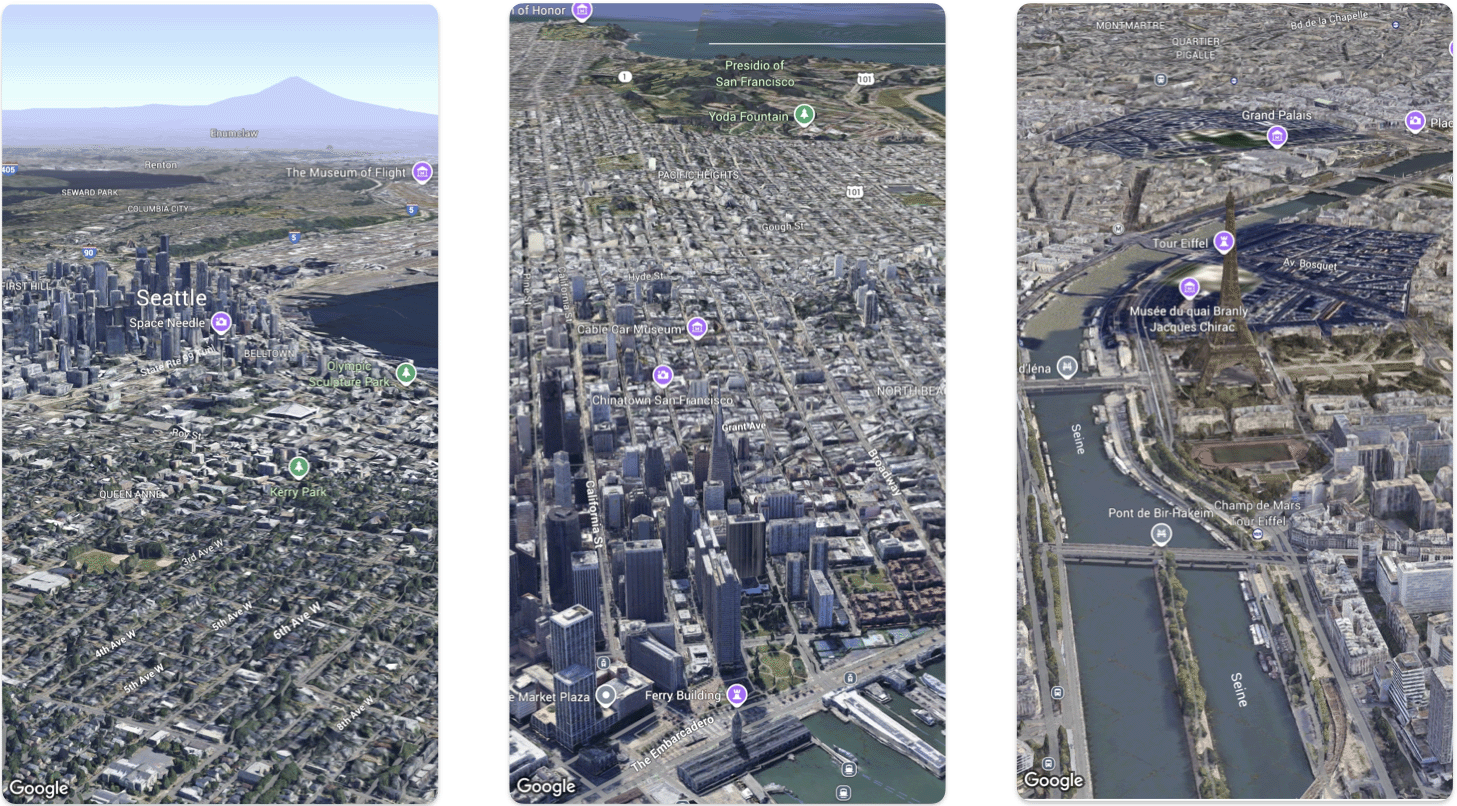
Halaman ini menjelaskan contoh cara menambahkan peta 3D dasar ke aplikasi iOS menggunakan Maps 3D SDK for iOS. Petunjuk di halaman ini mengasumsikan bahwa Anda telah menyelesaikan langkah-langkah di halaman Penyiapan dan memiliki hal berikut:
Project Google Cloud dengan Maps 3D SDK for iOS diaktifkan
Kunci API Maps 3D SDK for iOS
Xcodeversi 16.0 atau yang lebih baru dengan paket Maps 3D SDK for iOS ditambahkan.
Untuk mengetahui informasi selengkapnya tentang prasyarat ini, lihat
Penyiapan.
Kunci API harus disetel sebelum Peta diinisialisasi. Lakukan ini dengan menetapkan
Map.apiKey di pengendali peristiwa init() dari View yang berisi
Peta.
Bagian 4: Menggunakan kamera untuk mengontrol tampilan peta
Tampilan Peta 3D dikontrol oleh class Camera. Pada langkah ini, Anda akan mempelajari cara menentukan lokasi, ketinggian, arah, kemiringan, putaran, dan rentang untuk menyesuaikan tampilan peta.
Ubah panggilan fungsi Map() untuk menyertakan properti initialCamera.
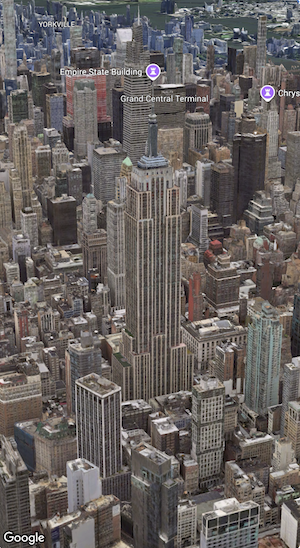
Lakukan inisialisasi initialCamera untuk menampilkan pemandangan pusat kota Manhattan.
Kode di atas menetapkan nilai untuk parameter ini:
heading: Bearing dalam derajat dari utara untuk mengarahkan kamera.
tilt: Sudut kemiringan dalam derajat, dengan 0 tepat di atas dan 90
melihat secara horizontal.
roll: Sudut kemiringan di sekitar bidang vertikal kamera, dalam
derajat.
range: Jarak kamera dalam meter dari lokasi garis lintang dan bujur
altitude: Ketinggian kamera di atas permukaan laut.
Jika Anda tidak memberikan salah satu parameter tambahan ini, nilai default akan digunakan.
Untuk membuat tampilan kamera menampilkan lebih banyak data 3D, tetapkan parameter awal untuk menampilkan tampilan yang lebih dekat dan miring.
Bagian 6: Melihat pratinjau dan menjalankan Aplikasi
Menambahkan Pratinjau Xcode
Pratinjau adalah fitur XCode canggih yang memungkinkan Anda melihat dan berinteraksi dengan
Aplikasi tanpa harus menggunakan Simulator atau perangkat eksternal.
Untuk menambahkan pratinjau, tambahkan blok kode #Preview {} di luar struct Anda.
#Preview{CameraDemo()}
Menjalankan aplikasi
Bangun dan jalankan aplikasi.
Selamat!
Anda telah berhasil menambahkan peta 3D ke aplikasi.
[[["Mudah dipahami","easyToUnderstand","thumb-up"],["Memecahkan masalah saya","solvedMyProblem","thumb-up"],["Lainnya","otherUp","thumb-up"]],[["Informasi yang saya butuhkan tidak ada","missingTheInformationINeed","thumb-down"],["Terlalu rumit/langkahnya terlalu banyak","tooComplicatedTooManySteps","thumb-down"],["Sudah usang","outOfDate","thumb-down"],["Masalah terjemahan","translationIssue","thumb-down"],["Masalah kode / contoh","samplesCodeIssue","thumb-down"],["Lainnya","otherDown","thumb-down"]],["Terakhir diperbarui pada 2025-09-05 UTC."],[],[],null,["# Add a 3D map to your app\n\nSelect platform: [Android](/maps/documentation/maps-3d/android-sdk/add-a-3d-map \"View this page for the Android platform docs.\") [iOS](/maps/documentation/maps-3d/ios-sdk/add-a-3d-map \"View this page for the iOS platform docs.\") [JavaScript](/maps/documentation/javascript/3d/get-started \"View this page for the JavaScript platform docs.\")\n\n\u003cbr /\u003e\n\n\u003cbr /\u003e\n\n| This product or feature is Experimental (pre-GA). Pre-GA products and features might have limited support, and changes to pre-GA products and features might not be compatible with other pre-GA versions. Pre-GA Offerings are covered by the [Google\n| Maps Platform Service Specific Terms](https://cloud.google.com/maps-platform/terms/maps-service-terms). For more information, see the [launch stage descriptions](/maps/launch-stages).\n\n\u003cbr /\u003e\n\nThis page walks through an example of how to add a basic 3D map to an iOS app\nusing the Maps 3D SDK for iOS. The instructions on this page assume that you have\nalready completed the steps in the\n[Setup](/maps/documentation/maps-3d/ios-sdk/setup) page and have the following:\n\n- A Google Cloud project with the Maps 3D SDK for iOS enabled\n- An API key Maps 3D SDK for iOS\n- [Xcode](https://developer.apple.com/xcode/) **version\n 16.0** or later with the Maps 3D SDK for iOS package added.\n\nFor more information about these prerequisites, see\n[Setup](/maps/documentation/maps-3d/ios-sdk/setup).\n\n[Follow a more advanced codelab](/codelabs/maps-platform/maps-platform-101-3d-maps-ios).\n\n[See more code samples on\nGitHub](https://github.com/googlemaps-samples/ios-maps-3d-sdk-samples).\n\nPart 1: Create a basic SwiftUI app\n----------------------------------\n\n1. Create a new app in Xcode.\n2. Set your **Product Name** to `Hello3DWorld`, with the organization identifier set to `com.example`. The package name should be `com.example.Hello3DWorld`.\n3. Choose the SwiftUI interface.\n4. Add the Maps 3D library to your app. [See instructions in the setup\n section](/maps/documentation/maps-3d/ios-sdk/setup#step_2_create_the_xcode_project_and_install_the).\n\nPart 2: Add a map\n-----------------\n\n1. Open the file called `ContentView.swift`. This is the entry point and main\n navigation for your app.\n\n2. Import `SwiftUI` and the `GoogleMaps3D` package.\n\n3. Replace all the code inside the body declaration with Map(mode: .hybrid).\n\n The minimum initial configuration you need to supply to initialize a `Map`\n is the `MapMode`:\n - .hybrid, or\n - .satellite\n\n Your `ContentView.swift` file should look like this: \n\n import SwiftUI\n import GoogleMaps3D\n\n struct ContentView: View {\n var body: some View {\n Map(mode: .hybrid)\n }\n }\n\n #Preview {\n ContentView()\n }\n\nPart 3: Set your API key.\n-------------------------\n\n1. The API key must be set before the Map initializes. Do this by setting\n `Map.apiKey` in the `init()` event handler of the `View` that contains the\n Map.\n\n **Warning:** Don't check the API key into external or public source control \n\n import SwiftUI\n import GoogleMaps3D\n\n struct ContentView: View {\n init () {\n Map.apiKey = \"YOUR_API_KEY\"\n }\n\n var body: some View {\n Map(mode: .hybrid)\n }\n }\n\nPart 4: Use a camera to control the map view\n--------------------------------------------\n\n3D Map views are controlled by the `Camera` class. In this step you will learn\nhow to specify the location, altitude, heading, tilt, roll and range to\ncustomize the map view.\n\n1. Change the `Map()` function call to include an `initialCamera` property.\n Initialize `initialCamera` to show a view of downtown Manhattan.\n\n **Note:** Parameter order matters. The Camera is initialized by providing latitude first, then longitude. Make sure you specify the correct values for each, especially when pasting in from another source, or the camera may show an unexpected location. \n\n import SwiftUI\n import GoogleMaps3D\n\n struct ContentView: View {\n init () {\n Map.apiKey = \"YOUR_API_KEY\"\n }\n var body: some View {\n Map(initialCamera: .init(\n latitude: 40.748339,\n longitude: -73.985912,\n altitude: 211.1,\n heading: 52,\n tilt: 68,\n range: 1039\n ), mode: .hybrid)\n }\n }\n\nThe code above sets values for these parameters:\n\n- `heading`: The bearing in degrees from north to point the camera towards.\n- `tilt`: The angle of tilt in degrees, where 0 is directly overhead and 90 is looking horizontally.\n- `roll`: The angle of roll around the vertical plane of the camera, in degrees.\n- `range`: The distance in metres of the camera from the latitude, longitude location\n- `altitude`: The height of the camera above sea level.\n\nIf you don't supply any of these additional parameters, a default value will be\nused.\n| **Note:** Camera altitude is an absolute value. In areas where ground level is well above sea level, setting an altitude lower than ground level may cause strange visual effects.\n| **Note:** You can also adjust the relative altitude of the camera using tilt and range.\n\nTo make the camera view show more 3D data, set the initial parameters to show a\ncloser, tilted view.\n\nPart 6: Preview and run your App\n--------------------------------\n\n1. Add an Xcode Preview\n\n Previews are a powerful XCode feature that let you see and interact with\n your App without having to use the Simulator or an external device.\n\n To add a preview, add a `#Preview {}` code block outside your struct. \n\n #Preview {\n CameraDemo()\n }\n\n2. Run the app\n\nBuild and run the app.\n\nCongratulations!\n----------------\n\nYou've successfully added a 3D map to an app!\n\nNext, you can explore more advanced features of the Maps 3D SDK for iOS, such as\n[camera path\nanimations](/maps/documentation/maps-3d/ios-sdk/custom-camera-paths), [3D\nmarkers](/maps/documentation/maps-3d/ios-sdk/add-a-marker), or\n[polygons](/en/maps/documentation/maps-3d/ios-sdk/add-polygons)."]]