Auf dieser Seite wird anhand eines Beispiels beschrieben, wie Sie mit dem Maps 3D SDK für Android eine einfache 3D-Karte in eine Android-App einfügen. Bei der Anleitung auf dieser Seite wird davon ausgegangen, dass Sie die Schritte auf der Seite Einrichtung bereits ausgeführt haben und Folgendes haben:
- Ein Google Cloud-Projekt mit aktiviertem Maps 3D SDK for Android
- Ein API-Schlüssel, der für die Verwendung mit dem Maps 3D SDK für Android konfiguriert ist
- Ein Android Studio-Projekt, das für die Verwendung mit dem Maps 3D SDK für Android eingerichtet ist
Weitere Informationen zu diesen Voraussetzungen finden Sie unter Einrichtung.
Teil 1: Layoutdatei (activity_main.xml) aktualisieren, um die Komponente Map3DView hinzuzufügen
Die Komponente Map3DView ist die Ansicht, in der die 3D-Karte in der App gerendert wird. Mit den folgenden Schritten wird die Komponente hinzugefügt und der Anfangszustand der Karte konfiguriert, einschließlich der Kameraposition und der zugehörigen Attribute:
Öffnen Sie die Layoutdatei Ihrer Hauptaktivität, die sich normalerweise unter
app/src/main/res/layout/activity_main.xmlbefindet.Fügen Sie im Stamm-
ConstraintLayout-Element (oder Ihrem Stamm-Layoutelement) denmap3d-XML-Namespace hinzu:xmlns:map3d="http://schemas.android.com/apk/res-auto"Löschen Sie die Standard-
<TextView>, in der „Hello World!“ angezeigt wird.Fügen Sie Ihrem Layout die Komponente
Map3DViewhinzu. Sie können die Kameraposition und andere Attribute anpassen:<?xml version="1.0" encoding="utf-8"?> <androidx.constraintlayout.widget.ConstraintLayout xmlns:android="http://schemas.android.com/apk/res/android" xmlns:app="http://schemas.android.com/apk/res-auto" xmlns:map3d="http://schemas.android.com/apk/res-auto" xmlns:tools="http://schemas.android.com/tools" android:id="@+id/main" android:layout_width="match_parent" android:layout_height="match_parent" tools:context=".MainActivity"> <com.google.android.gms.maps3d.Map3DView android:id="@+id/map3dView" android:layout_width="match_parent" android:layout_height="match_parent" map3d:mode="hybrid" map3d:centerLat="38.544012" map3d:centerLng="-107.670428" map3d:centerAlt="2427.6" map3d:heading="310" map3d:tilt="63" map3d:range="8266" map3d:roll="0" map3d:minAltitude="0" map3d:maxAltitude="1000000" map3d:minHeading="0" map3d:maxHeading="360" map3d:minTilt="0" map3d:maxTilt="90" app:layout_constraintBottom_toBottomOf="parent" app:layout_constraintEnd_toEndOf="parent" app:layout_constraintStart_toStartOf="parent" app:layout_constraintTop_toTopOf="parent" /> </androidx.constraintlayout.widget.ConstraintLayout>
Teil 2: „MainActivity.kt“ aktualisieren
Mit den folgenden Schritten wird die Map3DView-Komponente initialisiert, die in Teil 1 der Datei activity_main.xml hinzugefügt wurde, und es werden Komponenten-Lifecycle-Ereignisse verwaltet:
Öffnen Sie die Datei
MainActivity.kt, die sich normalerweise unterapp/src/main/java/com/example/yourpackagename/MainActivity.ktbefindet.Fügen Sie die erforderlichen Importe für das Maps 3D SDK für Android hinzu:
import com.google.android.gms.maps3d.GoogleMap3D
import com.google.android.gms.maps3d.Map3DView
import com.google.android.gms.maps3d.OnMap3DViewReadyCallback
Ändern Sie die Klasse
MainActivity, umOnMap3DViewReadyCallbackzu implementieren:class MainActivity : AppCompatActivity(), OnMap3DViewReadyCallback {Deklarieren Sie Variablen für
Map3DViewundGoogleMap3D:private lateinit var map3DView: Map3DView private var googleMap3D: GoogleMap3D? = nullInitialisieren Sie in der Methode
onCreatenachsetContentView(...)und dem BlockViewCompat.setOnApplyWindowInsetsListenerdiemap3DView, rufen Sie die MethodeonCreatedes Lebenszyklus auf und fordern Sie die Karte asynchron an:override fun onCreate(savedInstanceState: Bundle?) { super.onCreate(savedInstanceState) enableEdgeToEdge() setContentView(R.layout.activity_main) ViewCompat.setOnApplyWindowInsetsListener(findViewById(R.id.main)) { v, insets -> val systemBars = insets.getInsets(WindowInsetsCompat.Type.systemBars()) v.setPadding(systemBars.left, systemBars.top, systemBars.right, systemBars.bottom) insets } map3DView = findViewById(R.id.map3dView) map3DView.onCreate(savedInstanceState) map3DView.getMap3DViewAsync(this) }Überschreiben Sie die Methode
onMap3DViewReady. Dieser Callback wird ausgelöst, sobald die Karte einsatzbereit ist:override fun onMap3DViewReady(googleMap3D: GoogleMap3D) { // Interact with the googleMap3D object here this.googleMap3D = googleMap3D // You can now make calls to the googleMap3D object, e.g., // googleMap3D.cameraController.flyTo(camera { ... }) }Leiten Sie Lebenszyklusereignisse aus Ihrer Aktivität an
Map3DViewweiter, indem Sie derMainActivitydie folgenden Überschreibungen hinzufügen:override fun onStart() { super.onStart() map3DView.onStart() } override fun onResume() { super.onResume() map3DView.onResume() } override fun onPause() { map3DView.onPause() super.onPause() } override fun onStop() { map3DView.onStop() super.onStop() } override fun onDestroy() { map3DView.onDestroy() super.onDestroy() } override fun onSaveInstanceState(outState: Bundle) { super.onSaveInstanceState(outState) map3DView.onSaveInstanceState(outState) } override fun onLowMemory() { super.onLowMemory() map3DView.onLowMemory() }
Teil 3: Gradle synchronisieren und ausführen
Nachdem Sie das Layout und die Aktivität Ihrer App aktualisiert haben, können Sie die App erstellen und ausführen, um die 3D-Kartenansicht zu sehen.
Wenn Sie Ihr Projekt mit Gradle synchronisieren möchten, wählen Sie File > Sync Project with Gradle Files (Datei > Projekt mit Gradle-Dateien synchronisieren) aus.
Wenn Sie Ihre App auf einem Emulator oder einem physischen Gerät erstellen und ausführen möchten, wählen Sie Ausführen > Ausführen aus.
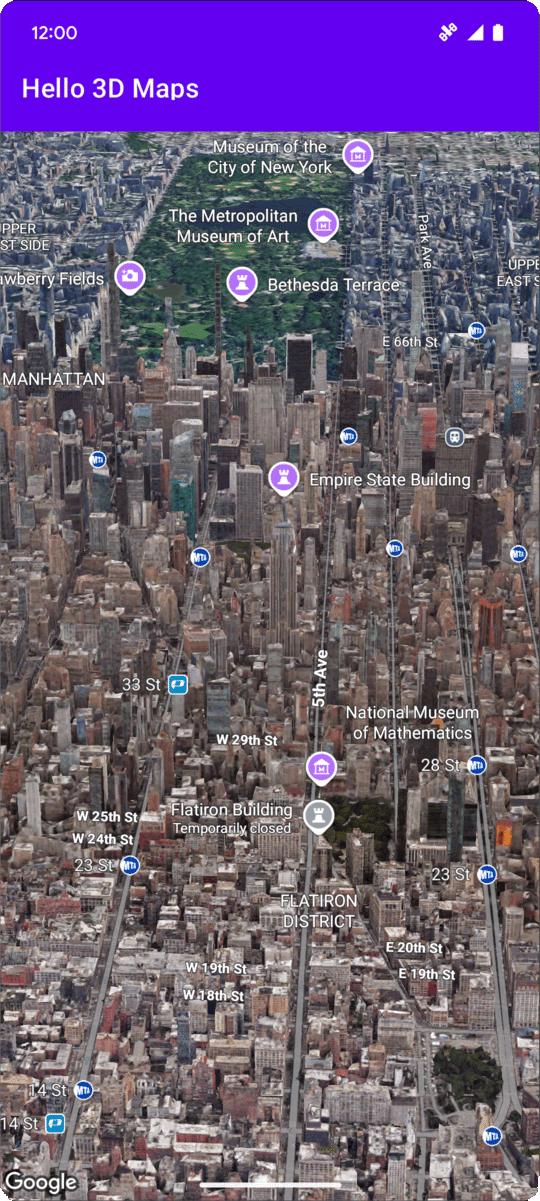
Wenn alles richtig konfiguriert ist, sollte in Ihrer App eine 3D-Karte angezeigt werden, die auf die in activity_main.xml angegebenen Koordinaten zentriert ist.
Nächste Schritte
Nachdem Sie Ihrer App eine einfache 3D-Karte hinzugefügt haben, können Sie sich mit den erweiterten Funktionen des Maps 3D SDK for Android vertraut machen, z. B. Kamera-Pfad-Animationen, 3D-Markierungen oder Polygone.