
Page Summary
-
This page details creating an Actions project and configuring a Dialogflow agent.
-
Before starting, you should set up Firebase using the provided quickstart guide for hosting webhook logic and web app.
-
Creating a project involves using the Actions console, naming the project, selecting "Games & fun" and "Conversational", enabling the Interactive Canvas option, and adding an action with the "Play game" built-in intent.
-
Configuring the Dialogflow agent involves confirming details, enabling the webhook call for the Default Welcome Intent, and saving the changes.
This page goes over creating your Actions project and configuring a Dialogflow agent.
Set up Firebase
You can host both your webhook logic and web app for your Interactive Canvas Action with one tool: the Firebase CLI. Before creating your Actions project and Dialogflow agent, follow the instructions on Get started with Firebase hosting to install and set up Firebase.
Create a project
- Go to the Actions console.
- Click New project.
- Enter a name for your project and click Create project.
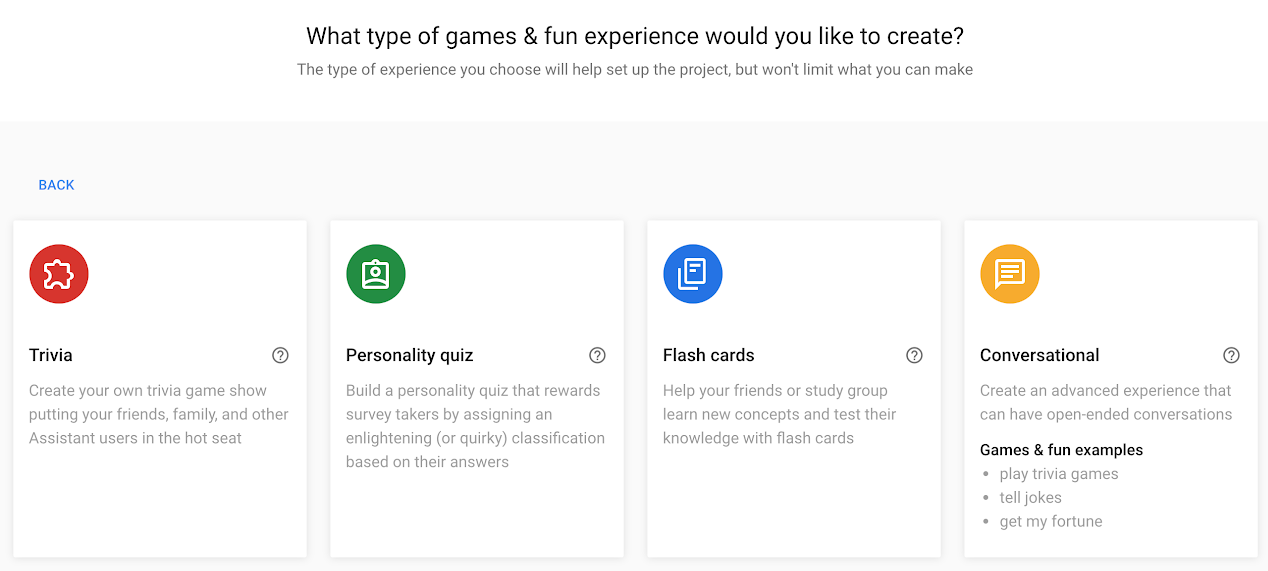
- Click the Games & fun card.
Click the Conversational card.
Click Deploy in the top menu. Then, click Directory information.
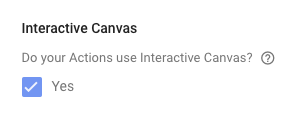
At the bottom of the page, check the option under Interactive Canvas.
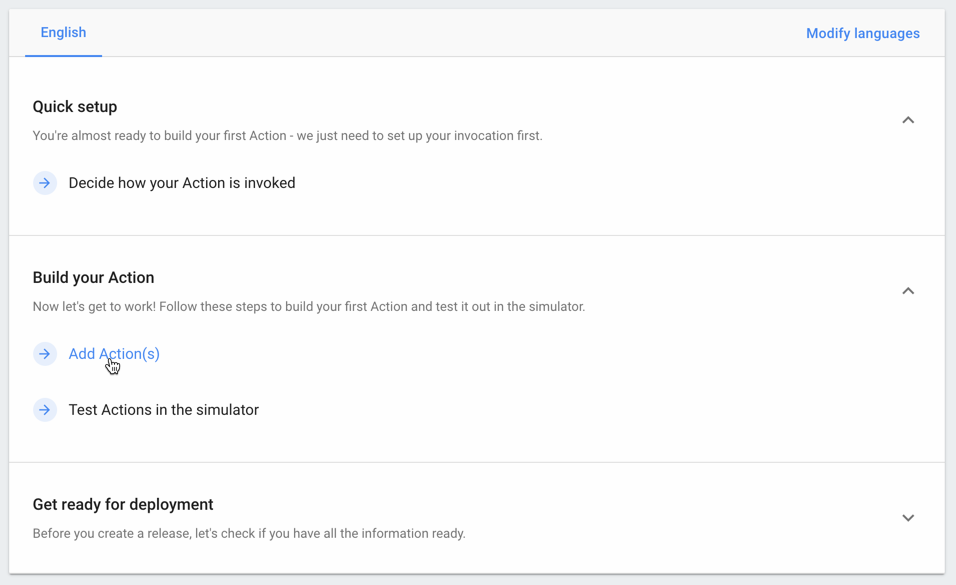
Click Overview in the top menu.
Click Build your Action then Add Action(s).
Click Add your first action.
Under Built-in intents, select Play game and click Get started in Dialogflow.

Configure the Dialogflow agent
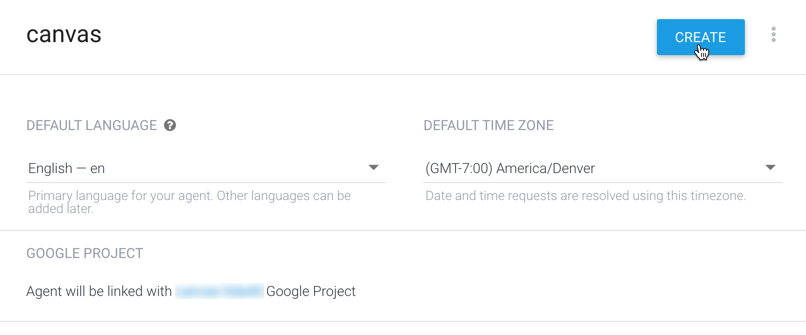
On the agent creation page, confirm the default language, time zone, and name for the agent and click CREATE.
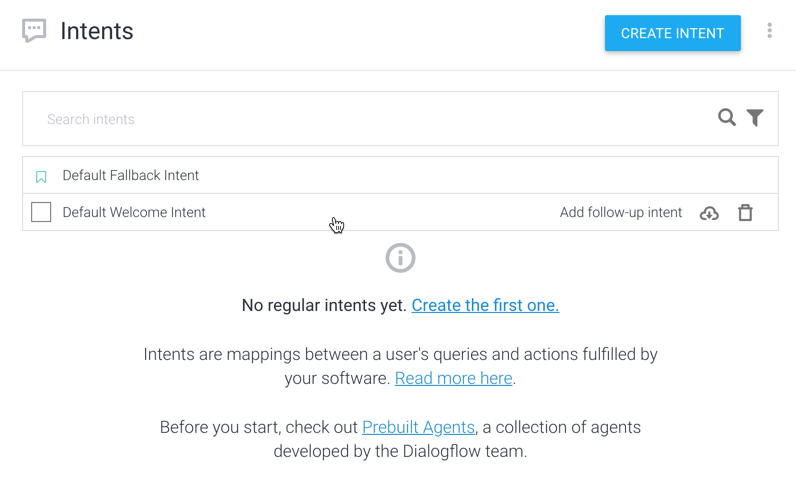
On the Intents page, click on Default Welcome Intent.
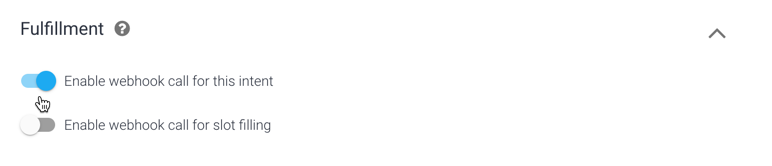
At the bottom of the page, click Fulfillment to expand the section.
Click Enable webhook call for this intent.
Click SAVE.