Page Summary
-
Native ads provide more control over ad styling by allowing your app to display ad assets received from the Google Mobile Ads SDK.
-
You can implement native ads in Flutter using either pre-defined native templates or custom platform-specific layouts.
-
Native templates offer less customization than platform setup but have built-in styling options.
-
Platform setup allows for complete control over the ad's appearance on both Android and iOS platforms but requires platform-specific code.
Native ads are ad assets presented to users with UI components native to the
platform. In coding terms, this means that when a native ad loads, your app
receives a NativeAd object that contains its assets, and your app—rather
than Google Mobile Ads Flutter Plugin—is then responsible for displaying them.
This ad format is for when you want more control to style the look of your ads. If you don’t need these features, use one of our other ad formats.
There are two ways to display native ads in your Flutter app:
- Native templates: Pre-defined native templates styled with a Dart API.
- Platform setup: Custom platform-specific layouts defined using Android and iOS layout tools.
Native templates
There are two template types to choose from: small or medium. Each template comes with UI styling options; however, they offer less customization than the platform setup implementation.
| Small | |
|---|---|
 Android |
 iOS |
| Medium | |
 Android |
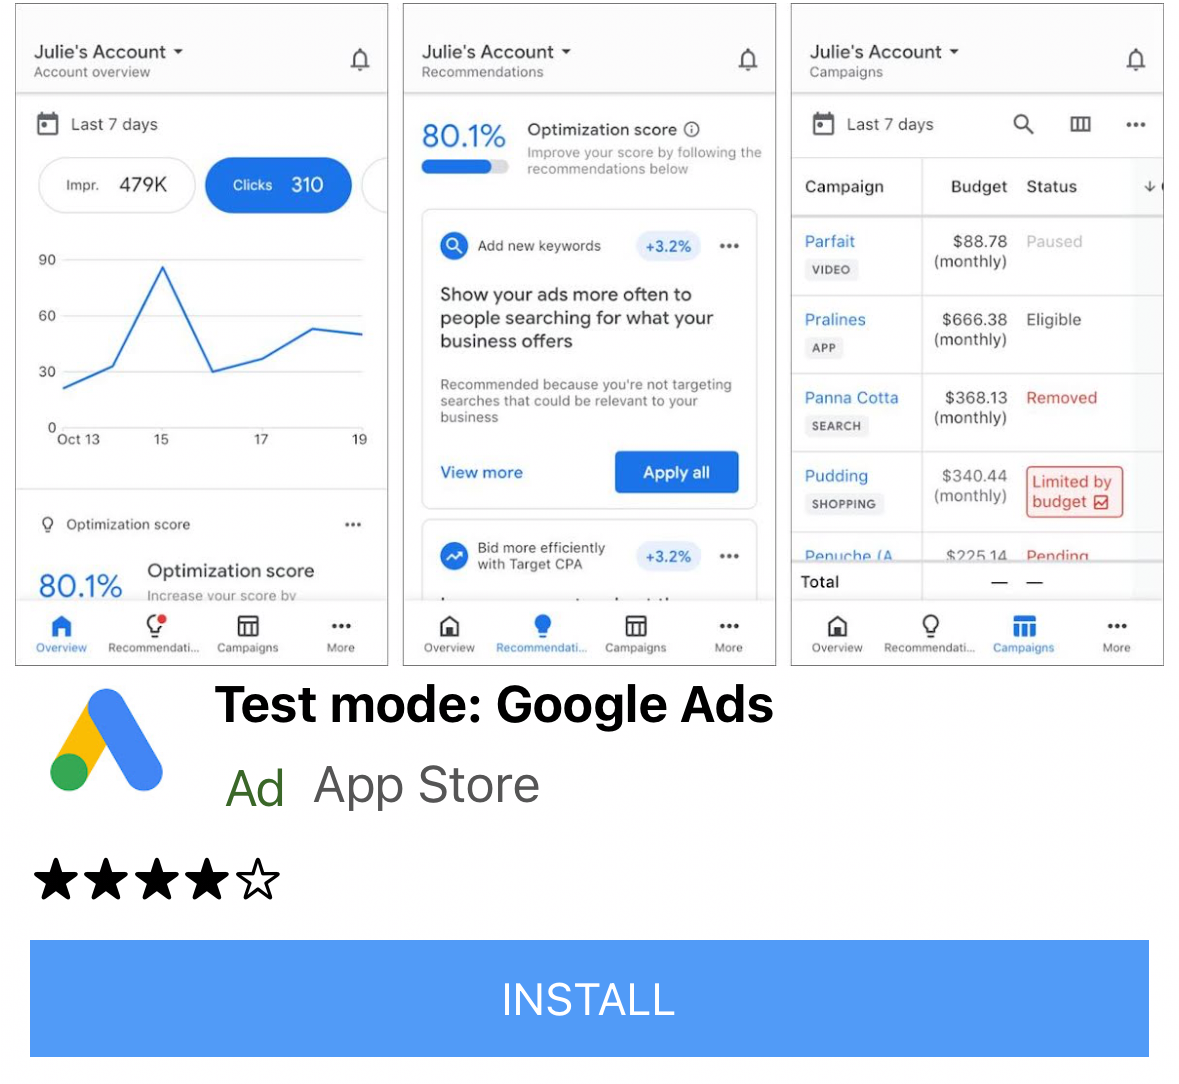 iOS |
For native templates implementation details in Dart, see Native templates.
Platform setup
Platform setup is better when you need complete control of the look and feel for your ads on both Android and iOS platforms, but you'll need to write code for both.
For platform-specific setup instructions, see Platform setup.