На этой странице представлен пример добавления простой 3D-карты в приложение Android с помощью Maps 3D SDK для Android. Инструкции на этой странице предполагают, что вы уже выполнили все шаги на странице настройки и имеете следующее:
- Проект Google Cloud с включенным Maps 3D SDK для Android
- Ключ API, настроенный для использования с Maps 3D SDK для Android
- Проект Android Studio, настроенный для использования с Maps 3D SDK для Android
Дополнительную информацию об этих предварительных условиях см. в разделе Настройка .
Часть 1: Обновление файла макета ( activity_main.xml ) для добавления компонента Map3DView
Компонент Map3DView — это представление, которое отображает 3D-карту в приложении. Ниже приведены шаги для добавления компонента и настройки начального состояния карты, включая положение камеры и связанные атрибуты:
Откройте файл макета вашей основной активности, который обычно находится по адресу
app/src/main/res/layout/activity_main.xml.В корневом
ConstraintLayout(или корневом элементе макета) добавьте пространство именmap3dXML:xmlns:map3d="http://schemas.android.com/apk/res-auto"Удалите
<TextView>по умолчанию, который отображает «Hello World!».Добавьте компонент
Map3DViewв свой макет. Вы можете настроить положение камеры и другие атрибуты:<?xml version="1.0" encoding="utf-8"?> <androidx.constraintlayout.widget.ConstraintLayout xmlns:android="http://schemas.android.com/apk/res/android" xmlns:app="http://schemas.android.com/apk/res-auto" xmlns:map3d="http://schemas.android.com/apk/res-auto" xmlns:tools="http://schemas.android.com/tools" android:id="@+id/main" android:layout_width="match_parent" android:layout_height="match_parent" tools:context=".MainActivity"> <com.google.android.gms.maps3d.Map3DView android:id="@+id/map3dView" android:layout_width="match_parent" android:layout_height="match_parent" map3d:mode="hybrid" map3d:centerLat="38.544012" map3d:centerLng="-107.670428" map3d:centerAlt="2427.6" map3d:heading="310" map3d:tilt="63" map3d:range="8266" map3d:roll="0" map3d:minAltitude="0" map3d:maxAltitude="1000000" map3d:minHeading="0" map3d:maxHeading="360" map3d:minTilt="0" map3d:maxTilt="90" app:layout_constraintBottom_toBottomOf="parent" app:layout_constraintEnd_toEndOf="parent" app:layout_constraintStart_toStartOf="parent" app:layout_constraintTop_toTopOf="parent" /> </androidx.constraintlayout.widget.ConstraintLayout>
Часть 2: Обновление MainActivity.kt
Следующие шаги инициализируют компонент Map3DView , добавленный в файл activity_main.xml в части 1, и управляют событиями жизненного цикла компонента:
Откройте файл
MainActivity.kt, который обычно находится по адресуapp/src/main/java/com/example/yourpackagename/MainActivity.kt.Добавьте необходимые импорты для Maps 3D SDK для Android:
import com.google.android.gms.maps3d.GoogleMap3D
import com.google.android.gms.maps3d.Map3DView
import com.google.android.gms.maps3d.OnMap3DViewReadyCallback
Измените класс
MainActivityдля реализацииOnMap3DViewReadyCallback:class MainActivity : AppCompatActivity(), OnMap3DViewReadyCallback {Объявите переменные для
Map3DViewиGoogleMap3D:private lateinit var map3DView: Map3DView private var googleMap3D: GoogleMap3D? = nullВ методе
onCreate, послеsetContentView(...)и блокаViewCompat.setOnApplyWindowInsetsListener, инициализируйтеmap3DView, вызовите его метод жизненного циклаonCreateи запросите карту асинхронно:override fun onCreate(savedInstanceState: Bundle?) { super.onCreate(savedInstanceState) enableEdgeToEdge() setContentView(R.layout.activity_main) ViewCompat.setOnApplyWindowInsetsListener(findViewById(R.id.main)) { v, insets -> val systemBars = insets.getInsets(WindowInsetsCompat.Type.systemBars()) v.setPadding(systemBars.left, systemBars.top, systemBars.right, systemBars.bottom) insets } map3DView = findViewById(R.id.map3dView) map3DView.onCreate(savedInstanceState) map3DView.getMap3DViewAsync(this) }Переопределите метод
onMap3DViewReady. Этот обратный вызов срабатывает, когда карта готова к использованию:override fun onMap3DViewReady(googleMap3D: GoogleMap3D) { // Interact with the googleMap3D object here this.googleMap3D = googleMap3D // You can now make calls to the googleMap3D object, e.g., // googleMap3D.cameraController.flyTo(camera { ... }) }Пересылайте события жизненного цикла из Activity в
Map3DView, добавив следующие переопределения вMainActivity:override fun onStart() { super.onStart() map3DView.onStart() } override fun onResume() { super.onResume() map3DView.onResume() } override fun onPause() { map3DView.onPause() super.onPause() } override fun onStop() { map3DView.onStop() super.onStop() } override fun onDestroy() { map3DView.onDestroy() super.onDestroy() } override fun onSaveInstanceState(outState: Bundle) { super.onSaveInstanceState(outState) map3DView.onSaveInstanceState(outState) } override fun onLowMemory() { super.onLowMemory() map3DView.onLowMemory() }
Часть 3: Синхронизация Gradle и запуск
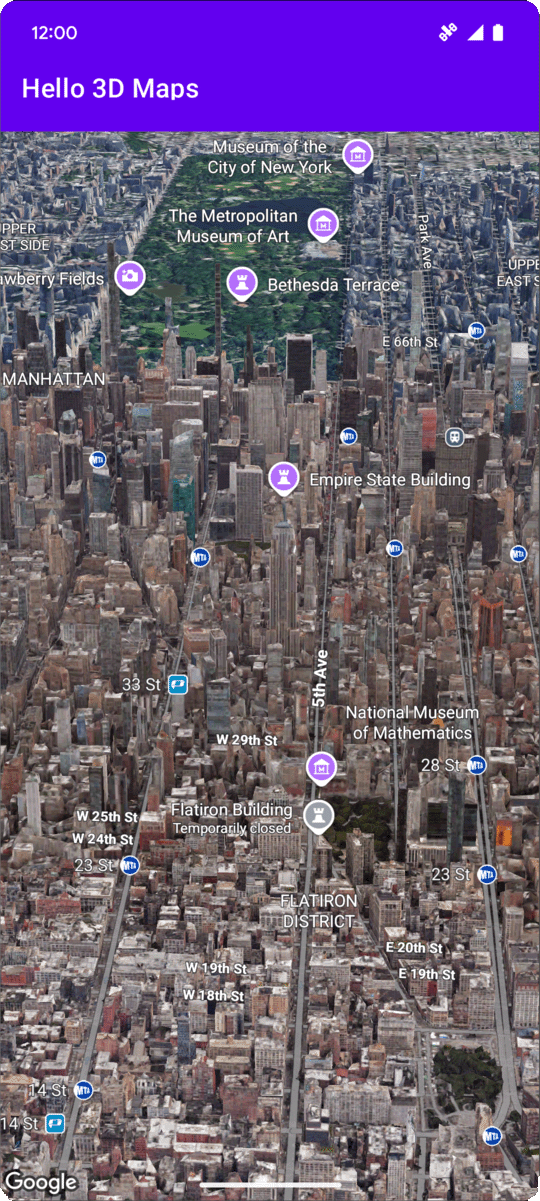
Теперь, когда вы обновили макет и активность своего приложения, вы можете создать и запустить приложение, чтобы увидеть трехмерное изображение карты.
Чтобы синхронизировать ваш проект с Gradle, выберите Файл > Синхронизировать проект с файлами Gradle.
Чтобы создать и запустить приложение на эмуляторе или физическом устройстве, выберите Запустить > Запустить .
Если все настроено правильно, в вашем приложении должна отображаться 3D-карта, центрированная относительно координат, указанных в файле activity_main.xml .
Следующие шаги
Теперь, когда вы добавили в свое приложение простую 3D-карту, вы можете изучить более продвинутые функции Maps 3D SDK для Android, такие как анимация траектории камеры , 3D-маркеры или полигоны .