
Per sviluppare con Dialogflow, devi prima creare un progetto Actions e un agente Dialogflow. Avere un progetto ti consente di accedere alla console per gli sviluppatori per gestire e distribuire l'Azione. L'agente Dialogflow contiene tutti gli intent che definiscono l'Azione.
Crea un progetto Actions e un agente Dialogflow
- Vai alla Console di Actions.
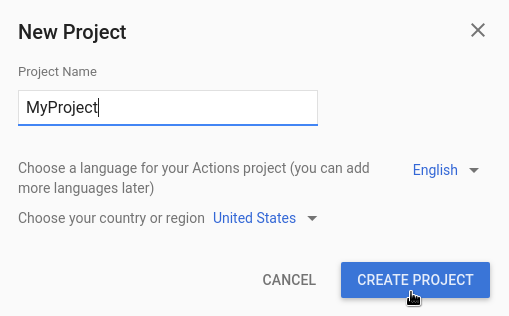
- Fai clic su Nuovo progetto.
- Inserisci un nome per il progetto e fai clic su Crea progetto.
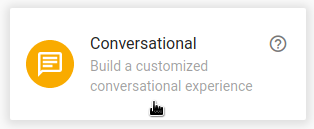
- Scorri verso il basso fino alla sezione Altre opzioni e fai clic sulla scheda Conversazionale.
- Fai clic su Sviluppa nel menu in alto, poi fai clic su Azioni nel menu a sinistra.
- Fai clic su Aggiungi la tua prima azione.
- Nella scheda Personalizzato per intenzione, fai clic su Crea.
- Viene visualizzata la console di Dialogflow con le informazioni completate automaticamente in un agente. Fai clic su Crea per salvare l'agente.
Console Dialogflow
Ora dovresti vedere la console di Dialogflow e il riquadro dei menu a sinistra. Se hai uno schermo piccolo e il menu è nascosto, fai clic su menu nell'angolo in alto a sinistra.
La finestra centrale mostra l'elenco di intent per l'agente. Per impostazione predefinita, gli agenti Dialogflow iniziano con due intent. L'intent di benvenuto predefinito saluta gli utenti. L'agente corrisponde all'intent di riserva predefinito quando non comprende ciò che dicono gli utenti.
Il simulatore Dialogflow si trova sul lato destro della pagina. Il simulatore ti consente di provare l'agente parlando o digitando messaggi. Nel simulatore Dialogflow, fai clic su Prova ora, digita qualsiasi cosa e premi Invio.
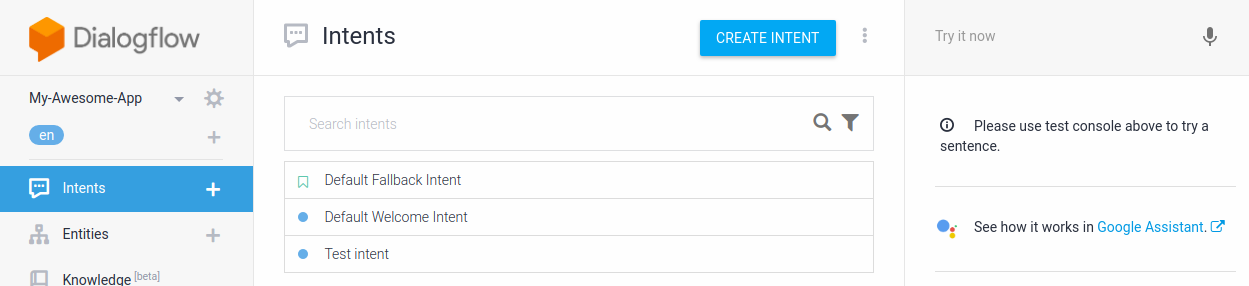
Figura 1. Uno screenshot della console di Dialogflow che mostra un agente.
Crea il tuo primo intent
Dialogflow utilizza gli intent per classificare le intenzioni di un utente. Gli intent hanno frasi di addestramento, che sono esempi di ciò che un utente potrebbe dire al tuo agente. Ad esempio, un utente che vuole sapere il nome dell'agente potrebbe chiedere "Come ti chiami?", "Hai un nome?", oppure di' semplicemente "nome". Queste frasi hanno lo stesso obiettivo finale: ottenere il nome dell'agente.
Per creare un agente che gestisca questo caso:
- Fai clic su add accanto a Intent nel menu di navigazione.
- Inserisci
Namenel campo di testo Nome intent. - Nella sezione Frasi di addestramento, fai clic su Aggiungi frasi di addestramento.
- Inserisci le seguenti frasi (premi Invio dopo ogni frase):
What is your name?Do you have a name?name
- Nella sezione Risposte, fai clic su Aggiungi risposta.
- Inserisci la seguente risposta nella finestra Risposta di testo:
My name is Dialogflow!
- Fai clic su Salva.
Prova
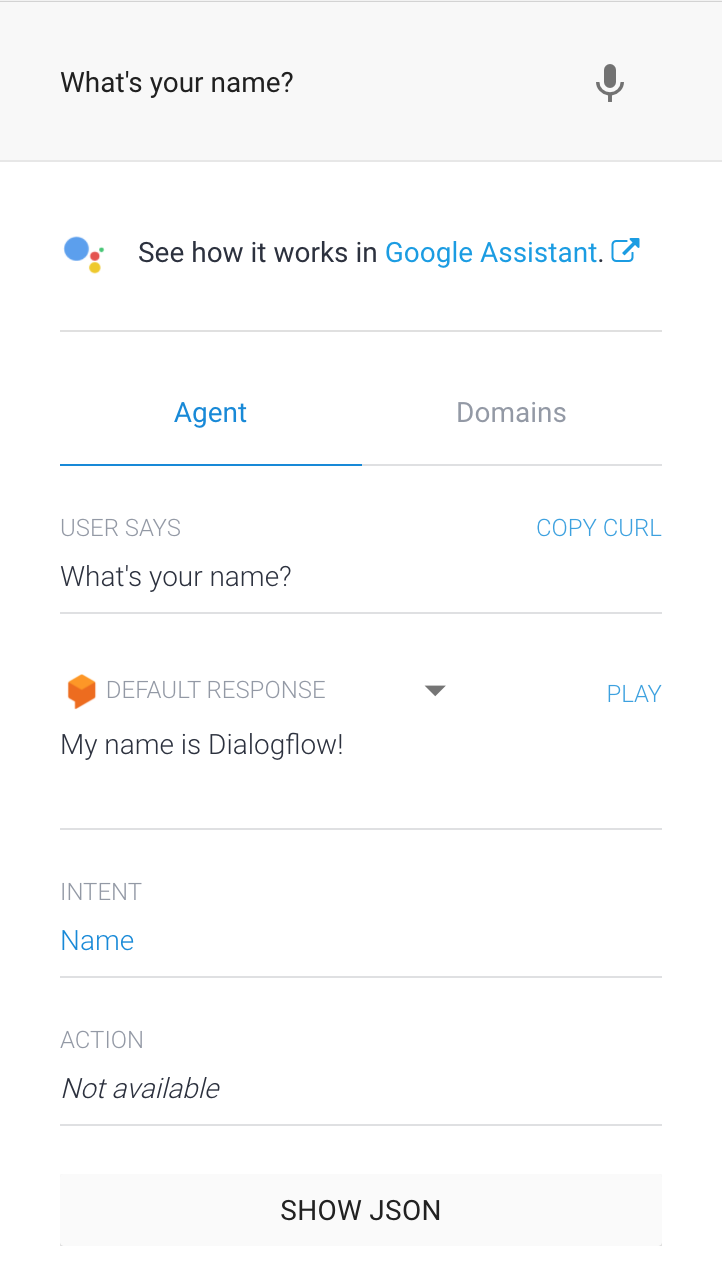
Per testare il nuovo intent Nome, nel simulatore Dialogflow digita "Come ti chiami?" e premi Invio.
L'agente può rispondere correttamente alla domanda anche se poni domande che non corrispondono esattamente alle frasi di addestramento (ad esempio, "Come ti chiami?" invece "Come ti chiami?").
Dialogflow utilizza frasi di addestramento per addestrare un modello di machine learning, che consente all'agente di abbinare le frasi degli utenti agli intent corretti.