
Dialogflow ile geliştirme yapmak için önce bir Actions projesi ve Dialogflow (Dialogflow aracısı) oluşturmanız gerekir. Projenizin olması İşleminizi yönetmek ve dağıtmak için geliştirici konsoluna erişmenize olanak tanır. Dialogflow aracısı, İşleminizi tanımlayan tüm niyetleri içerir.
Actions projesi ve Dialogflow aracısı oluşturma
- Actions Console'a gidin.
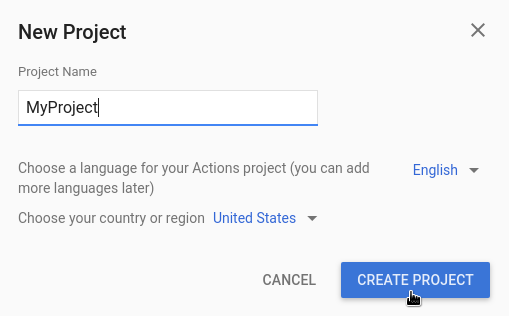
- Yeni proje'yi tıklayın.
- Projeniz için bir ad girin ve Proje Oluştur'u tıklayın.
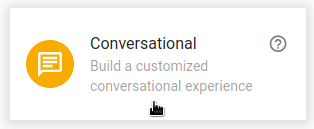
- Diğer seçenekler bölümüne ilerleyin ve Görüşme kartını tıklayın.
- Üst menüde Geliştir'i, ardından soldaki menüden İşlemler'i tıklayın.
- İlk İşleminizi Ekleyin'i tıklayın.
- Özel amaç kartında Oluştur'u tıklayın.
- Dialogflow konsolu görüntülenir ve bilgiler bir aracıda otomatik olarak doldurulur. Temsilciyi kaydetmek için Create'i (Oluştur) tıklayın.
Dialogflow konsolu
Dialogflow konsolunu ve sol tarafta menü panelini görüyor olmanız gerekir. Küçük bir ekrandaysanız ve menü gizliyse sol üst köşedeki menu simgesini tıklayın.
Orta pencerede, aracı için amaçların listesi gösterilir. İletişim akışı aracıları varsayılan olarak iki amaçla başlar. Varsayılan Karşılama Niyeti kullanıcılarınızı karşılar. Temsilciniz kullanıcıların ne dediğini anlamadığında Varsayılan Fallback Intent ile eşleşir.
Dialogflow simülatörü sayfanın sağ tarafındadır. Simülatör, mesajları söyleyerek veya yazarak aracınızı denemenize olanak tanır. Dialogflow simülatöründe Şimdi deneyin'i tıklayın, bir şey yazın ve Enter tuşuna basın.
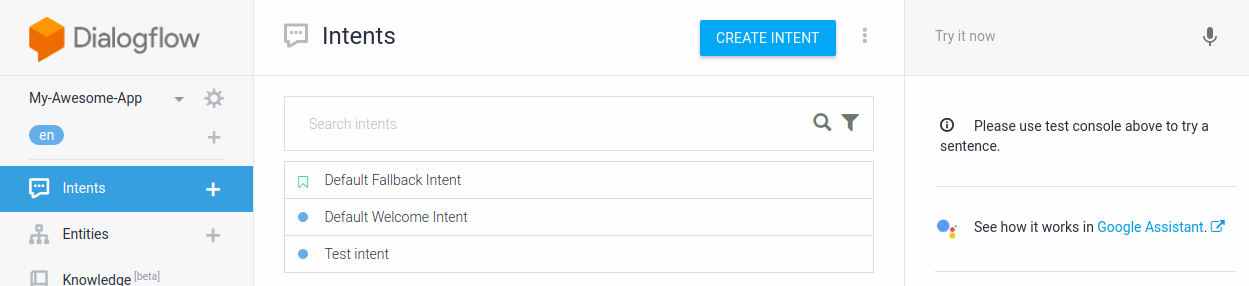
Şekil 1. Bir temsilcinin gösterildiği Dialogflow konsolunun ekran görüntüsü.
İlk niyetinizi oluşturun
Dialogflow, kullanıcıların amaçlarını kategorilere ayırmak için intent'leri kullanır. Amaçlarda Eğitim İfadeleri bulunur. Bunlar, bir kullanıcının temsilcinize ne söyleyebileceğine dair örneklerdir. Örneğin, temsilcinizin adını öğrenmek isteyen bir kullanıcı "Adınız ne?" veya "Bir adın var mı?" veya sadece "ad" demen yeterli. Bu ifadelerin nihai amacı aynıdır: aracınızın adını öğrenmek.
Bu destek kaydıyla ilgilenecek bir aracı oluşturmak için aşağıdaki adımları uygulayın:
- Gezinme menüsünde Niyetler'in yanında bulunan add simgesini tıklayın.
- Niyet adı metin alanına
Namegirin. - Eğitim İfadeleri bölümünde Eğitim İfadeleri Ekle seçeneğini tıklayın.
- Aşağıdaki ifadeleri girin (her kelime öbeğinden sonra Enter tuşuna basın):
What is your name?Do you have a name?name
- Yanıtlar bölümünde Yanıt Ekle'yi tıklayın.
- Metin Yanıtı penceresine aşağıdaki yanıtı girin:
My name is Dialogflow!
- Kaydet'i tıklayın.
Deneyin
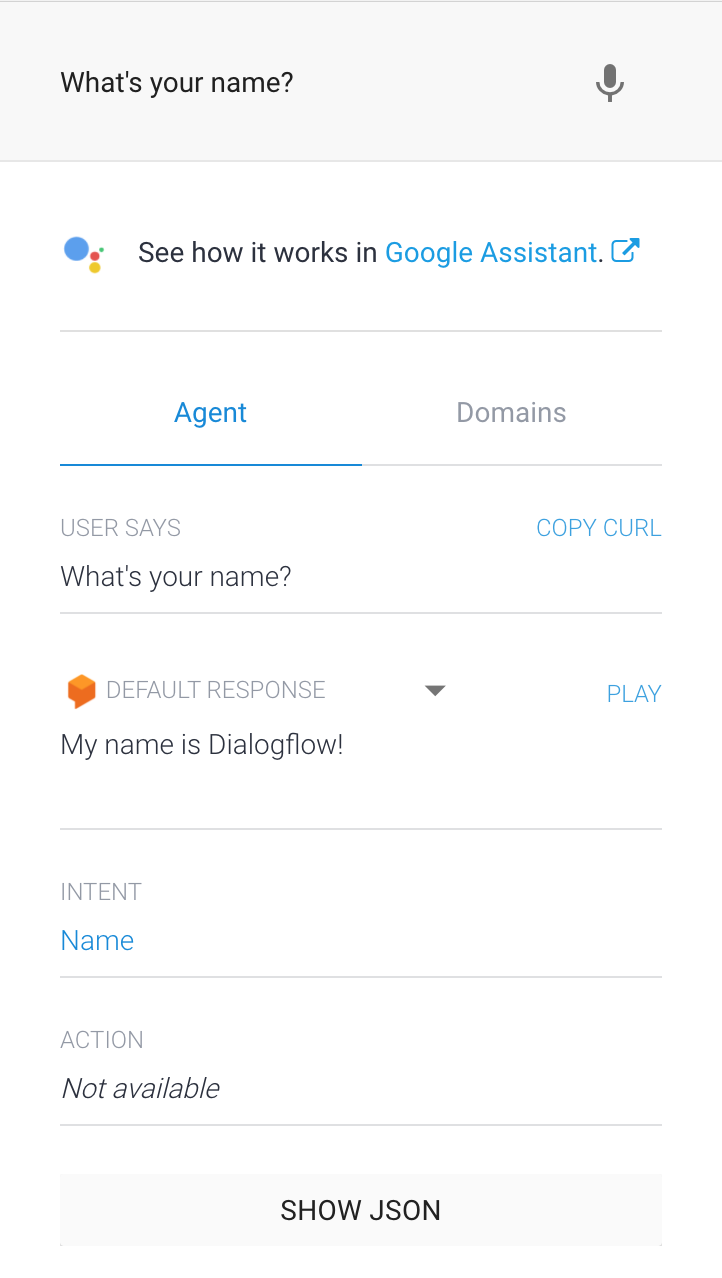
Yeni Ad amacınızı test etmek için Dialogflow simülasyon aracında "Adınız nedir?" yazın ve Enter tuşuna basın.
Eğitim ifadeleriyle tam olarak aynı olmayan (örneğin, "Adınız ne?" ve "Adınız ne?" gibi sorular) sorduğunuzda bile temsilciniz sorunuza doğru yanıt verebilir.
Dialogflow, makine öğrenimi modelini eğitmek için eğitim ifadelerini kullanır. Bu da aracının, kullanıcı ifadelerini doğru niyetlerle eşleştirmesine yardımcı olur.