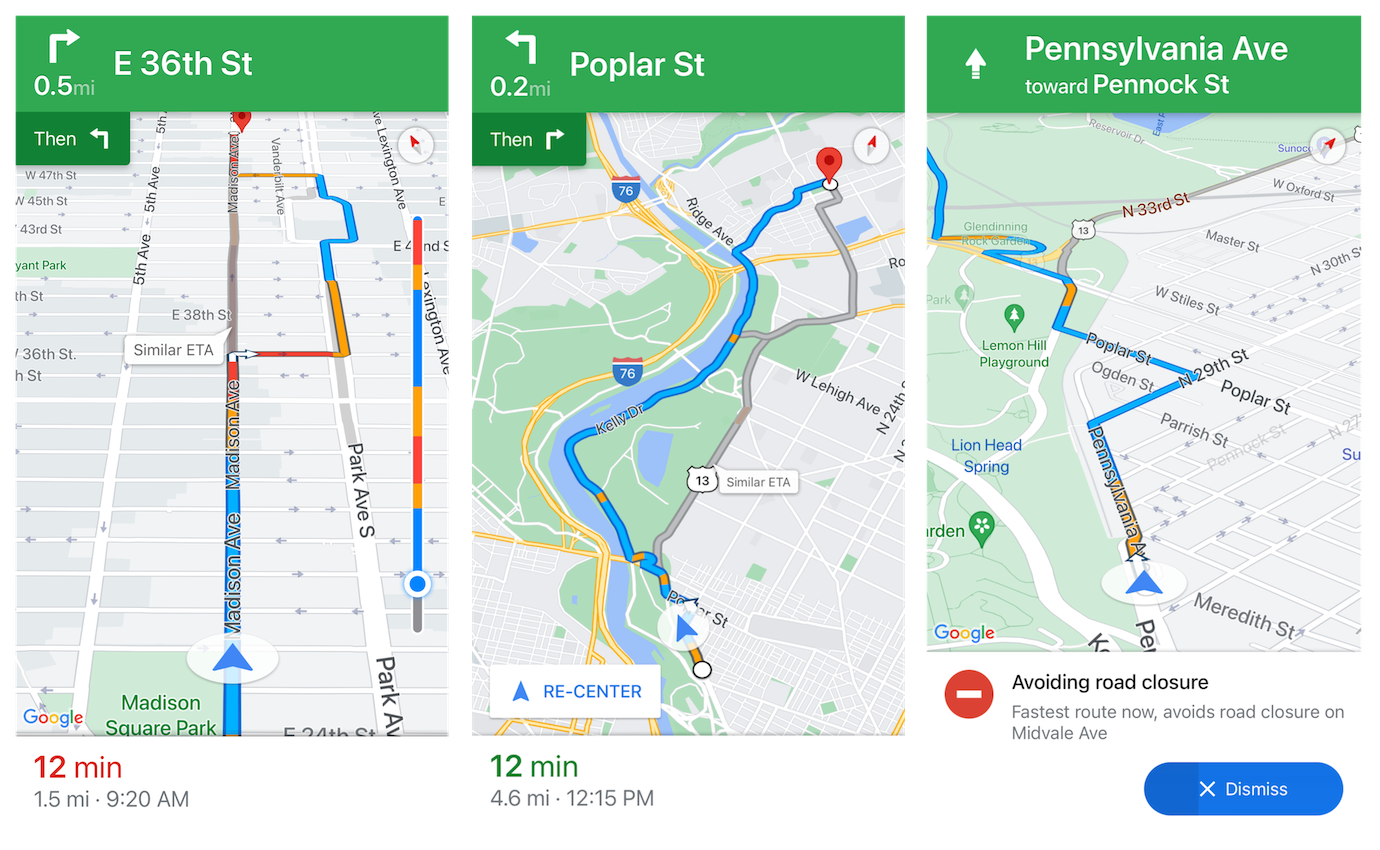
Camera Modes

The Camera class provides methods for setting different camera modes. Each mode provides a different way of viewing the map during navigation. You set the camera mode by calling one of the following methods:

followMyLocation()
This is the default camera mode for navigation. This mode configures the camera to follow the vehicle. During navigation, the camera automatically faces the direction of travel.
setLocation()
Pans and zooms the camera to point at a specific location. When using this mode, you can set the camera location, the direction that the camera faces, and the zoom level. When you use this camera mode, the Re-center button appears.
showRouteOverview()
Displays an overview of the remaining route, panning and zooming as needed to fit the route into the map view. When you use this camera mode, the Re-center button appears.

Clicking the Re-center button sets the camera mode to Follow my Location.

Follow my location mode

This is the most commonly used camera mode for navigation, in which the camera follows the vehicle. In this camera mode, you can view the route with:

  • The vehicle always headed up the screen, shown in an angled overhead perspective (Camera.Perspective.TILTED).

  • The vehicle traveling with the map always oriented toward north, shown in a straight-down overhead perspective (Camera.Perspective.TOP_DOWN_NORTH_UP).

  • The vehicle always headed up the screen, shown in a straight-down overhead perspective (Camera.Perspective.TOP_DOWN_HEADING_UP).

The following code example demonstrates how to set the camera mode to Follow my Location, and use the angled overhead perspective.

NavFragment.getCamera().followMyLocation(Camera.Perspective.TILTED);

Set location mode

The setLocation mode provides the developer with the most control of the camera. In this mode, you place the camera in a specific location, assign a bearing to orient the camera view, and set the camera's zoom level.

The setup consists of defining a location for the camera from GPS coordinates, then packaging the location, camera bearing, and zoom level:

// Set up a stationary camera
// Pick a location to place the camera: Seattle Space Needle
double cameraLatitude = 47.6101d;
double cameraLongitude = -122.3421d;  // Use negative for W of Greenwich.

// Package the coordinates
com.google.android.libraries.navigation.LatLng cameraCenter;
cameraCenter = new com.google.android.libraries.navigation.LatLng (cameraLatitude, cameraLongitude);

// Prepare the state info for the setLocation method.
com.google.android.libraries.navigation.CameraPosition newCameraPosition;
newCameraPosition = new com.google.android.libraries.navigation.CameraPosition();

newCameraPosition.center(cameraCenter);
newCameraPosition.bearing(-90.00f); // N 0.00; E 90.00; S 180.00; W 270.0 (or -90.0).
newCameraPosition.zoom(14.0f);      // Zooms to street level (approx.)

boolean animate = true;
mNavFragment.getCamera().setLocation(newCameraPosition, animate);

Show route overview mode

The showRouteOverview camera setting displays the entire journey. For multiple-destination journeys, this mode displays the untraveled portion of the route.

// Place the camera to see the remaining route:
mNavFragment.getCamera().showRouteOverview();

Next step

See Customized Navigation UI to learn how to customize the way in which users interact with your map by determining which of the built-in UI components appear on the map.