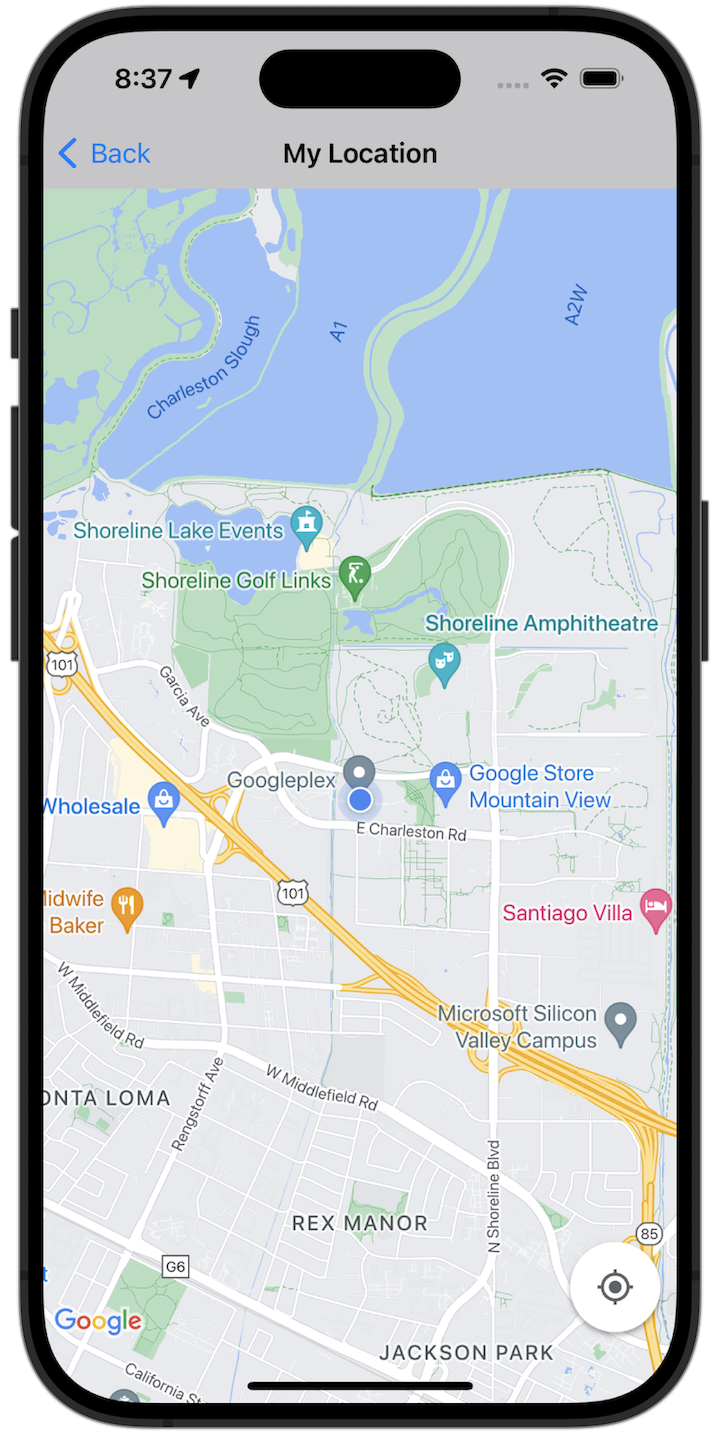
시작하기
샘플 코드를 사용하기 전에 개발 환경을 구성해야 합니다. 자세한 내용은 iOS용 Maps SDK 코드 샘플을 참고하세요.
코드 보기
Swift
import GoogleMaps import UIKit class MyLocationViewController: UIViewController { private let cameraLatitude: CLLocationDegrees = -33.868 private let cameraLongitude: CLLocationDegrees = 151.2086 private let cameraZoom: Float = 12 lazy var mapView: GMSMapView = { let camera = GMSCameraPosition( latitude: cameraLatitude, longitude: cameraLongitude, zoom: cameraZoom) return GMSMapView(frame: .zero, camera: camera) }() var observation: NSKeyValueObservation? var location: CLLocation? { didSet { guard oldValue == nil, let firstLocation = location else { return } mapView.camera = GMSCameraPosition(target: firstLocation.coordinate, zoom: 14) } } override func viewDidLoad() { super.viewDidLoad() mapView.delegate = self mapView.settings.compassButton = true mapView.settings.myLocationButton = true mapView.isMyLocationEnabled = true view = mapView // Listen to the myLocation property of GMSMapView. observation = mapView.observe(\.myLocation, options: [.new]) { [weak self] mapView, _ in self?.location = mapView.myLocation } } deinit { observation?.invalidate() } } extension MyLocationViewController: GMSMapViewDelegate { func mapView(_ mapView: GMSMapView, didTapMyLocation location: CLLocationCoordinate2D) { let alert = UIAlertController( title: "Location Tapped", message: "Current location: <\(location.latitude), \(location.longitude)>", preferredStyle: .alert) alert.addAction(UIAlertAction(title: "OK", style: .default)) present(alert, animated: true) } }
Objective-C
#import "GoogleMapsDemos/Samples/MyLocationViewController.h" #import <GoogleMaps/GoogleMaps.h> @implementation MyLocationViewController { GMSMapView *_mapView; BOOL _firstLocationUpdate; } - (void)viewDidLoad { [super viewDidLoad]; GMSCameraPosition *camera = [GMSCameraPosition cameraWithLatitude:-33.868 longitude:151.2086 zoom:12]; _mapView = [GMSMapView mapWithFrame:CGRectZero camera:camera]; _mapView.delegate = self; _mapView.settings.compassButton = YES; _mapView.settings.myLocationButton = YES; // Listen to the myLocation property of GMSMapView. [_mapView addObserver:self forKeyPath:@"myLocation" options:NSKeyValueObservingOptionNew context:NULL]; self.view = _mapView; // Ask for My Location data after the map has already been added to the UI. GMSMapView *mapView = _mapView; dispatch_async(dispatch_get_main_queue(), ^{ mapView.myLocationEnabled = YES; }); } - (void)mapView:(GMSMapView *)mapView didTapMyLocation:(CLLocationCoordinate2D)location { NSString *message = [NSString stringWithFormat:@"My Location Dot Tapped at: [lat: %f, lng: %f]", location.latitude, location.longitude]; UIAlertController *alertController = [UIAlertController alertControllerWithTitle:@"Location Tapped" message:message preferredStyle:UIAlertControllerStyleAlert]; UIAlertAction *okAction = [UIAlertAction actionWithTitle:@"OK" style:UIAlertActionStyleDefault handler:^(UIAlertAction *action){ }]; [alertController addAction:okAction]; [self presentViewController:alertController animated:YES completion:nil]; } - (void)dealloc { [_mapView removeObserver:self forKeyPath:@"myLocation" context:NULL]; } #pragma mark - KVO updates - (void)observeValueForKeyPath:(NSString *)keyPath ofObject:(id)object change:(NSDictionary *)change context:(void *)context { if (!_firstLocationUpdate) { // If the first location update has not yet been received, then jump to that location. _firstLocationUpdate = YES; CLLocation *location = [change objectForKey:NSKeyValueChangeNewKey]; _mapView.camera = [GMSCameraPosition cameraWithTarget:location.coordinate zoom:14]; } } @end
전체 샘플 앱을 로컬에서 실행
iOS용 Maps SDK 샘플 앱은 GitHub에서 다운로드 보관 파일로 제공됩니다. 다음 단계에 따라 iOS용 Maps SDK 샘플 앱을 설치하고 사용해 보세요.
git clone https://github.com/googlemaps-samples/maps-sdk-for-ios-samples.git를 실행하여 샘플 저장소를 로컬 디렉터리로 클론합니다.터미널 창을 열고 샘플 파일을 클론한 디렉터리로 이동한 후 GoogleMaps 디렉터리로 이동합니다.
Swift
cd maps-sdk-for-ios-samples/GoogleMaps-Swift
open GoogleMapsSwiftXCFrameworkDemos.xcodeproj
Objective-C
cd maps-sdk-for-ios-samples-main/GoogleMaps
open GoogleMapsDemos.xcodeproj- Xcode 프로젝트에서 File(파일) > Add Package Dependencies(패키지 종속 항목 추가)로 이동합니다.
URL로
https://github.com/googlemaps/ios-maps-sdk를 입력하고 Enter 키를 눌러 패키지를 가져온 후 패키지 추가를 클릭합니다. - Xcode에서 컴파일 버튼을 눌러 현재 스키마로 앱을 빌드합니다. 빌드에서 오류가 발생하여 Swift의 경우
SDKConstants.swift파일에, Objective-C의 경우SDKDemoAPIKey.h파일에 API 키를 입력하라는 메시지가 표시됩니다. - iOS용 Maps SDK가 사용 설정된 프로젝트에서 API 키를 가져옵니다.
- Swift의 경우
SDKConstants.swift파일, Objective-C의 경우SDKDemoAPIKey.h파일을 수정하고 API 키를apiKey또는kAPIKey상수의 정의에 붙여넣습니다. 예를 들면 다음과 같습니다.Swift
static let apiKey = "YOUR_API_KEY"Objective-C
static NSString *const kAPIKey = @"YOUR_API_KEY";
SDKConstants.swift파일 (Swift) 또는SDKDemoAPIKey.h파일 (Objective-C)에서 다음 줄을 삭제합니다. 이 줄은 사용자 정의 문제를 등록하는 데 사용되기 때문입니다.Swift
#error (Register for API Key and insert here. Then delete this line.)
Objective-C
#error Register for API Key and insert here.
- 프로젝트를 빌드하고 실행합니다. iOS 시뮬레이터 창이 표시되고 Maps SDK 데모 목록이 표시됩니다.
- 표시된 옵션 중 하나를 선택하여 iOS용 Maps SDK의 기능을 실험해 보세요.
- GoogleMapsDemos에서 위치에 액세스하도록 허용하라는 메시지가 표시되면 허용을 선택합니다.
