
अपनी प्रोफ़ाइल बनाना शुरू करें
सैंपल कोड आज़माने से पहले, आपको अपना डेवलपमेंट एनवायरमेंट कॉन्फ़िगर करना होगा. ज़्यादा जानकारी के लिए, iOS के लिए Maps SDK के कोड सैंपल देखें.
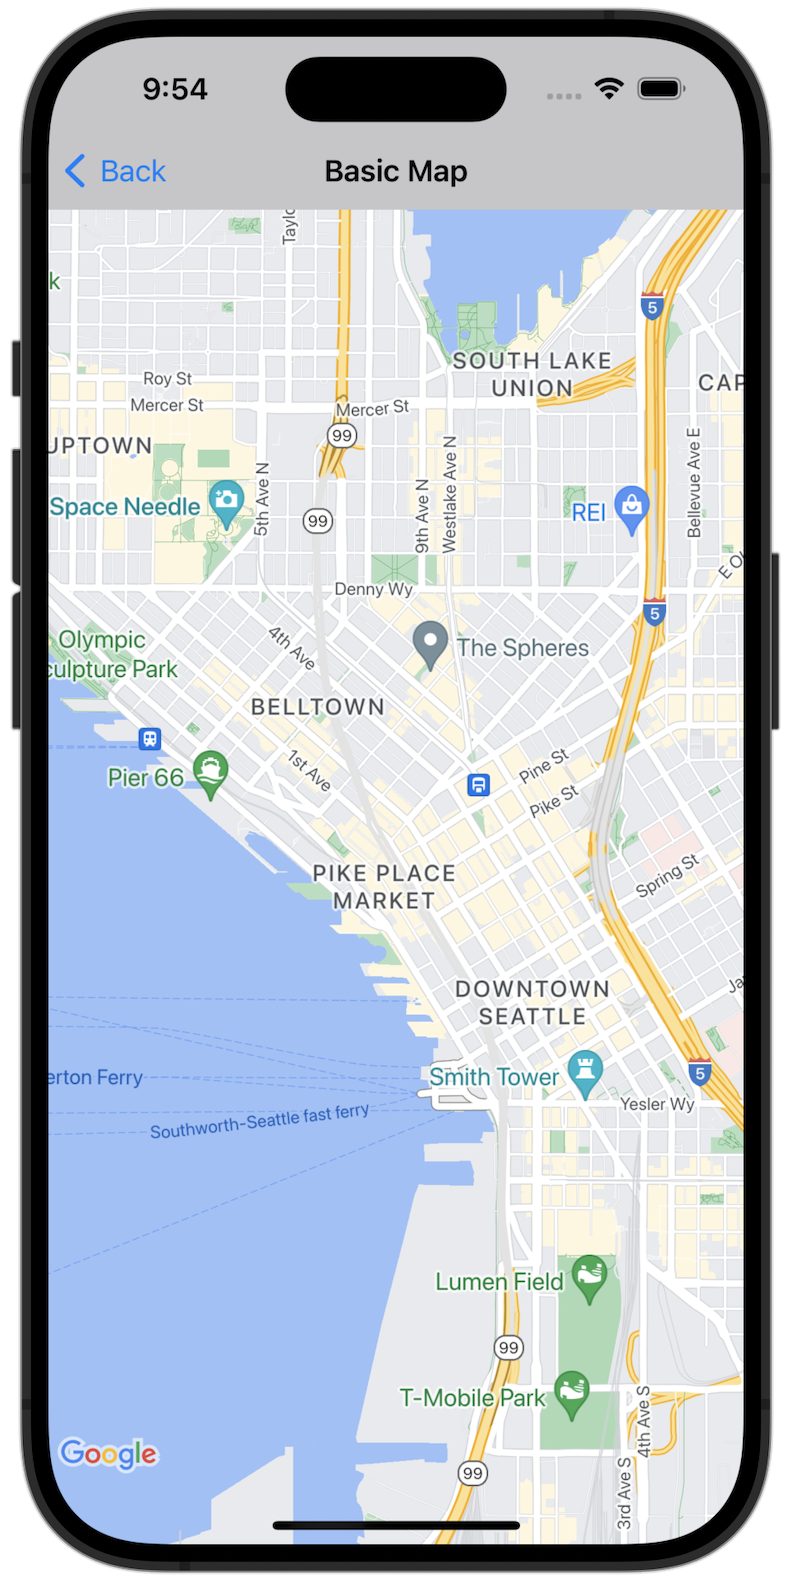
कोड देखना
Swift
import GoogleMaps import UIKit class BasicMapViewController: UIViewController { var statusLabel: UILabel! override func viewDidLoad() { super.viewDidLoad() // Seattle coordinates let camera = GMSCameraPosition(latitude: 47.6089945, longitude: -122.3410462, zoom: 14) let mapView = GMSMapView(frame: view.bounds, camera: camera) mapView.delegate = self view = mapView navigationController?.navigationBar.isTranslucent = false statusLabel = UILabel(frame: .zero) statusLabel.alpha = 0.0 statusLabel.backgroundColor = .blue statusLabel.textColor = .white statusLabel.textAlignment = .center view.addSubview(statusLabel) statusLabel.translatesAutoresizingMaskIntoConstraints = false NSLayoutConstraint.activate([ statusLabel.topAnchor.constraint(equalTo: view.topAnchor), statusLabel.heightAnchor.constraint(equalToConstant: 30), statusLabel.leadingAnchor.constraint(equalTo: view.leadingAnchor), statusLabel.trailingAnchor.constraint(equalTo: view.trailingAnchor), ]) } } extension BasicMapViewController: GMSMapViewDelegate { func mapViewDidStartTileRendering(_ mapView: GMSMapView) { statusLabel.alpha = 0.8 statusLabel.text = "Rendering" } func mapViewDidFinishTileRendering(_ mapView: GMSMapView) { statusLabel.alpha = 0.0 } }
Objective-C
#import "GoogleMapsDemos/Samples/BasicMapViewController.h" #import <GoogleMaps/GoogleMaps.h> @implementation BasicMapViewController { UILabel *_statusLabel; } - (void)viewDidLoad { [super viewDidLoad]; // Seattle coordinates GMSCameraPosition *camera = [GMSCameraPosition cameraWithLatitude:47.6089945 longitude:-122.3410462 zoom:14]; GMSMapView *view = [GMSMapView mapWithFrame:CGRectZero camera:camera]; view.delegate = self; self.view = view; // Add status label, initially hidden. _statusLabel = [[UILabel alloc] initWithFrame:CGRectMake(0, 0, 0, 30)]; _statusLabel.alpha = 0.0f; _statusLabel.autoresizingMask = UIViewAutoresizingFlexibleWidth; _statusLabel.backgroundColor = [UIColor blueColor]; _statusLabel.textColor = [UIColor whiteColor]; _statusLabel.textAlignment = NSTextAlignmentCenter; [view addSubview:_statusLabel]; } - (void)mapViewDidStartTileRendering:(GMSMapView *)mapView { _statusLabel.alpha = 0.8f; _statusLabel.text = @"Rendering"; } - (void)mapViewDidFinishTileRendering:(GMSMapView *)mapView { _statusLabel.alpha = 0.0f; } @end
पूरे सैंपल ऐप्लिकेशन को स्थानीय तौर पर चलाएं
iOS के लिए Maps SDK का सैंपल ऐप्लिकेशन, GitHub से डाउनलोड किए जा सकने वाले संग्रह के तौर पर उपलब्ध है. Maps SDK for iOS के सैंपल ऐप्लिकेशन को इंस्टॉल करने और आज़माने के लिए, यह तरीका अपनाएं.
- सैंपल रिपॉज़िटरी को किसी लोकल डायरेक्ट्री में क्लोन करने के लिए,
git clone https://github.com/googlemaps-samples/maps-sdk-for-ios-samples.gitचलाएं. टर्मिनल विंडो खोलें. इसके बाद, उस डायरेक्ट्री पर जाएं जहां आपने सैंपल फ़ाइलों को क्लोन किया है. इसके बाद, GoogleMaps डायरेक्ट्री में जाएं:
Swift
cd maps-sdk-for-ios-samples/GoogleMaps-Swift
open GoogleMapsSwiftXCFrameworkDemos.xcodeproj
Objective-C
cd maps-sdk-for-ios-samples-main/GoogleMaps
open GoogleMapsDemos.xcodeproj- Xcode प्रोजेक्ट में, File > Add Package Dependencies पर जाएं.
यूआरएल के तौर पर
https://github.com/googlemaps/ios-maps-sdkडालें. इसके बाद, पैकेज को पुल करने के लिए Enter दबाएं और पैकेज जोड़ें पर क्लिक करें. - Xcode में, कंपाइल बटन दबाकर मौजूदा स्कीम के साथ ऐप्लिकेशन बनाएं. बिल्ड में गड़बड़ी होती है. इसलिए, आपको Swift के लिए
SDKConstants.swiftफ़ाइल या Objective-C के लिएSDKDemoAPIKey.hफ़ाइल में अपनी एपीआई कुंजी डालनी होगी. - Maps SDK for iOS की सुविधा चालू करके, अपने प्रोजेक्ट से एपीआई पासकोड पाएं.
- Swift के लिए
SDKConstants.swiftफ़ाइल या Objective-C के लिएSDKDemoAPIKey.hफ़ाइल में बदलाव करें. इसके बाद, अपनी एपीआई कुंजी कोapiKeyयाkAPIKeyकॉन्स्टेंट की परिभाषा में चिपकाएं. उदाहरण के लिए:Swift
static let apiKey = "YOUR_API_KEY"Objective-C
static NSString *const kAPIKey = @"YOUR_API_KEY";
SDKConstants.swiftफ़ाइल (Swift) याSDKDemoAPIKey.hफ़ाइल (Objective-C) में, यहां दी गई लाइन हटाएं. इसका इस्तेमाल, उपयोगकर्ता की तय की गई समस्या को रजिस्टर करने के लिए किया जाता है:Swift
#error (Register for API Key and insert here. Then delete this line.)
Objective-C
#error Register for API Key and insert here.
- प्रोजेक्ट बनाएं और उसे चलाएं. iOS सिम्युलेटर विंडो दिखती है. इसमें Maps SDK के डेमो की सूची दिखती है.
- iOS के लिए Maps SDK टूल की किसी सुविधा को आज़माने के लिए, दिखाए गए विकल्पों में से कोई एक विकल्प चुनें.
- अगर GoogleMapsDemos को आपकी जगह की जानकारी ऐक्सेस करने की अनुमति देने के लिए कहा जाए, तो अनुमति दें को चुनें.