
Damit Google Assistant auf Befehle reagiert, die Ihrem Gerät und den gegebenen Kontext stellt, benötigt Google Assistant Informationen zu Ihrem auf einem bestimmten Gerät. Sie geben diese Informationen an, darunter Felder wie Gerätetyp und Hersteller als Gerätemodell. Sie können sich dieses Modell als eine allgemeine Kategorie von Geräten wie Lampen, Lautsprecher oder Spielzeugroboter.
Diese Informationen sind dann für Assistant zugänglich und werden die mit Ihrem Actions Console-Projekt. Keine anderen Projekte haben Zugriff auf Ihre Modell- und Geräteinformationen.
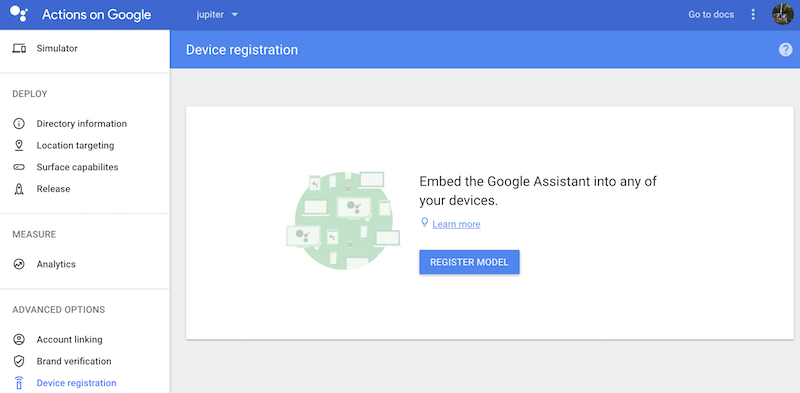
Registrierungs-UI verwenden
Die Registrierungs-UI in der Actions Console verwenden um ein Gerätemodell zu registrieren.
Klicken Sie auf die Schaltfläche MODELL REGISTRIEREN.
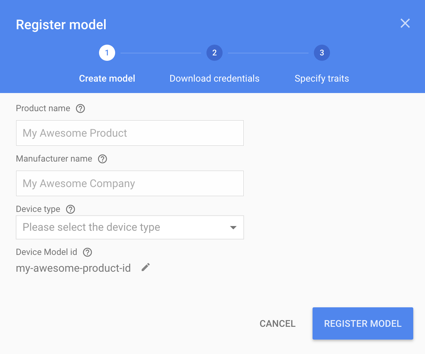
Modell erstellen
Füllen Sie alle Felder für Ihr Gerät aus. Wählen Sie einen beliebigen Gerätetyp aus, z. B. Hell:
Gerätemodell-JSON ansehen Referenz finden Sie weitere Informationen zu diesen Feldern.
Wenn Sie fertig sind, klicken Sie auf MODELL REGISTRIEREN.
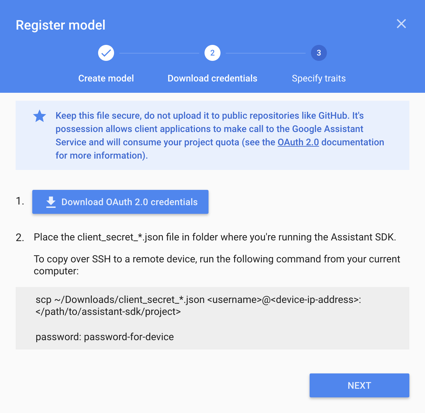
Anmeldedaten herunterladen
Die Datei „client_secret_<client-id>.json“ muss sich auf dem Gerät befinden. Diese Datei enthält
eine Client-ID und einen Clientschlüssel, aber kein Zugriffstoken. Später führen Sie
Autorisierungstool zu öffnen und auf diese Datei zu verweisen, um das Google
Assistant SDK-Beispiel für Google Assistant-Anfragen (siehe OAuth 2.0).
in der Dokumentation. Benennen Sie diese Datei nicht um.
Lade diese Datei herunter und übertrage sie auf das Gerät. Tippen Sie auf Weiter.
Nur für den Raspberry Pi
Diese Datei muss sich in /home/pi befinden. Wenn Sie die Datei hochladen möchten
an das Gerät:
Öffnen Sie ein neues Terminalfenster. Führen Sie den folgenden Befehl in diesem neuen Terminal aus:
scp ~/Downloads/client_secret_client-id.json pi@raspberry-pi-ip-address:/home/pi/
password: password-for-device
Schließen Sie dieses Terminalfenster.
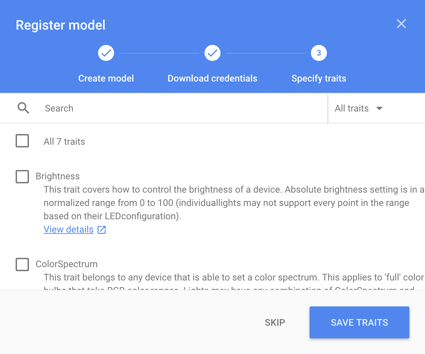
Merkmale angeben
Später legen Sie die verschiedenen Funktionen fest, die Ihr Gerät auf diesem Bildschirm. Klicke erst einmal auf die Schaltfläche ÜBERSPRINGEN.
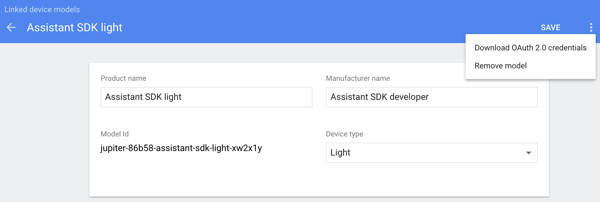
Modell bearbeiten
Wenn Sie das Modell bearbeiten müssen, klicken Sie auf die entsprechende Zeile in der Liste. Klicke abschließend auf SPEICHERN. nach der Bearbeitung.

Wenn Sie die Datei mit den Anmeldedaten noch einmal herunterladen müssen, klicken Sie auf die drei Punkte. Sie können können Sie das Modell auch in diesem Menü löschen.
Alternative Registrierungsmöglichkeiten
Sie können auch das Registrierungstool verwenden. (in den Google Assistant SDK-Beispielen enthalten) oder der REST API um ein Gerätemodell zu registrieren.
Sie müssen Inhaber oder Bearbeiter eines bestimmten Actions Console-Projekts sein, um sich zu registrieren Modelle dafür. Fügen Sie diese Rollen in der Cloud Platform Console für andere Nutzer hinzu: IAM-Dokumentation