
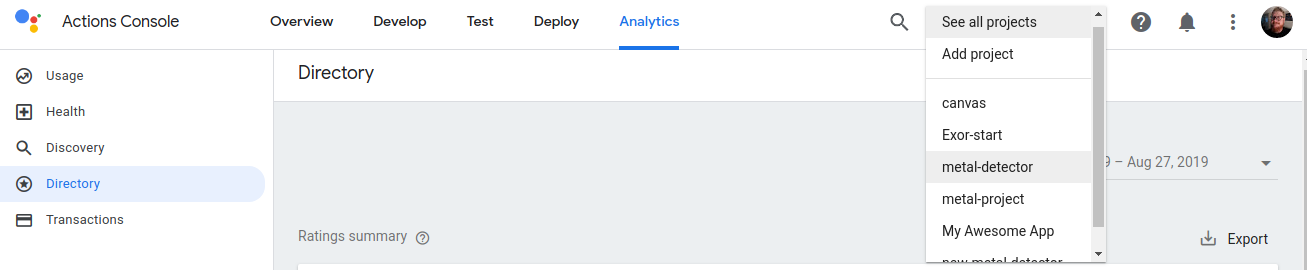
Aşağıdaki ekran görüntüsünde gösterildiği gibi Actions Console'da projeler arasında geçiş yapmak için ana gezinme menüsündeki açılır menüyü tıklayabilirsiniz:
Proje oluşturma
Bir Action geliştirmek için önce bir Actions projesi oluşturmanız gerekir. Bu proje, Actions Console'un yanı sıra entegre Actions Builder IDE'sine de erişim izni verir.
Proje oluşturmak için aşağıdaki adımları uygulayın:
- Actions Console'a gidin.
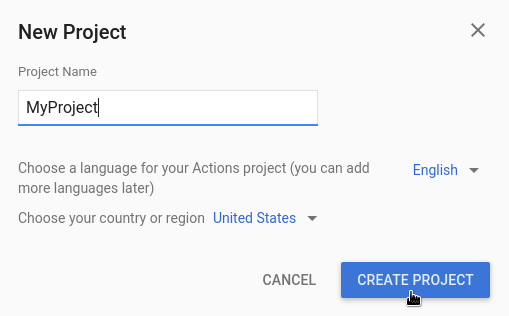
- Yeni proje'yi tıklayın.
- Projeniz için bir ad girin ve Proje Oluştur'u tıklayın.
Proje oluşturulduktan sonra Actions konsolu ilk katılım sayfasına yönlendirilirsiniz. Burada, oluşturduğunuz İşlem için bir kategori seçersiniz.
Aşağıdaki belirli İşlem türleri için geliştirme hakkındaki ek belgelere bakın:
Projeyi içe aktarma
Cloud Functions gibi Cloud ve Firebase hizmetlerini İşleminizle paylaşmak için mevcut bir projeyi içe aktarmak isteyebilirsiniz.
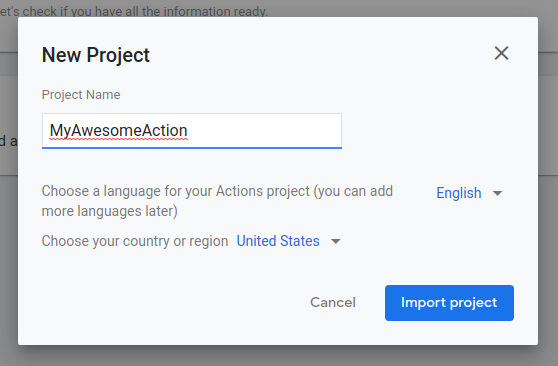
İşleminizi mevcut bir Cloud projesinin veya mevcut bir Firebase projesinin üzerine oluşturmak istiyorsanız Yeni proje iletişim kutusundaki açılır menüden ilgili projeyi seçin. Yazmaya başladığınızda mevcut proje adları görünür. İçe aktarmak istediğiniz projeyi tıklayın.
Bir projeyi içe aktarmak için ilgili projeyi tıklayın. Ardından Yeni Proje penceresinde Projeyi İçe Aktar'ı tıklayın.
Proje silme
Bir projeyi silmek için aşağıdaki adımları uygulayın:
- Diğer more_vert simgesi > Proje Ayarları > Projeyi Sil'i tıklayın.
- Metin alanının üzerinde görüntülenen Proje kimliği'ni girin.
- Projeyi sil'i tıklayın.
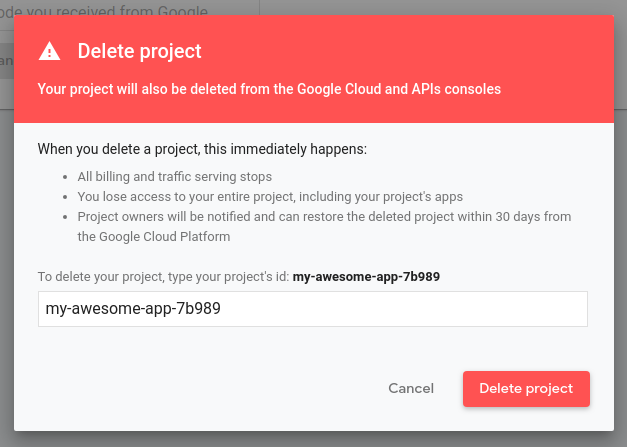
Proje silindikten sonra Asistan artık İşleminizi kullanıcılara sunmaz ve bekleyen incelemeler iptal edilir. Silme işlemini geri almak ve projeyi geri yüklemek için 7 gününüz vardır. Silinen bir projeyi geri yüklemek için Projeyi geri yükleme bölümünü inceleyin.
Ortak çalışan ekleyin
Bir projeye ortak çalışan eklemek için diğer more_vert simgesini > Kullanıcı erişimini yönet'i tıklayın.
Buradan Cloud Project Management System'a yönlendirilirsiniz. Ortak çalışanları düzenlemek ve rollerini belirlemek için Ekle'yi tıklayın.
Tüm izinlere sahip olmasını istediğiniz kullanıcıları proje Düzenleyici olarak ekleyin. Yalnızca kullanıcının projeyi görebilmesini ve İşlemi test edebilmesini istiyorsanız bu kişiyi proje Görüntüleyen olarak ekleyin.
Banner'lar ve bildirimler
Konsolda çalışırken, platform ve hesapla ilgili bilgiler iki yerde gösterilir:
- Banner: Platform sorunları ve hizmet genelindeki duyurular konsolun üst kısmındaki bir banner'da görüntülenir.
- Bildirim merkezi: Sayfanın üst kısmındaki bildirim notifications simgesi, hesap ve projeyle ilgili bildirimleri gösterir. Bu durumlar için genellikle işlem yapmanız gerekir.