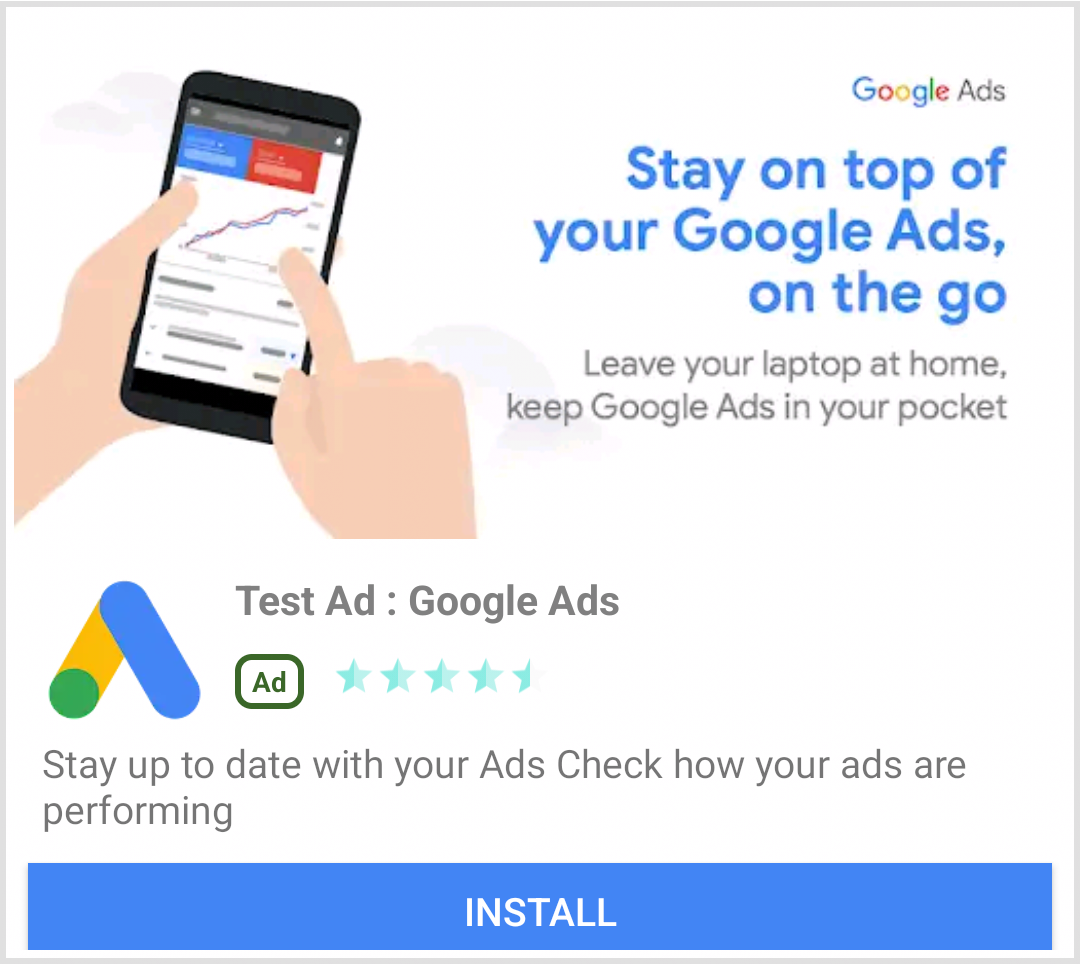
ネイティブ テンプレートとは、ネイティブ広告として使用できるビューであり、コーディングが完成された状態で提供されるため、実装と変更を簡単に行えます。ネイティブ テンプレートを使うと、プラグインによって Android と iOS のレイアウトが事前に作成されるため、Dart API を使用してネイティブ アセットのスタイルをカスタマイズできます。
このガイドでは、Dart API を使って基盤となるプラットフォーム ビューのスタイルを設定し、広告をレンダリングする方法について説明します。
前提条件
先に進む前に、次のことを実施してください。
- Flutter 2.4.0 以降を使用します。
常にテスト広告でテストする
アプリの開発とテストでは必ずテスト広告を使用します。配信中の実際の広告は使用しないでください。下記のネイティブ広告向けのテスト専用広告ユニット ID を使うと、テスト広告を簡単に読み込むことができます。
Android
ca-app-pub-3940256099942544/2247696110
iOS
ca-app-pub-3940256099942544/3986624511
テスト広告ユニットは、すべてのリクエストに対してテスト広告を返すように構成されており、アプリのコーディング、テスト、デバッグで自由に使用できます。なお、この広告ユニットの ID は、アプリを公開する前に必ずご自身の広告ユニット ID に置き換えてください。
広告を読み込む
次の例では、medium サイズのネイティブ テンプレートを使ってネイティブ広告を読み込んでいます。
class NativeExampleState extends State<NativeExample> {
  NativeAd? nativeAd;
  bool _nativeAdIsLoaded = false;

 // TODO: replace this test ad unit with your own ad unit.
 final String _adUnitId = Platform.isAndroid
      ? 'ca-app-pub-3940256099942544/2247696110'
      : 'ca-app-pub-3940256099942544/3986624511';

  /// Loads a native ad.
  void loadAd() {
    _nativeAd = NativeAd(
        adUnitId: _adUnitId,
        listener: NativeAdListener(
          onAdLoaded: (ad) {
            debugPrint('$NativeAd loaded.');
            setState(() {
              _nativeAdIsLoaded = true;
            });
          },
          onAdFailedToLoad: (ad, error) {
            // Dispose the ad here to free resources.
            debugPrint('$NativeAd failed to load: $error');
            ad.dispose();
          },
        ),
        request: const AdRequest(),
        // Styling
        nativeTemplateStyle: NativeTemplateStyle(
            // Required: Choose a template.
            templateType: TemplateType.medium,
            // Optional: Customize the ad's style.
            mainBackgroundColor: Colors.purple,
            cornerRadius: 10.0,
            callToActionTextStyle: NativeTemplateTextStyle(
                textColor: Colors.cyan,
                backgroundColor: Colors.red,
                style: NativeTemplateFontStyle.monospace,
                size: 16.0),
            primaryTextStyle: NativeTemplateTextStyle(
                textColor: Colors.red,
                backgroundColor: Colors.cyan,
                style: NativeTemplateFontStyle.italic,
                size: 16.0),
            secondaryTextStyle: NativeTemplateTextStyle(
                textColor: Colors.green,
                backgroundColor: Colors.black,
                style: NativeTemplateFontStyle.bold,
                size: 16.0),
            tertiaryTextStyle: NativeTemplateTextStyle(
                textColor: Colors.brown,
                backgroundColor: Colors.amber,
                style: NativeTemplateFontStyle.normal,
                size: 16.0)))
      ..load();
  }
}
使用可能なスタイル設定オプションについては、NativeTemplateStyle と NativeTemplateTextStyle をご覧ください。
広告をカスタマイズする
ネイティブ テンプレートを使ってネイティブ広告をカスタマイズする場合、広告の UI 構成は NativeTemplateStyle クラスに格納されます。これにより、Dart コードでネイティブ広告全体にスタイルを適用できます。
テンプレートのサイズ
Flutter ネイティブ広告テンプレートには、TemplateType.small と TemplateType.medium の 2 種類があります。小サイズのテンプレートは、TableView や GridView、インフィード広告など、細長い形の広告ビューが必要な場所に最適です。中サイズのテンプレートは、ページビューの 1/2~3/4 のサイズでの使用が想定されており、ランディング ページやスプラッシュ ページに最適です。
| 小 | |
|---|---|
 Android |
 iOS |
| 中 | |
 Android |
 iOS |
ネイティブ広告イベント
ネイティブ広告の操作に関連するイベントについての通知を受け取るには、広告の listener プロパティを使用します。そのうえで、NativeAdListener を実装して広告イベント コールバックを受け取ります。
class NativeExampleState extends State<NativeExample> {
  NativeAd? _nativeAd;
  bool _nativeAdIsLoaded = false;

 // TODO: replace this test ad unit with your own ad unit.
 final String _adUnitId = Platform.isAndroid
      ? 'ca-app-pub-3940256099942544/2247696110'
      : 'ca-app-pub-3940256099942544/3986624511';

  /// Loads a native ad.
  void loadAd() {
    _nativeAd = NativeAd(
        adUnitId: _adUnitId,
        listener: NativeAdListener(
          onAdLoaded: (ad) {
            print('$NativeAd loaded.');
            setState(() {
              _nativeAdIsLoaded = true;
            });
          },
          onAdFailedToLoad: (ad, error) {
            // Dispose the ad here to free resources.
            print('$NativeAd failedToLoad: $error');
            ad.dispose();
          },
          // Called when a click is recorded for a NativeAd.
          onAdClicked: (ad) {},
          // Called when an impression occurs on the ad.
          onAdImpression: (ad) {},
          // Called when an ad removes an overlay that covers the screen.
          onAdClosed: (ad) {},
          // Called when an ad opens an overlay that covers the screen.
          onAdOpened: (ad) {},
          // For iOS only. Called before dismissing a full screen view
          onAdWillDismissScreen: (ad) {},
          // Called when an ad receives revenue value.
          onPaidEvent: (ad, valueMicros, precision, currencyCode) {},
        ),
        request: const AdRequest(),
        // Styling
        nativeTemplateStyle: NativeTemplateStyle(
            // Required: Choose a template.
            templateType: TemplateType.medium,
            // Optional: Customize the ad's style.
            mainBackgroundColor: Colors.purple,
            cornerRadius: 10.0,
            callToActionTextStyle: NativeTemplateTextStyle(
                textColor: Colors.cyan,
                backgroundColor: Colors.red,
                style: NativeTemplateFontStyle.monospace,
                size: 16.0),
            primaryTextStyle: NativeTemplateTextStyle(
                textColor: Colors.red,
                backgroundColor: Colors.cyan,
                style: NativeTemplateFontStyle.italic,
                size: 16.0),
            secondaryTextStyle: NativeTemplateTextStyle(
                textColor: Colors.green,
                backgroundColor: Colors.black,
                style: NativeTemplateFontStyle.bold,
                size: 16.0),
            tertiaryTextStyle: NativeTemplateTextStyle(
                textColor: Colors.brown,
                backgroundColor: Colors.amber,
                style: NativeTemplateFontStyle.normal,
                size: 16.0)))
      ..load();
  }
}
広告を表示する
NativeAd をウィジェットとして表示するには、load() を呼び出した後に、サポートされている広告で AdWidget をインスタンス化する必要があります。ウィジェットは load() を呼び出す前に作成できますが、ウィジェット ツリーに追加する前に load() を呼び出す必要があります。
AdWidget は Flutter の Widget クラスから継承され、他のウィジェットと同様に使用できます。iOS では必ず、指定された幅と高さのコンテナにウィジェットを配置してください。そうしないと、広告が表示されない可能性があります。
// Small template
final adContainer = ConstrainedBox(
  constraints: const BoxConstraints(
    minWidth: 320, // minimum recommended width
    minHeight: 90, // minimum recommended height
    maxWidth: 400,
    maxHeight: 200,
  ),
  child: AdWidget(ad: _nativeAd!),
);

// Medium template
final adContainer = ConstrainedBox(
  constraints: const BoxConstraints(
    minWidth: 320, // minimum recommended width
    minHeight: 320, // minimum recommended height
    maxWidth: 400,
    maxHeight: 400,
  ),
  child: AdWidget(ad: _nativeAd!),
);
広告を破棄する
NativeAd は、使う必要がなくなったら必ず破棄します。dispose() を呼び出す最適なタイミングは、ネイティブ広告に関連付けられた AdWidget がウィジェット ツリーから削除された後か、AdListener.onAdFailedToLoad() のコールバック時です。
次のステップ
- ネイティブ広告について詳しくは、ネイティブ広告ハンドブックをご覧ください。
- ネイティブ広告のポリシーとガイドラインをご確認ください。
- お客様の成功事例(事例紹介 1、事例紹介 2)をご覧ください。