
Machine learning for mobile developers
ML Kit brings Google’s machine learning expertise to mobile developers in a powerful and easy-to-use package. Make your iOS and Android apps more engaging, personalized, and helpful with solutions that are optimized to run on device.
Optimized for mobile
ML Kit’s processing happens on-device. This makes it fast and unlocks real-time use cases like processing of camera input. It also works while offline and can be used for processing images and text that need to remain on the device.
Built with Google expertise
Take advantage of the machine learning technologies that power Google's own experiences on mobile.
Easy to use
We combine best-in-class machine learning models with advanced processing pipelines and offer these through easy-to-use APIs to enable powerful use cases in your apps.
Kickstart on-device GenAI with Gemini Nano
Tap into on-device generative AI for your Android app with Gemini Nano and ML Kit's GenAI APIs.

Summarization
Summarize articles and chat conversations into 1-3 bullet points.

Proofreading
Polish short content by refining grammar and fixing spelling errors.

Rewriting
Reword content in different styles, such as formally, concise, or even with emojis.

Image description
Provide short descriptions for images.

Prompt
Generate text content based on a custom text-only or multimodal prompt.
Vision APIs
Video and image analysis APIs to label images and detect barcodes, text, faces, and objects.
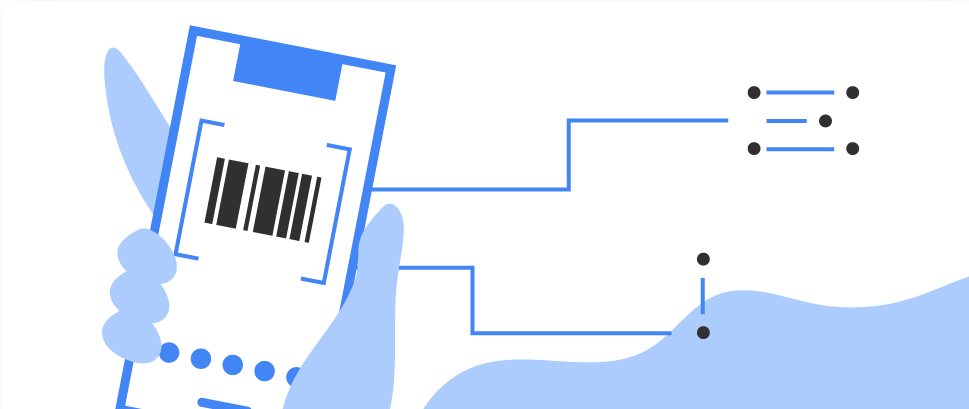
Barcode scanning
Scan and process barcodes. Supports most standard 1D and 2D formats.
Face detection
Detect faces and facial landmarks.
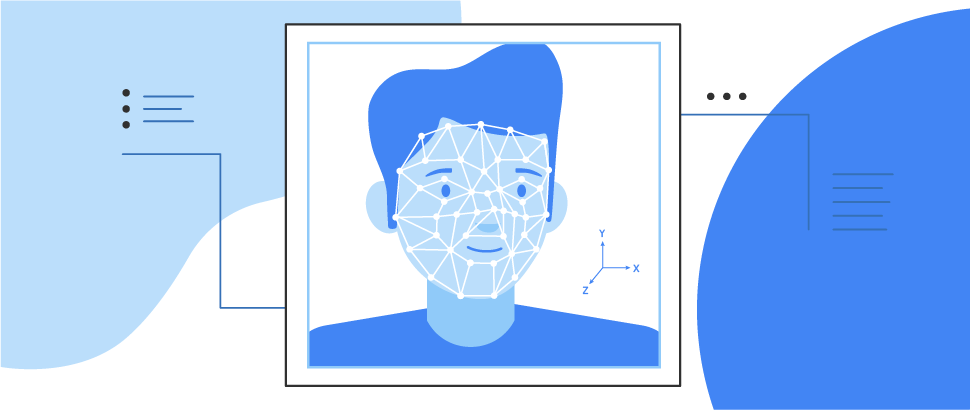
Face mesh detection NEW
Detect face mesh info on close-range images.

Text recognition v2
Recognize and extract text from images.

Image labeling
Identify objects, locations, activities, animal species, products, and more. Use a general-purpose base model or tailor to your use case with a custom TensorFlow Lite model.
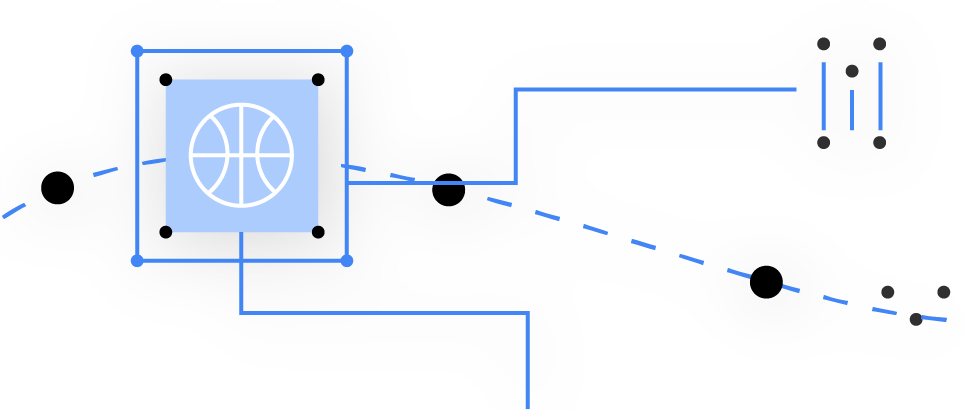
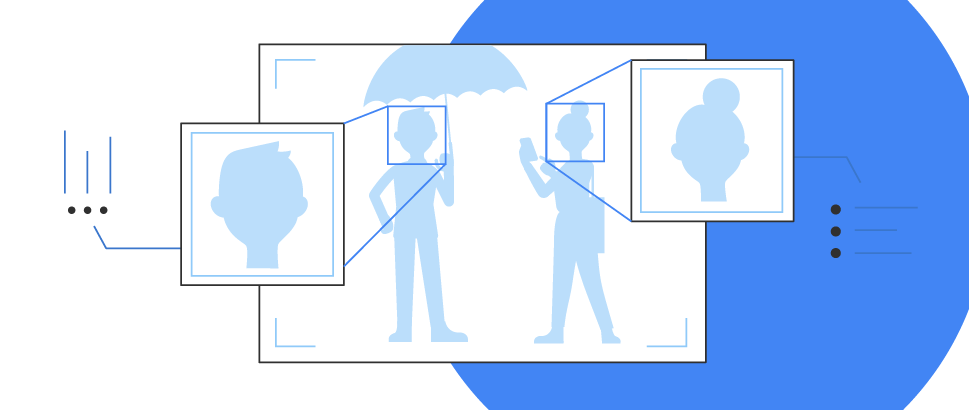
Object detection and tracking
Localize and track in real time one or more objects in the live camera feed.
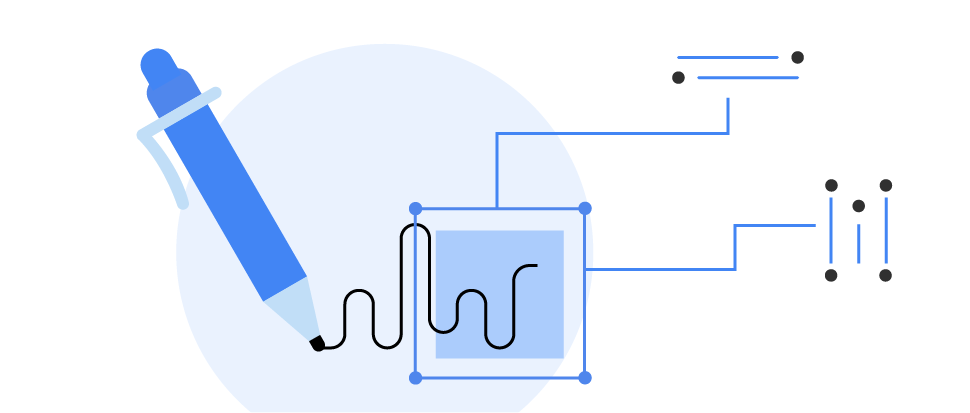
Digital ink recognition
Recognizes handwritten text and handdrawn shapes on a digital surface, such as a touch screen. Recognizes 300+ languages, emojis and basic shapes.
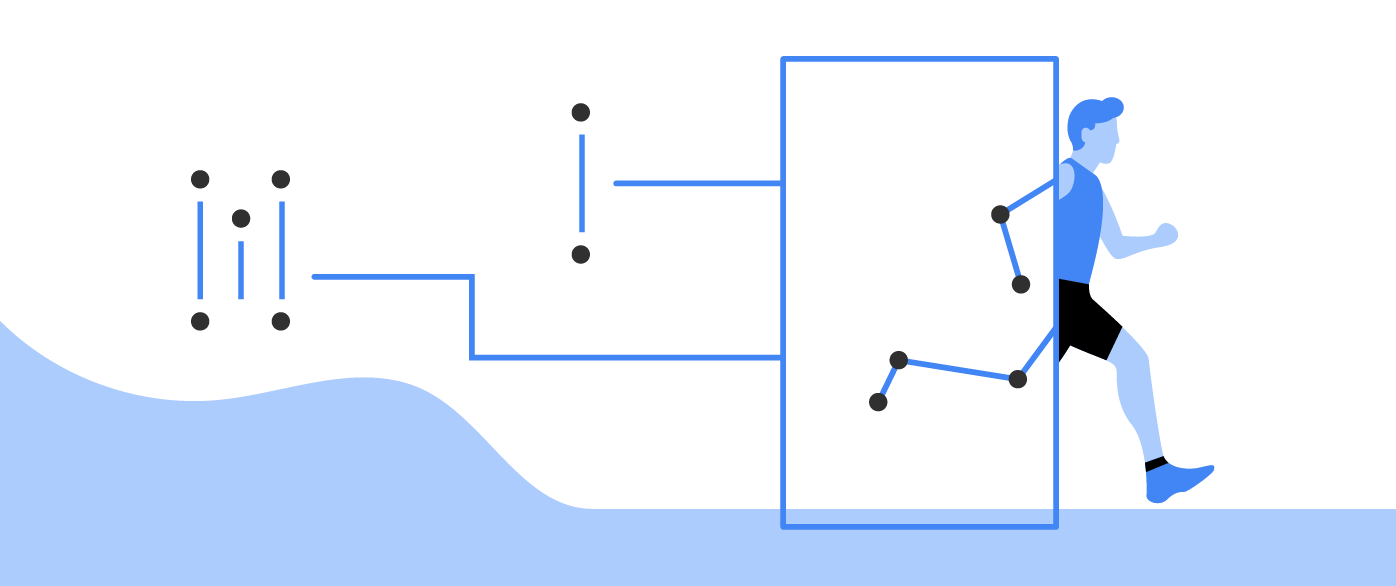
Pose detection
Detect the position of the human body in real time.

Selfie segmentation
Separate the background from users within a scene and focus on what matters.
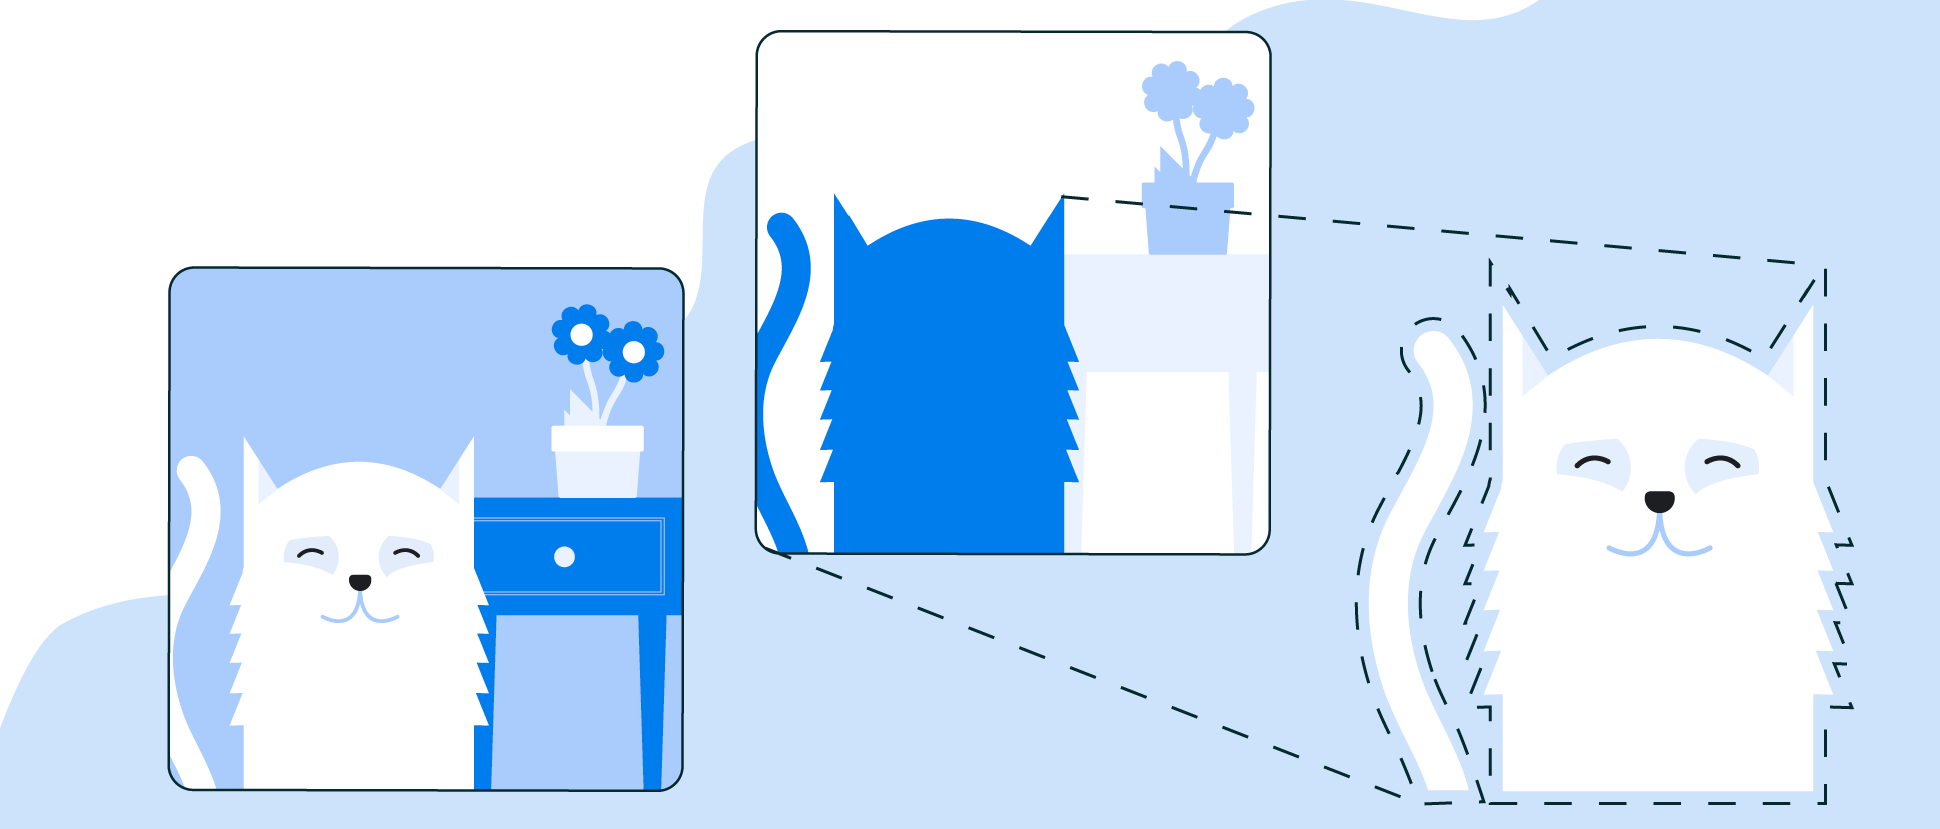
Subject segmentation NEW
Separate subjects (people, pets, or objects) from the background in a picture.
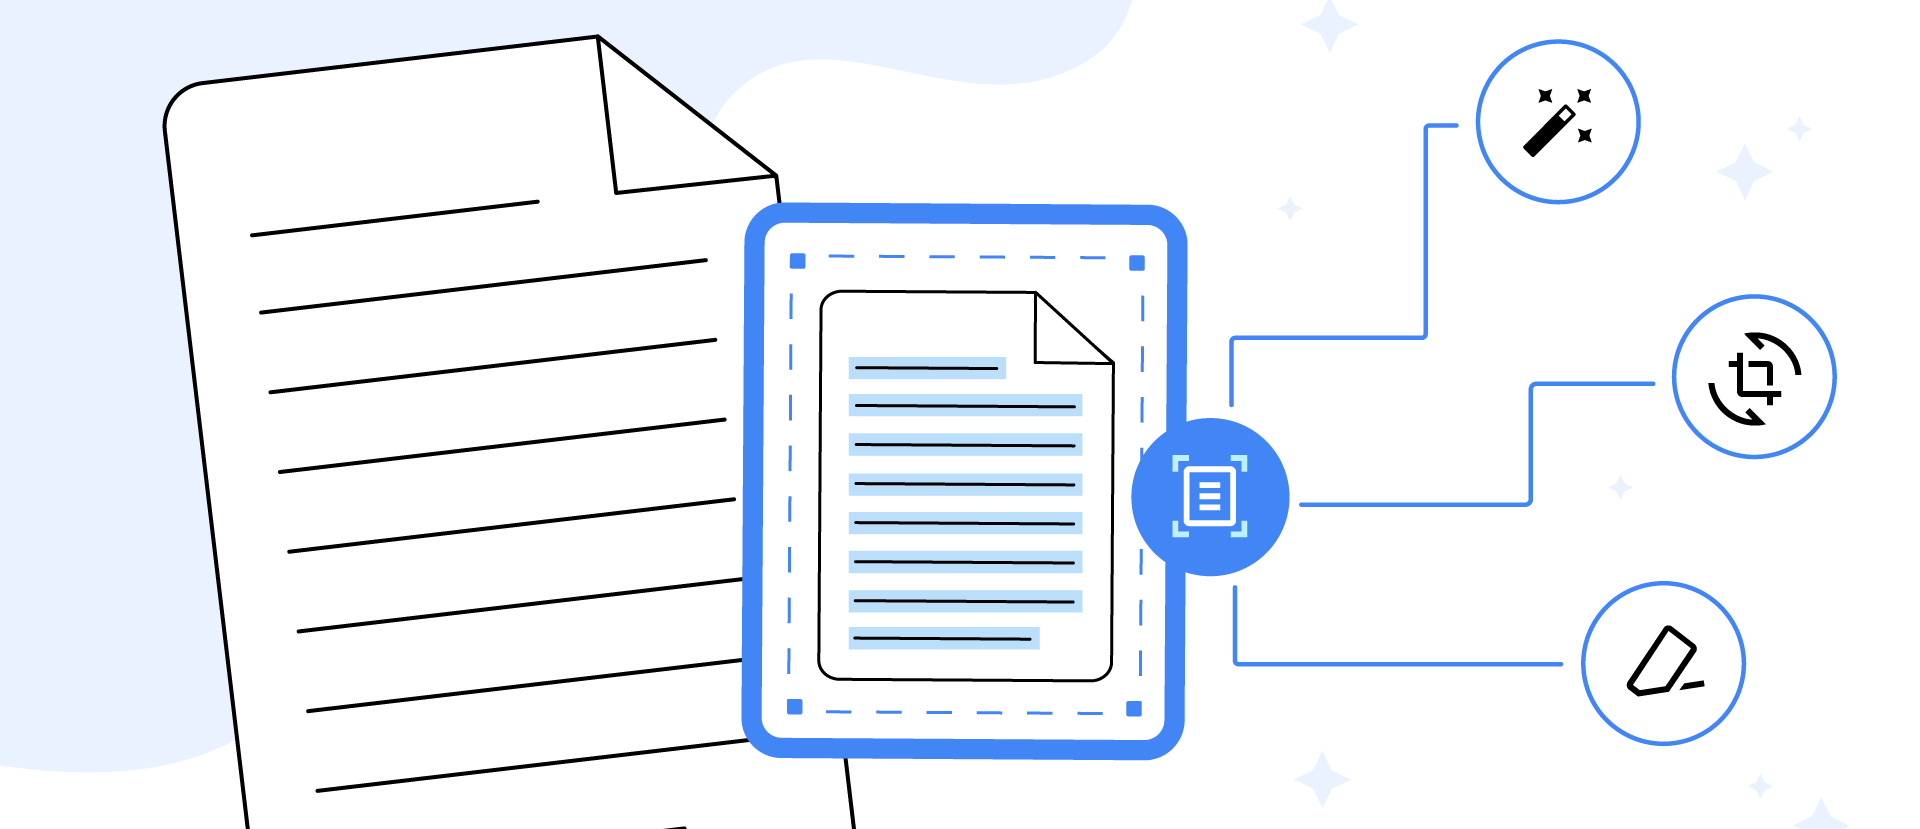
Document scanner NEW
Digitize physical documents from pictures.
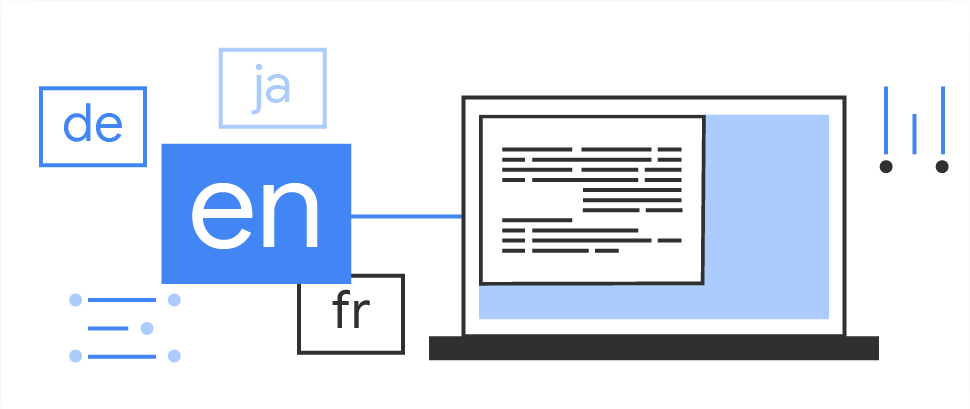
Natural language APIs
Natural language processing APIs to identify and translate between 58 languages and provide reply suggestions.
Language identification
Determine the language of a string of text with only a few words.
Translation
Translate text between 58 languages, entirely on device.
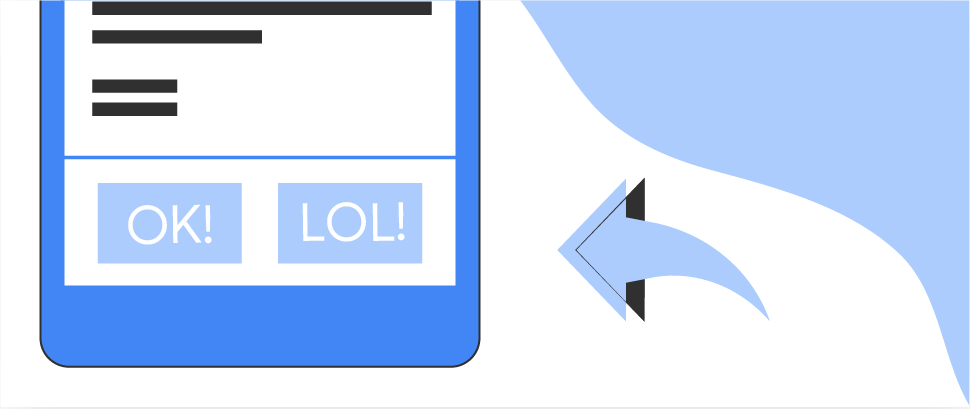
Smart reply
Generate reply suggestions in text conversations.

Entity extraction
Detect and locate entities (such as addresses, date/time, phone numbers, and more) and take action based on those entities. Works in 15 languages.