Page Summary
-
Issuers must integrate with their TSP, sign legal agreements with Google, and complete a launch checklist for GPay onboarding.
-
Thorough testing is crucial, covering various scenarios like Add Card, In-app Payments, and OTP auto-fill functionality.
-
A sandbox environment is available for testing with restrictions and specific setup requirements.
-
Card payments and Bharat QR payments can be tested with scenarios covering invalid OTP, successful transactions, and high-value transactions.
-
Corporate email linking involves using a Google account associated with the corporate email address, potentially requiring account creation.
This page outlines the issuer onboarding process for GPay India App.
Get Started
To add support for Google Pay device tokens, you will need to onboard through the Issuer Console and complete two legal agreements with Google (a non-disclosure agreement and an issuer agreement), followed by the technical integration with your token service provider (TSP). Reach out to your TSP for more information on the technical work required to integrate with their APIs for device tokenization, and learn more about the onboarding process through Issuer Console by visiting the global Get Started page.
Once you have accepted the NDA and issuer agreement, you are ready to begin integration work with your TSP! Your TSP should be able to guide you through the process of configuring their systems and integrating with their APIs related to device tokenization. The TSP integration section of this site explains Google Pay product behavior, including Google Pay specific requirements for how you configure the settings at your TSP.
Restricting Access
Before launch, regular users shouldn't be able to provision their cards. Work with your TSP to restrict tokenization access to only authorized test and internal user cards until your launch is approved.
Launch Checklist
To ensure a smooth launch of your Google Pay integration please ensure you have:
- Signed an NDA with Google.
- Signed the issuer agreement with Google.
- Completed all functional tests to ensure your tokenization experience is working properly.
- Confirmed that no known problems exist related to tokenization, in-app transactions, bill payment transactions, BharatQR transactions, or online transactions.
- Trained your support team to properly handle and route cardholder inquiries.
- Updated your website to inform cardholders about Google Pay as appropriate, including any relevant user-facing Google Pay support information.
- Submitted the list of products to launch in English and in your local language to your TSP. This information will be used to update our supported issuers list.
- Submitted launch checklist documentation with your TSP.
- Submitted Production Testing Acknowledgement form to your TSP.
- Received certification from your TSP for launching in production.
Enable Sandbox Mode
During the integration with TSP, you need to use the sandbox mode to test in non-prod env.
Before users can start testing the cards, they need to be allowlisted
by Google. Send the email IDs of the testers to this address:
gpay-india-issuer-onboarding@google.com. Share all tester email IDs
in one go. Write one email ID per line with no commas and periods
(no bullet points).
To enable sandbox mode, first ensure that you have downloaded and installed the APK from this shared folder.
To turn sandbox mode on, download the file
android_pay_env_override_sandbox
using the Android Device's mobile browser. By default, this should download
to the /sdcard/Download folder with the file name
android_pay_env_override_sandbox.
Once you have downloaded the file, reboot the device. After that, the
sandbox mode is enabled.
Enable OTP Auto-fill
There are 2 different OTPs for India cards and each one requires a different template. Issuers need to work with their internal teams to ensure the OTP format matches the ones listed below for auto-fill.
Provision OTP
The provisioning OTP is sent when the user tries to add a card. To have the OTP auto-filled, the SMS text should contain any one of the following words or phrases:
- OTP
- One Time Password
- Google Pay
Example: 123456 is your OTP to register your card ending with 6789 on Google Pay.
Transaction OTP
Transaction OTP is sent when the user attempts to make a payment using the card. The OTP is auto-filled if the SMS text contains any one of the following phrases:
- ... 123456 is the OTP ...
- ... 123456 is the One Time Password ...
- ... for Google Pay is 123456 ...
- ... OTP for your digital wallet is 123456 ...
Example: Hello, 123456 is the OTP for your transaction of Rs 123 with card ending with 6789.
Testing
Issuers should complete the following end-to-end tests for each network and card portfolio you issue to make sure your integration with Google Pay works flawlessly for cardholders.
Add Card
| Test case | Preconditions | Test steps | Verification |
|---|---|---|---|
| Add Card option should be visible. |
|
Add Card option should be visible. | |
| Verify if OTP is asked while adding Card and auto read. | This card has not been added to Google Pay |
|
|
| Attempt to add a card with incorrect expiry. | This card has not been added to Google Pay |
|
After entering invalid expiry date, error should be triggered at that field and user should not able to add that card. |
| User should able to add card from payflow during mobile recharge when bank account is added. | User should have already added bank account. |
|
|
| Add card option should not be visible in Payflow screen if no bank account is added. | User should not have added bank account. |
|
Only Add Bank Account and Continue buttons should be visible. |
| Add Card option should not be visible with P2P payment. | Use 2 GPay users. |
|
Add card option should not be visible. |
In-app Payments - Merchant Transactions
You can test a transaction on any of the following merchants. Myntra is shown as an example here as you can cancel the order immediately afterwards.
- Myntra
- Yatra
- Dunzo
- Magicpin
- Confirmtkt
- EaseMyTrip
- Limeroad
- Zoomin
- Coolwinks
| Test case | Preconditions | Test steps | Verification |
|---|---|---|---|
|
User should be able to make a successful payment using
a sample in-app merchant app for cards, OTP is asked, and the OTP
is auto-read. The user should be navigated back to the sample in-app merchant after completion of the transaction. |
|
|
|
| Verify user is able to switch to Card as payment option after initiating payment with Bank account. |
|
|
|
In-app Payments - Bills/postpaid/prepaid payments
Bill payments and prepaid recharge are supported and need to be tested. The following options can be used for testing for card tokenization:
- Postpaid Mobile bill payment
- Prepaid Mobile / DTH Recharge
- Utilities bill payment - Electricity / Water / Gas / Broadband
| Test case | Preconditions | Test steps | Verification |
|---|---|---|---|
| User should able to add Card from payment flow and make successful payment. | User should not have added Card as payment method. |
|
|
| User should be able to successfully recharge using card payment. | User should have already added Card as payment method. |
|
|
| Verify card payment for recharge with invalid OTP. | User should have already added Card as payment method. |
|
|
Bharat QR Payments
List of supported merchants:
- TataSky online recharge
- Domino's
- Baskin Robbins
Several other merchants also support BharatQR and should be fine to test with.
| Test case | Preconditions | Test steps | Verification |
|---|---|---|---|
| User should able to make a successful payment to Bharat QR using cards. | User should have already added Card as payment method. |
|
|
| Transaction should not succeed if incorrect OTP is entered during high value payment. | User should have already added Card as payment method. |
|
|
Link Corporate Email Account to Google Account
You need to use a Google Account associated with your corporate email address rather than a personal account.
If Google Workspace hosts your corporate account, you already have a Google account. Otherwise you need to follow these steps to link your corporate email address to Google.
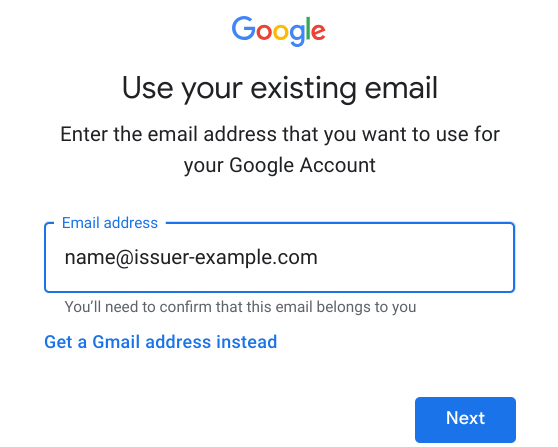
Open the Create your Google Account page to associate your corporate account to a Google account.
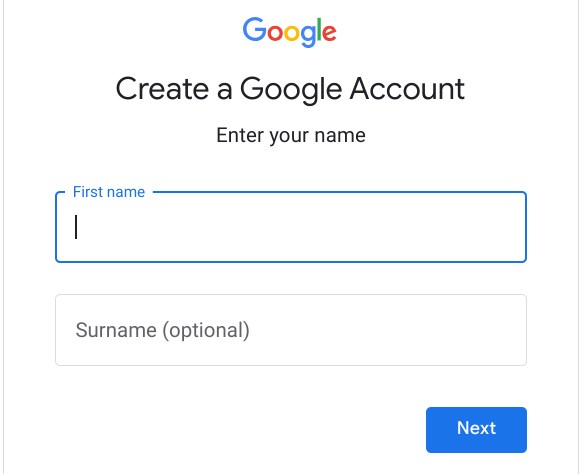
Type in the requested information on the Create your Google Account screen; you must use your corporate email address.