
इवेंट की पुष्टि करने के बाद, आपको लागू करने की पुष्टि करनी होगी. पुष्टि करने वाला सर्वर यह पुष्टि करता है कि आपके इवेंट का स्ट्रक्चर सही है. हालांकि, यह पुष्टि करने के लिए कि उन्हें आपकी प्रॉपर्टी में सही तरीके से भेजा जा रहा है, आपको यह काम करना होगा:
- क्लाइंट से इवेंट भेजना
- अपनी प्रॉपर्टी में कोई इवेंट भेजना
- रीयलटाइम व्यू देखना
- DebugView की जांच करना
अगर आपको इन चरणों को पूरा करने के बाद भी अपने इवेंट नहीं दिख रहे हैं, तो लागू करने के दौरान होने वाली सामान्य गड़बड़ियों को हल करने का तरीका देखें.
किसी क्लाइंट से इवेंट भेजना
अपना क्लाइंट चुनें:
किसी इवेंट को मान्य होने के लिए, उसमें ऐसा app_instance_id होना चाहिए जिसका इस्तेमाल पहले ही Google Analytics for Firebase SDK से इवेंट भेजने के लिए किया जा चुका हो.
इस आईडी को क्लाइंट-साइड पर कैप्चर करें और इसे मेज़रमेंट प्रोटोकॉल को किए जाने वाले कॉल में शामिल करें. अपनी प्रॉपर्टी को कोई इवेंट भेजें में, हम app_instance_id के तौर पर "app_instance_id" का इस्तेमाल करते हैं. आपको इसे एसडीके से मिले असली app_instance_id से बदलना होगा. मान्य वैल्यू का इस्तेमाल करने के लिए, क्या सही app_instance_id का इस्तेमाल किया जा रहा है लेख पढ़ें.
अपनी प्रॉपर्टी में कोई इवेंट भेजना
क्लाइंट से इवेंट भेजने और मान्य app_instance_id कैप्चर करने के बाद, मेज़रमेंट प्रोटोकॉल का इस्तेमाल करके इवेंट भेजा जा सकेगा. लागू करने की पुष्टि करते समय, आपको वही इवेंट भेजना चाहिए जिसे मेज़रमेंट प्रोटोकॉल का इस्तेमाल करके मेज़र करना है.
उदाहरण के लिए, यहां refund इवेंट भेजा गया है:
const firebaseAppId = "FIREBASE_APP_ID";
const apiSecret = "API_SECRET";

fetch(`https://www.google-analytics.com/mp/collect?firebase_app_id=${firebaseAppId}&api_secret=${apiSecret}`, {
  method: "POST",
  headers: {
    "Content-Type": "application/json"
  },
  body: JSON.stringify({
    "app_instance_id": "APP_INSTANCE_ID",
    "events": [{
      "name": "refund",
      "params": {
        "currency": "USD",
        "value": "9.99",
        "transaction_id": "ABC-123"
      }
    }]
  })
});
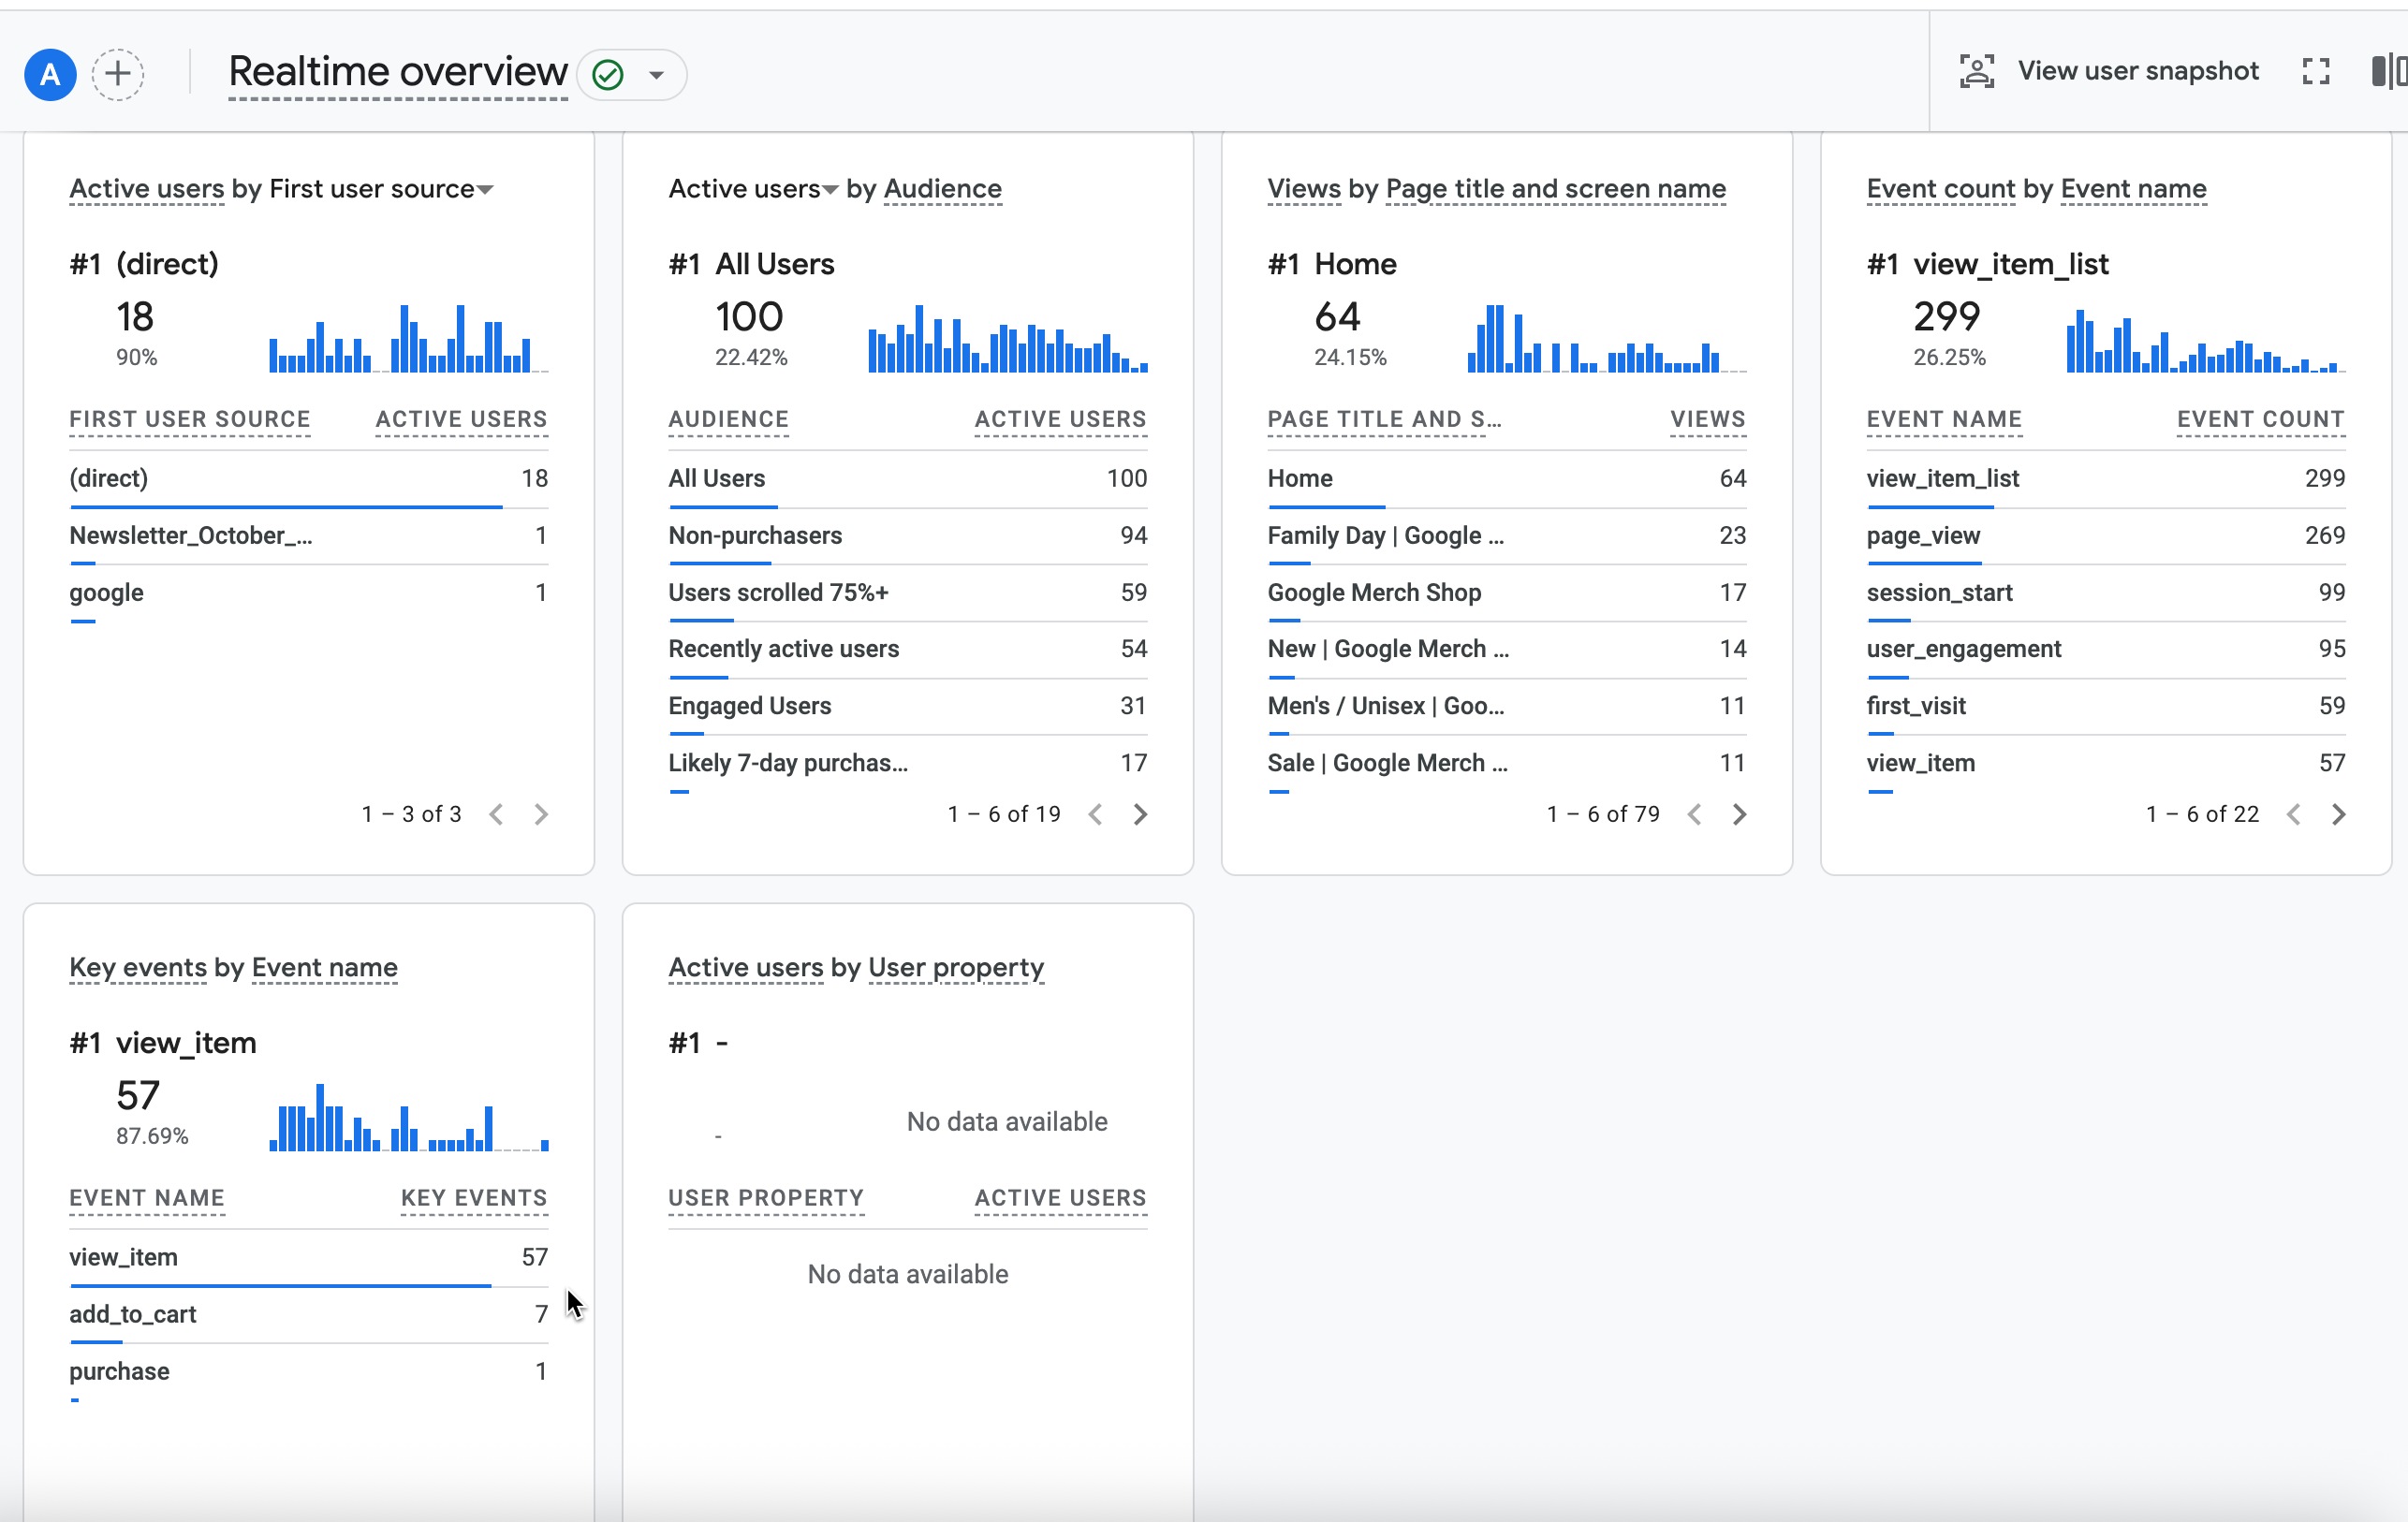
रीयलटाइम व्यू देखना
मेज़रमेंट प्रोटोकॉल का इस्तेमाल करके कोई इवेंट भेजने के बाद, अपनी प्रॉपर्टी के लिए रीयलटाइम व्यू देखें. आम तौर पर, इवेंट कुछ सेकंड में दिखने लगते हैं.
रीयलटाइम व्यू पर जाने के लिए, Google Analytics खोलें. इसके बाद, बाएं नेविगेशन में रिपोर्ट > रीयलटाइम पर जाएं. आपको सबसे नीचे मौजूद चार्ट पर ध्यान देना होगा. जैसे, "इवेंट के नाम के हिसाब से इवेंट की संख्या" और "इवेंट के नाम के हिसाब से मुख्य इवेंट."
DebugView की जांच करना
अगर रीयलटाइम व्यू में, लागू करने की पुष्टि करने के लिए ज़रूरी जानकारी नहीं मिलती है, तो कुछ टेस्ट इवेंट में डीबग मोड चालू करें. इसके लिए, params कलेक्शन में ये पैरामीटर शामिल करें, ताकि DebugView में इवेंट को मॉनिटर और उनकी समीक्षा की जा सके:
"debug_mode": trueया"debug_mode": 1"engagement_time_msec"को पॉज़िटिव नंबर पर सेट किया गया हो
उदाहरण के लिए, यहां दिए गए कोड में डीबग मोड चालू करके रिफ़ंड भेजा गया है:
const firebaseAppId = "FIREBASE_APP_ID";
const apiSecret = "API_SECRET";

fetch(`https://www.google-analytics.com/mp/collect?firebase_app_id=${firebaseAppId}&api_secret=${apiSecret}`, {
  method: "POST",
  headers: {
    "Content-Type": "application/json"
  },
  body: JSON.stringify({
    "app_instance_id": "APP_INSTANCE_ID",
    "events": [{
      "name": "refund",
      "params": {
        "currency": "USD",
        "value": "9.99",
        "transaction_id": "ABC-123",
        "engagement_time_msec": 1200,
        "debug_mode": true
      }
    }]
  })
});
डीबग मोड चालू करके इवेंट भेजने के बाद, DebugView का इस्तेमाल करके इवेंट मॉनिटर करने से जुड़े निर्देशों का पालन करें. इससे आपको यह पुष्टि करने में मदद मिलेगी कि आपने इवेंट को सही तरीके से लागू किया है या नहीं.