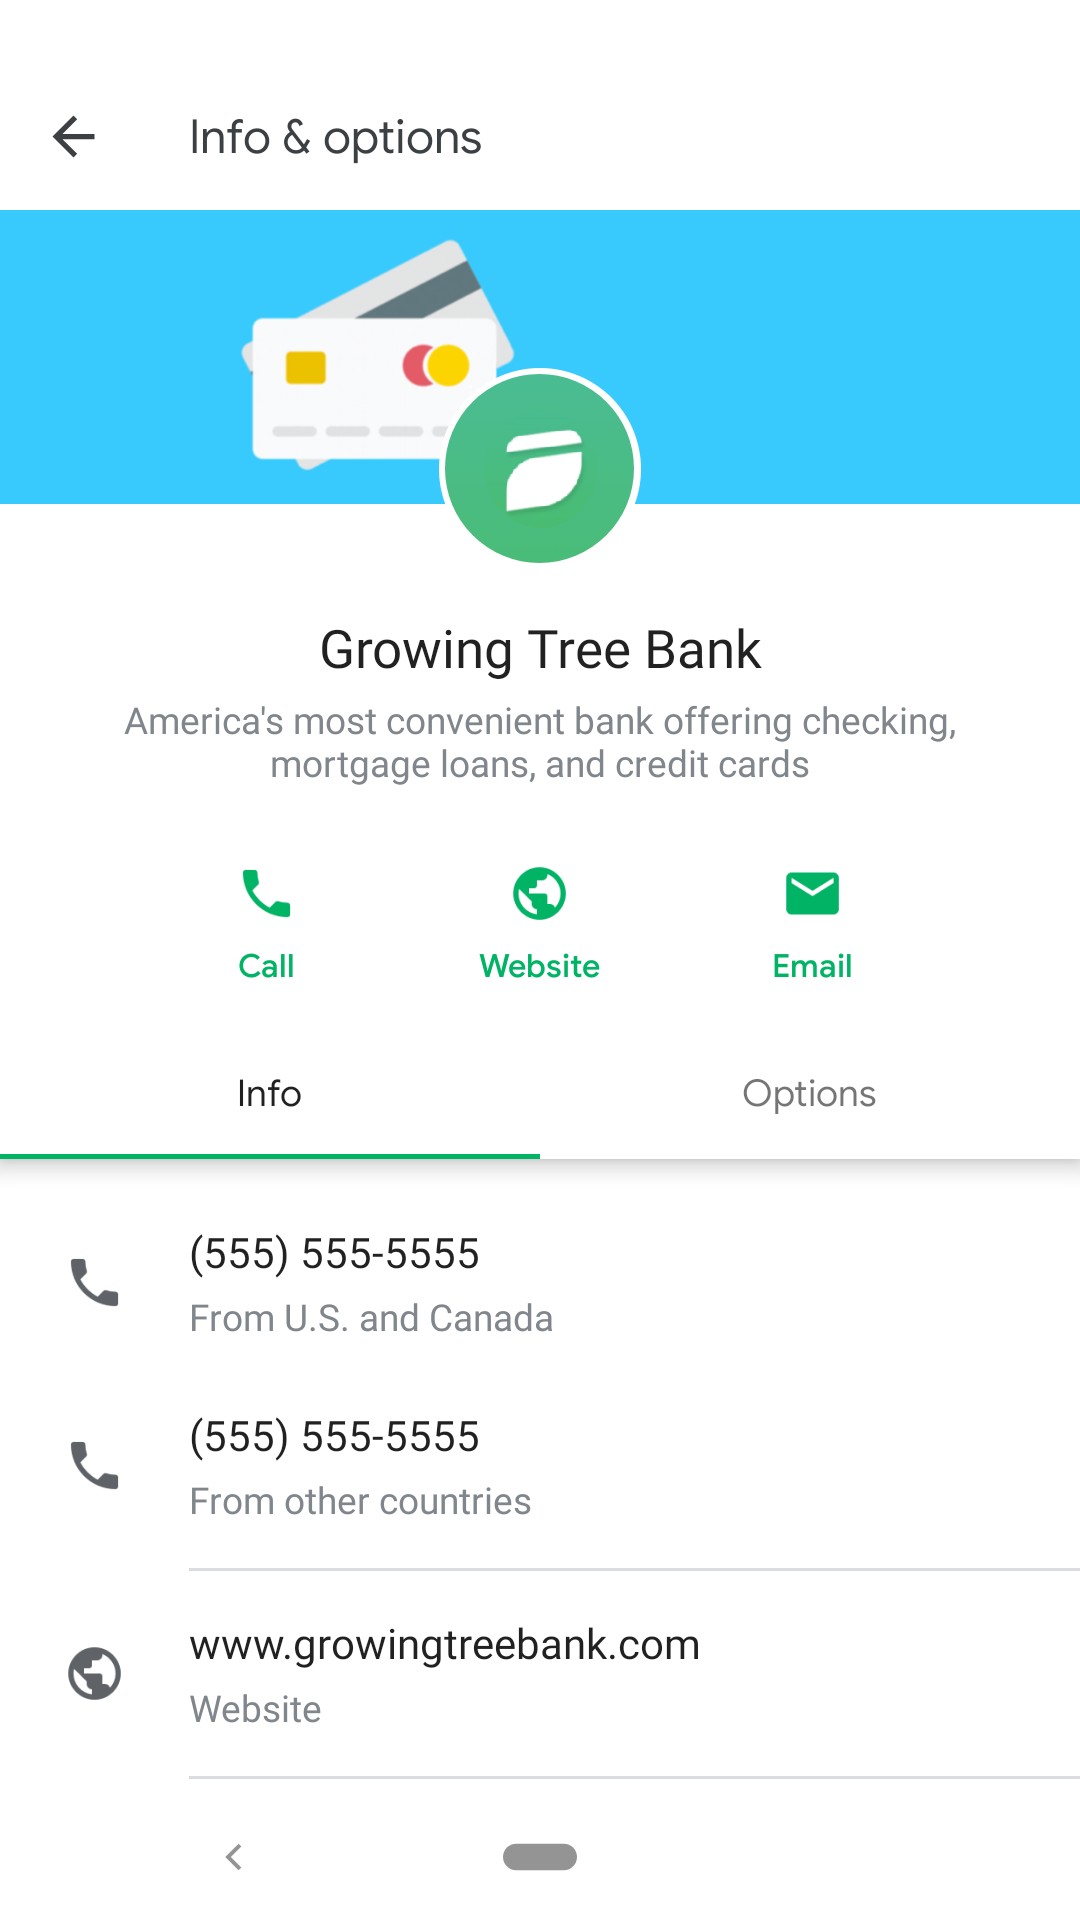
In an RBM conversation, messages between a user and an agent appear in an RCS-enabled messaging app, such as iMessage or Google Messages, on the user's device. The messaging app displays branding and profile information for your agent, including name, logo, description, contact information, and URLs.
You could create a single agent for Growing Tree Bank that allows users to interact with various departments like Customer Care and Mortgages. Alternatively, you could create separate agents for each department, such as Growing Tree Bank Customer Care and Growing Tree Bank Mortgages.
Before creating multiple agents for one business, consider the user experience and refer to the conversational best practices.
Create your agent
RBM agents use the RCS Business Messaging API to send messages, events, and other requests to users. When you create an agent, you enable access to the RBM API and define your agent's colors and branding information.
The following steps describe how to create an agent with the Business Communications Developer Console. You can also create an agent with the Business Communications API.
To create an agent:
- Go to the Business Communications Developer Console and sign in with your RBM partner Google Account.
- On the homepage, click + Create agent.
- In the New RCS Business Messaging agent window, specify the following
information:
- Brand that your agent represents
- Agent name
- Hosting region
- Billing category
- Use case
- Click Create agent.
Once an agent is created, you can access all the features of the Business Communications Developer Console to edit your agent's information and submit it for launch. To start, select your agent from the homepage.
Note that deleting an RBM agent is not permitted for security reasons. Email rbm-support@google.com if you need assistance.
Identify the agent's region
RBM agents can exist in one of three regions: North America, Europe, and Asia Pacific. The RBM API supports three regional endpoints to help businesses comply with regional and business requirements.
When you create your agent, choose your agent's region based on the applicable regulations, requirements, and proximity to end users. This region determines where your agent operates from and where it stores its data.
If you or your intended users don't fit within those regions, choose the region that is closest to you to minimize latency. For example:
- If you're in Latin America, choose the North America region.
- If you're in Africa, choose the Europe region.
- If you're in Australia, choose the Asia Pacific region.
Don't decide your agent's region based on your target carriers. All regions have equal access to carriers worldwide.
Determine the agent's billing category
When creating an RBM agent, you need to specify its billing category based on how the agent will interact with users. Choose the category that most closely matches your agent's intended behavior:
- Conversational: For agents that engage in multi-turn conversations with users.
- Basic Message or Single Message: For agents who send messages without expecting frequent replies.
You can only change your agent's billing category before launching it. Email rbm-support@google.com if you need to change the billing category after launch.
For more information about the RBM billing model, refer to the RBM billing FAQ.
Identify the agent's use case
Each RBM agent is required to have a predefined use case. This helps categorize your agent and apply the right business rules for a good user experience. RBM supports four use cases:
- OTP: One-time passwords required to securely authenticate an account or confirm a transaction.
- Transactional: Notifications, updates, or alerts that share information directly relevant to a customer's existing services or products, such as alerts for suspicious account activities, purchase confirmations, and shipping notifications.
- Promotional: Sales, marketing, and promotional messages to new or existing customers, with the goal of increasing awareness, engagement, and sales.
- Multi-use: Conversations that combine transactional and promotional messages, such as sending an account notification followed by a discount offer or upgrading to a new product or service.
Each use case has different rules about what you can send. To learn more about each use case and find the best fit for your agent, see Choose the right use case for your agent.
Once you submit your agent for launch, you cannot change the use case. Check your country's use cases and business rules before submitting your agent.
Next steps
Now that you have a working agent, you can edit agent information and configure an agent-level webhook if needed.
Remember that you need a service account key to securely authenticate API calls. If you haven't already created a service account key for your partner account, now is the time to do it.