Page Summary
-
The Google Mobile Ads C++ SDK is deprecated as of June 17, 2024, with End-of-Maintenance on June 17, 2025, meaning no further updates or bug fixes will be released after this date.
-
It is crucial to use test ads during development to avoid generating invalid activity on your AdMob account by clicking on production ads.
-
You can obtain test ads by using Google's provided demo ad units, which are not linked to your AdMob account.
-
Alternatively, you can enable test mode on your own ad units by adding your device as a test device through the AdMob UI or programmatically using the SDK.
-
When testing with mediation, you must enable test devices and ensure test mode is enabled for each mediation network as mediated ads do not display the "Test mode" label.
This guide explains how to receive test ads in your ads integration. It is important to use test ads during development so that you can click on them without charging Google advertisers. If you click on too many ads without being in test mode, you risk your account being flagged for invalid activity.
There are two ways to get test ads:
Use one of Google's demo ad units.
Use your own ad unit and enable test mode.
Demo ad units
The quickest way to enable testing is to use Google-provided demo ad units. These ad units are not associated with your AdMob account, so there's no risk of your account generating invalid traffic when using these ad units.
Here are demo ad units that point to specific test creatives for each format:
Android
| Ad format | Sample ad unit ID |
|---|---|
| Banner | ca-app-pub-3940256099942544/6300978111 |
| Interstitial | ca-app-pub-3940256099942544/1033173712 |
| Rewarded | ca-app-pub-3940256099942544/5224354917 |
iOS
| Ad format | Sample ad unit ID |
|---|---|
| Banner | ca-app-pub-3940256099942544/2934735716 |
| Interstitial | ca-app-pub-3940256099942544/4411468910 |
| Rewarded | ca-app-pub-3940256099942544/1712485313 |
Enable test devices (Test mode)
If you want to do more rigorous testing with production-looking ads, you can now configure your device as a test device and use your own ad unit IDs that you've created in the AdMob UI. Test devices can either be added in the AdMob UI or programmatically using the Google Mobile Ads SDK.
Follow the steps below to add your device as a test device.
Add your test device in the AdMob UI
For a simple, non-programmatic way to add a test device and test new or existing app builds, use the AdMob UI. Learn how.
Add your test device programmatically
If you want to test ads in your app as you're developing, follow the steps below to programmatically register your test device.
Load your ads-integrated app and make an ad request.
Check the console for a message that looks like this:
Android
 I/Ads: Use RequestConfiguration.Builder.setTestDeviceIds(Arrays.asList("33BE2250B43518CCDA7DE426D04EE231"))
 to get test ads on this device."
iOS
 <Google> To get test ads on this device, set:
 GADMobileAds.sharedInstance.requestConfiguration.testDeviceIdentifiers = @[ @"2077ef9a63d2b398840261c8221a0c9b" ];
Copy your test device ID to your clipboard.
Modify your code to set the test device ID through
SetRequestConfiguration:// Set a sample device ID of 2077ef9a63d2b398840261c8221a0c9b firebase::gma::RequestConfiguration request_configuration = firebase::gma::GetRequestConfiguration(); request_configuration.test_device_ids.push_back("2077ef9a63d2b398840261c8221a0c9b"); firebase::gma::SetRequestConfiguration(request_configuration);
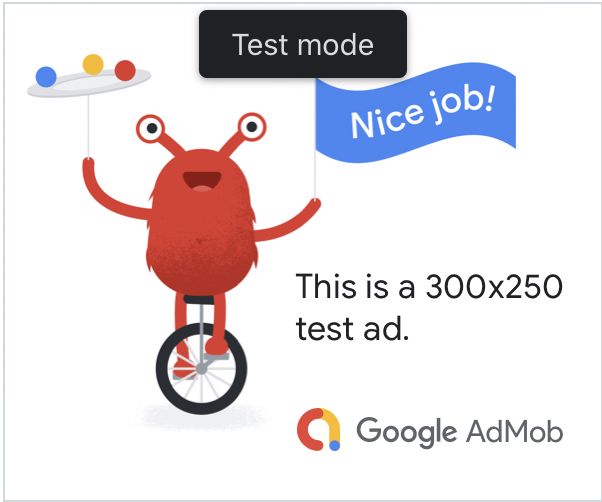
Re-run your app. If the ad is a Google ad, you'll see a Test mode label centered at the top of the ad (banner, interstitial, or rewarded ad):

Ads with this Test mode label are safe to click. Requests, impressions, and clicks on ads in test mode will not show up in your account's reports.
Testing with mediation
Google's demo ad units only show Google ads. To test your mediation configuration, you must use the enable test devices approach.
Mediated ads do not render a Test mode label. You are responsible for ensuring that test mode is enabled for each of your mediation networks so that these networks don't flag your account for invalid activity. See each network's respective mediation guide for more information.
If you aren't sure whether a mediation ad network adapter provides a test mode,
it is safest to avoid clicking on ads from that network during development. You
can use the ResponseInfo::mediation_adapter_class_name() method on any of the
ad formats to figure out which ad network served the current ad.