
Brand verification an application developer can verify they have accurately represented their identity and intent as specified by Google's API Services User Data Policy. Brand verification is part of the OAuth App verification process. Google Ads API uses the brand verification status of Google Cloud projects associated with a developer token while reviewing the applications for Basic Access level.
This guide provides the step-by-step instructions to complete brand verification for your Google Cloud project.
Prerequisite: Associate your developer token to your Google Cloud Project
Prior to completing brand verification, you must associate your developer token with your Google Cloud project. This is done by making an API call using your developer token, and an OAuth credential from your Google Cloud project.
There are no other requirements on what approach you use:
- You can use either the user authentication workflow or the service account workflow, as long as the relevant OAuth credentials belong to the correct Google Cloud project.
- You can make the API call to either a test account, or a production account.
- It doesn't matter whether your API call succeeds or fails.
- It doesn't matter what access level your developer token has.
How to complete brand verification
- Navigate to the Google Cloud Console and select your project.
- From the left menu, navigate to APIs & Services -> OAuth consent screen
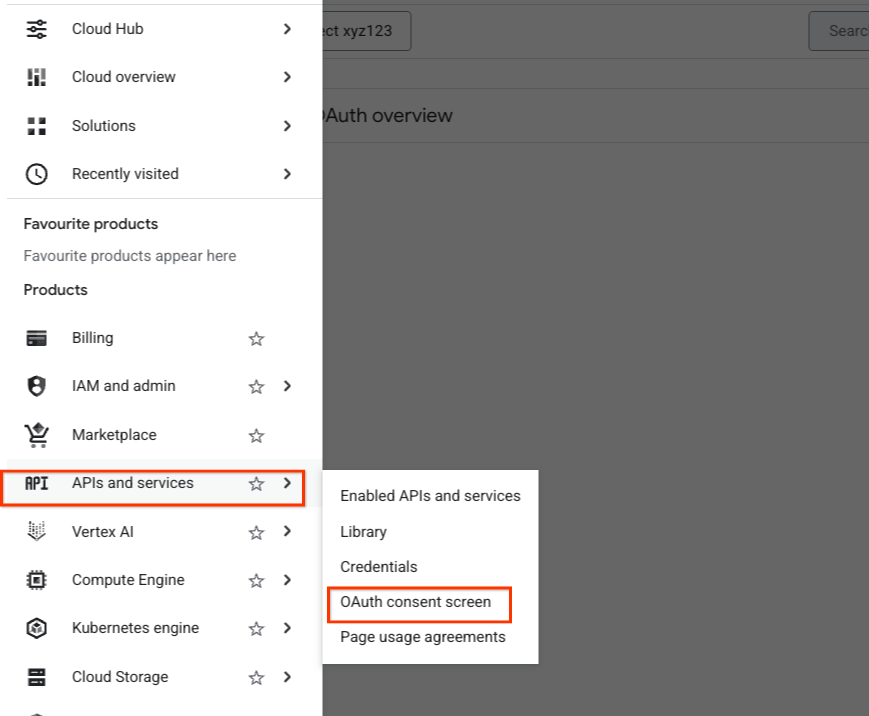
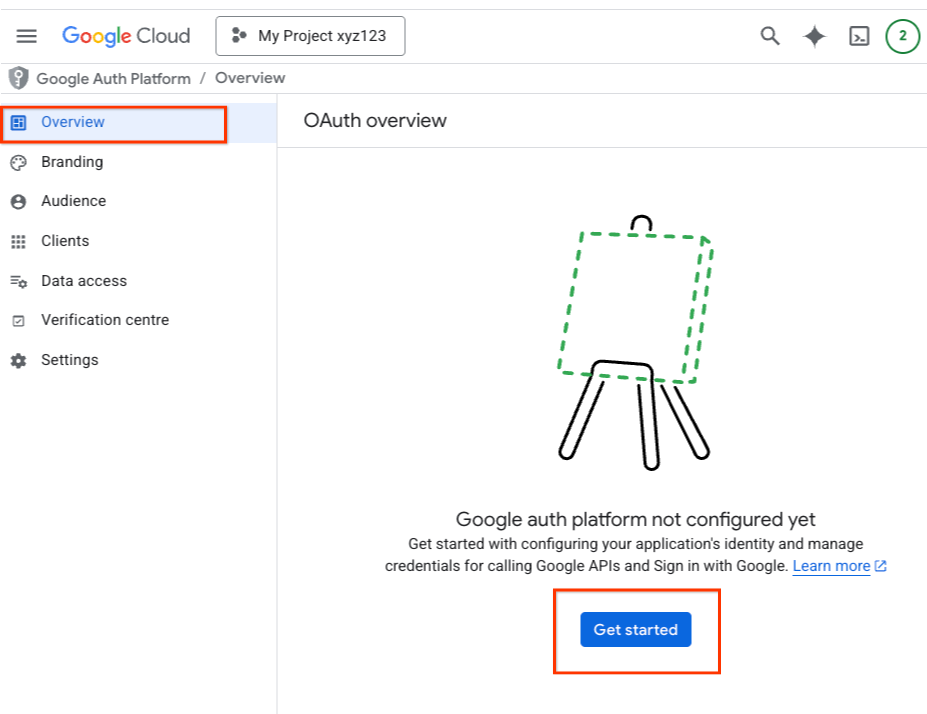
- Select the Overview Tab, click the Get Started button on the
OAuth Overview page.
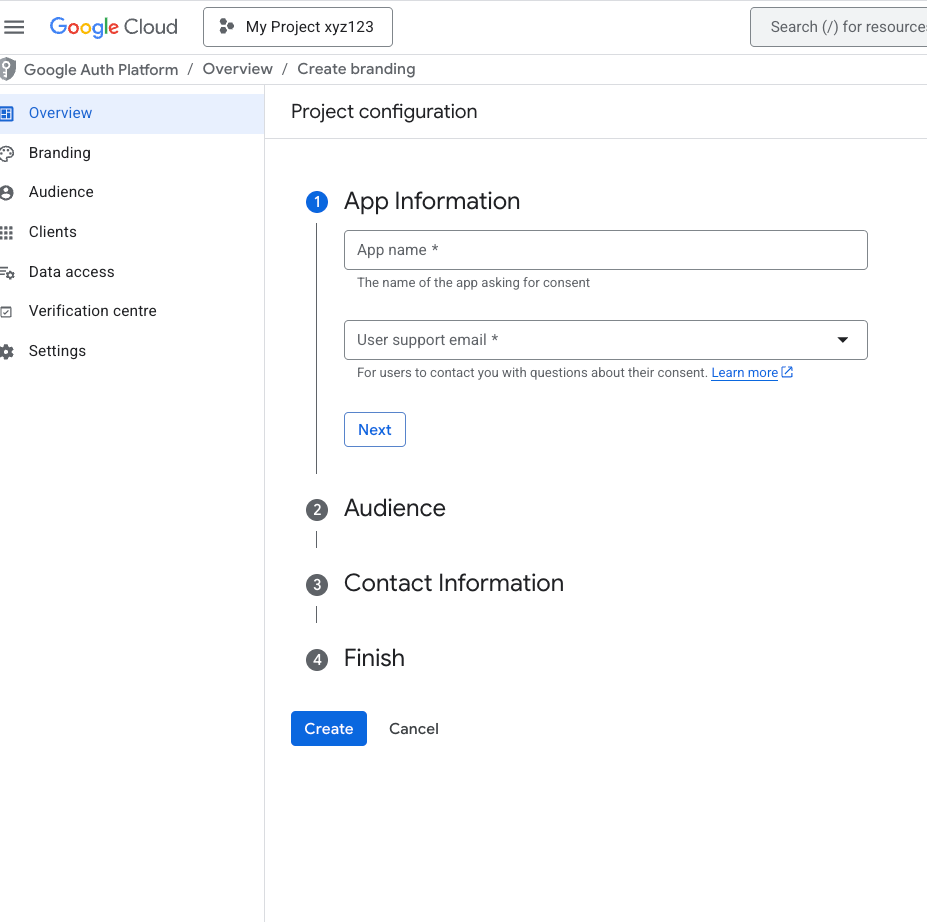
- Fill in the details and click the Create.
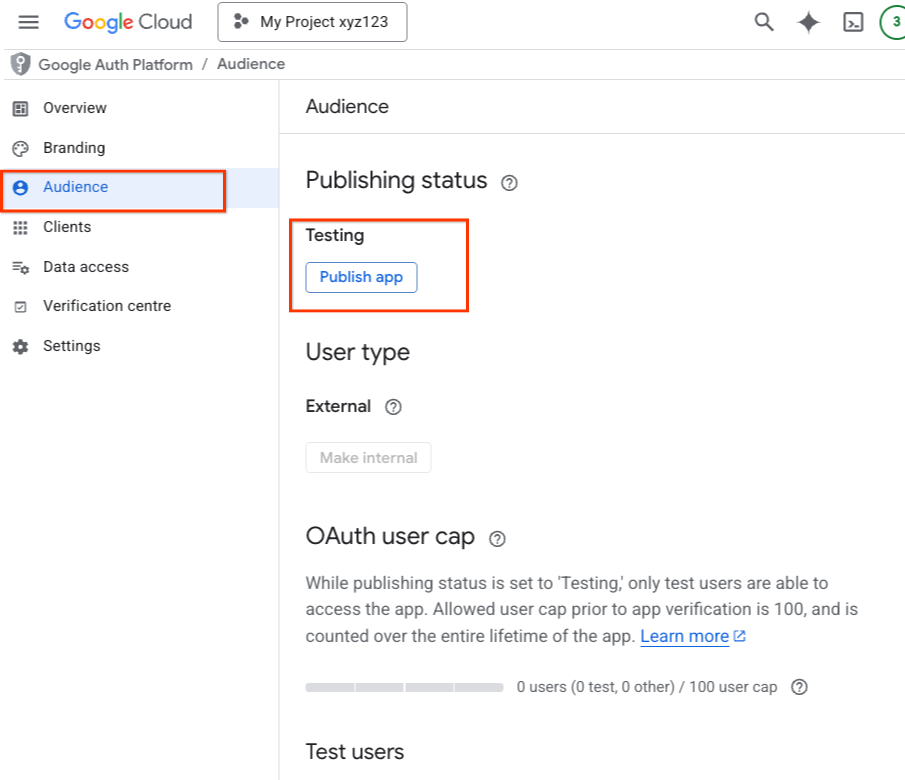
- Next, navigate to the Audience tab.
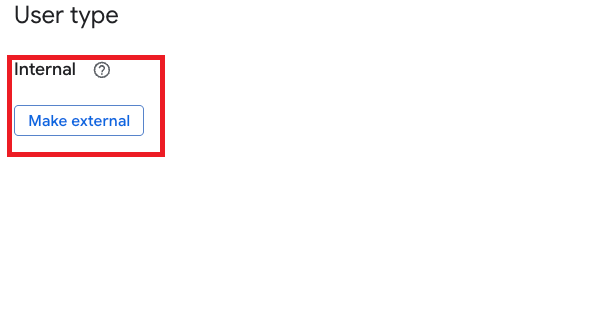
If you are a Google Workspace user
-
If you are a Google Workspace user, you may see the User type marked as Internal. Click the Make external button.
-
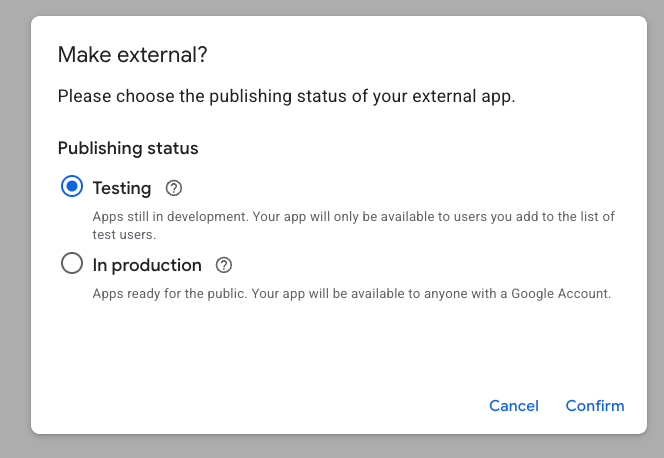
On the next dialog, select the Publishing status as In production. Click the Confirm button.
-
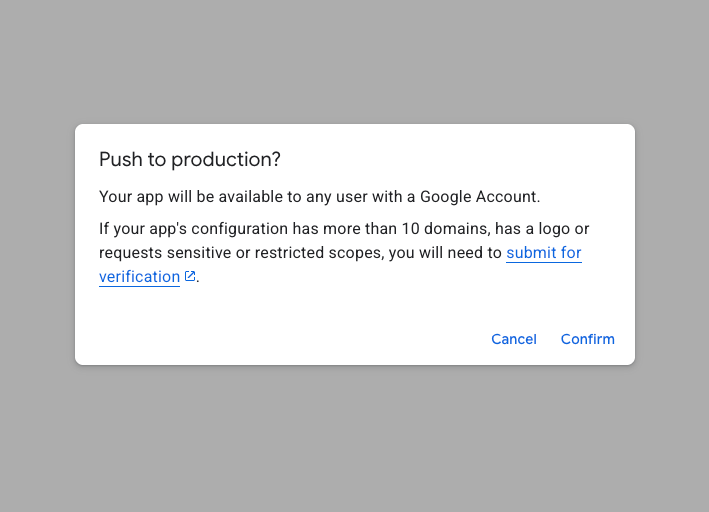
If prompted to Push to Production?, click the Confirm button.
If you are not a Google Workspace user
If you are not a Google Workspace user, you won't see the option to modify the User type. It will be marked as External.
-
You may see the Publishing status as Testing. Click the Publish app button.
-
Click the Confirm button when prompted to Push to Production?
-
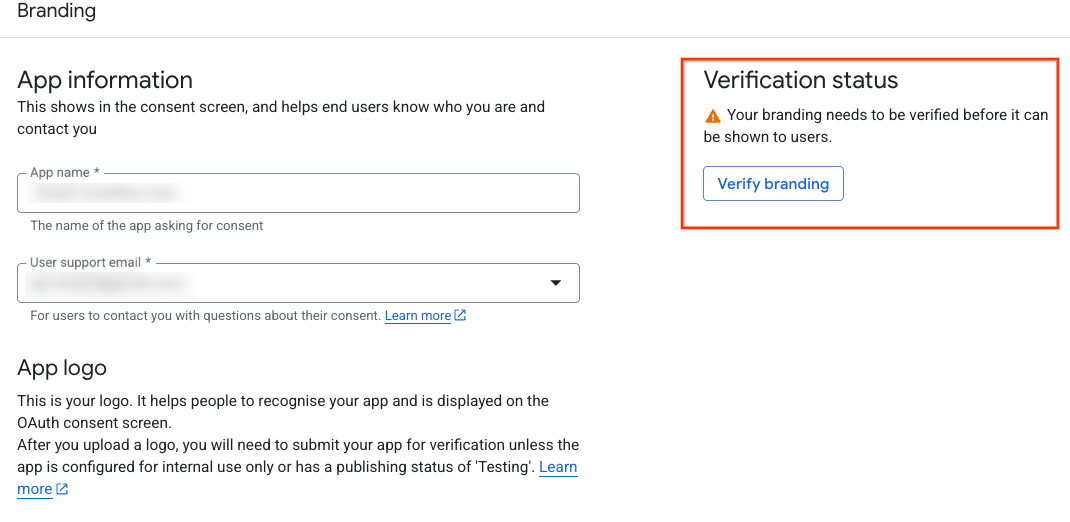
- Navigate to the Branding tab. Fill in all the branding information and click the Save button.
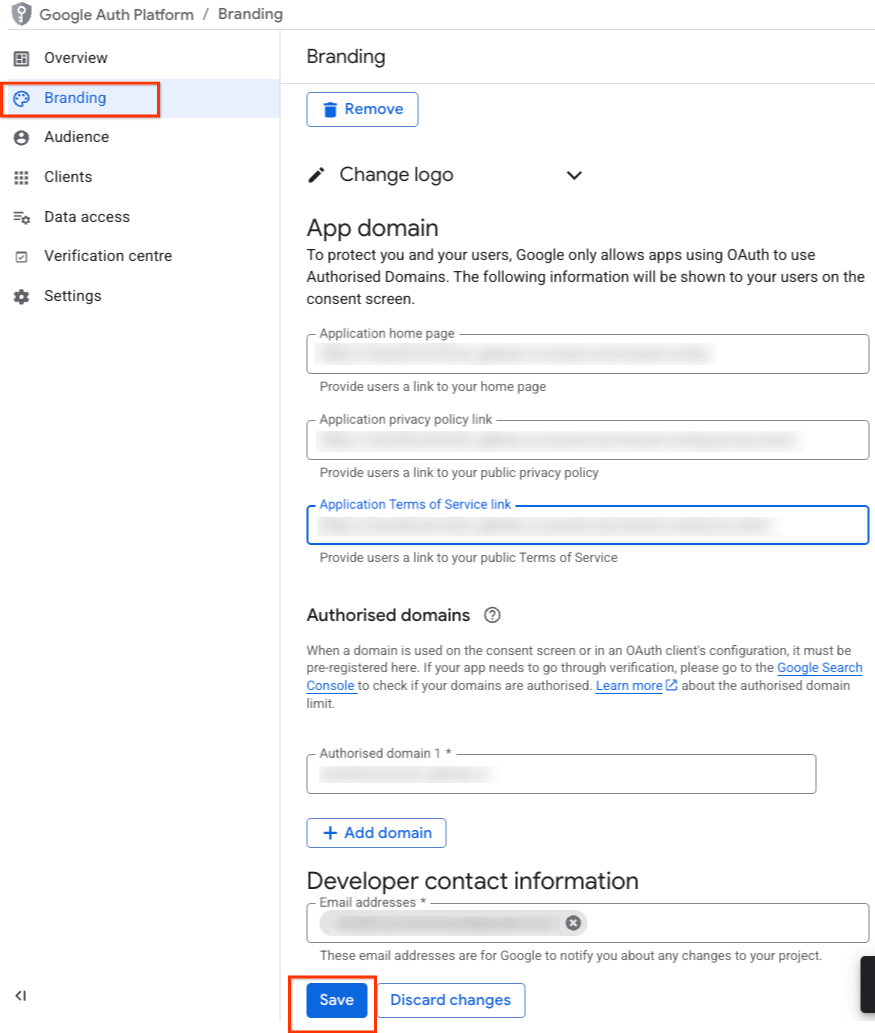
- The Verification status button is now enabled on the top-right corner of the Branding page. Click the Verify Branding button.
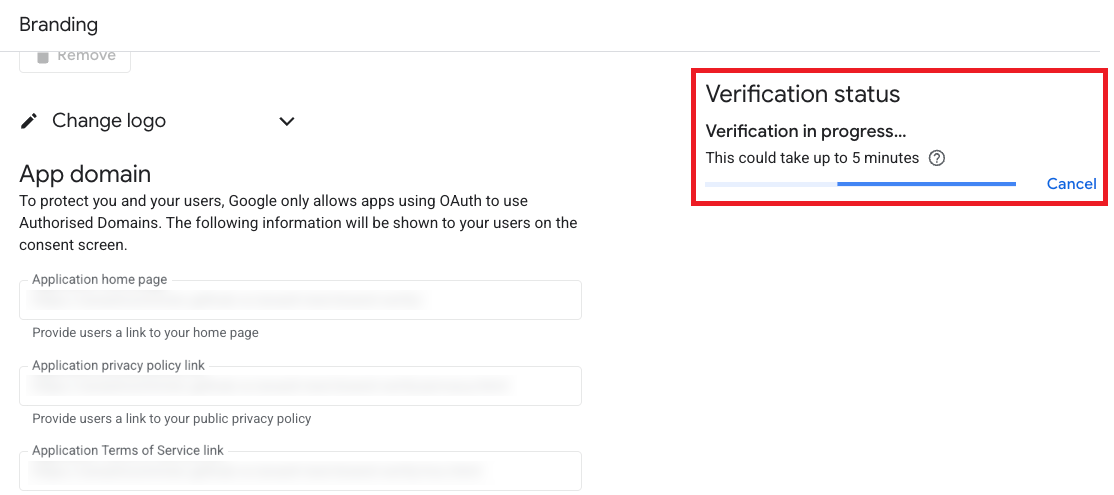
- The verification process starts, and takes a few minutes to complete. If there are errors, the page displays them and steps to address them.
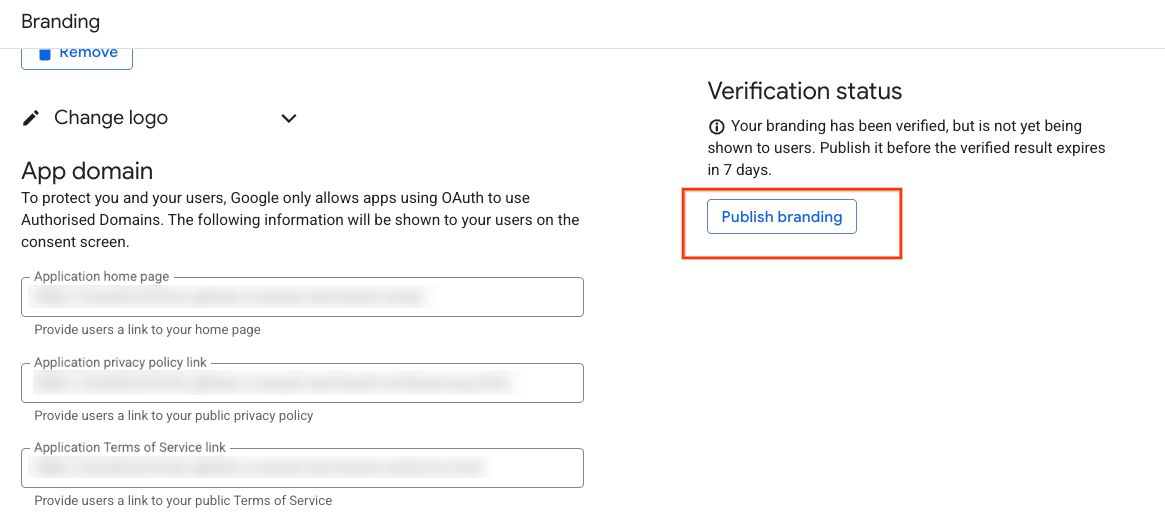
- Once the verification completes successfully, click the Publish branding button.
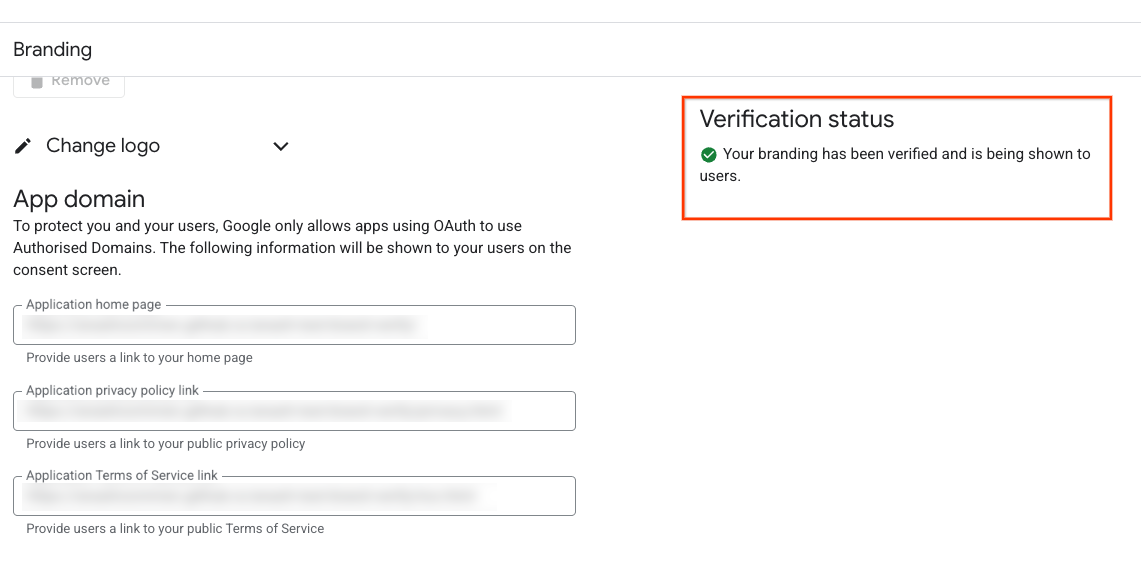
- Your project is now Brand verified.
What if my application targets Internal users or not published for Production use?
You may note in other documentation and Google Cloud Console UI that brand verification is not required for an application if its User type is set to Internal or if Publishing status is Testing. However, for the purpose of reviewing the Basic Access application for the Google Ads API, this documentation supersedes any other guidance. You must switch your application's User type to External and publishing status to In production.