Gemini এবং Vertex AI দিয়ে Gmail বার্তাগুলিকে বিশ্লেষণ এবং লেবেল করুন৷

এই সমাধানটি Gmail বার্তা বিশ্লেষণ করতে এবং তাদের অনুভূতির উপর ভিত্তি করে লেবেল করতে Vertex AI এবং Gemini ব্যবহার করে।

কোডিং স্তর : মধ্যবর্তী
সময়কাল : ৩০ মিনিট
প্রকল্পের ধরণ : গুগল ওয়ার্কস্পেস অ্যাড-অন

  • একটি Google Workspace অ্যাড-অন যা একটি সাইডবারে Gmail প্রসারিত করে।
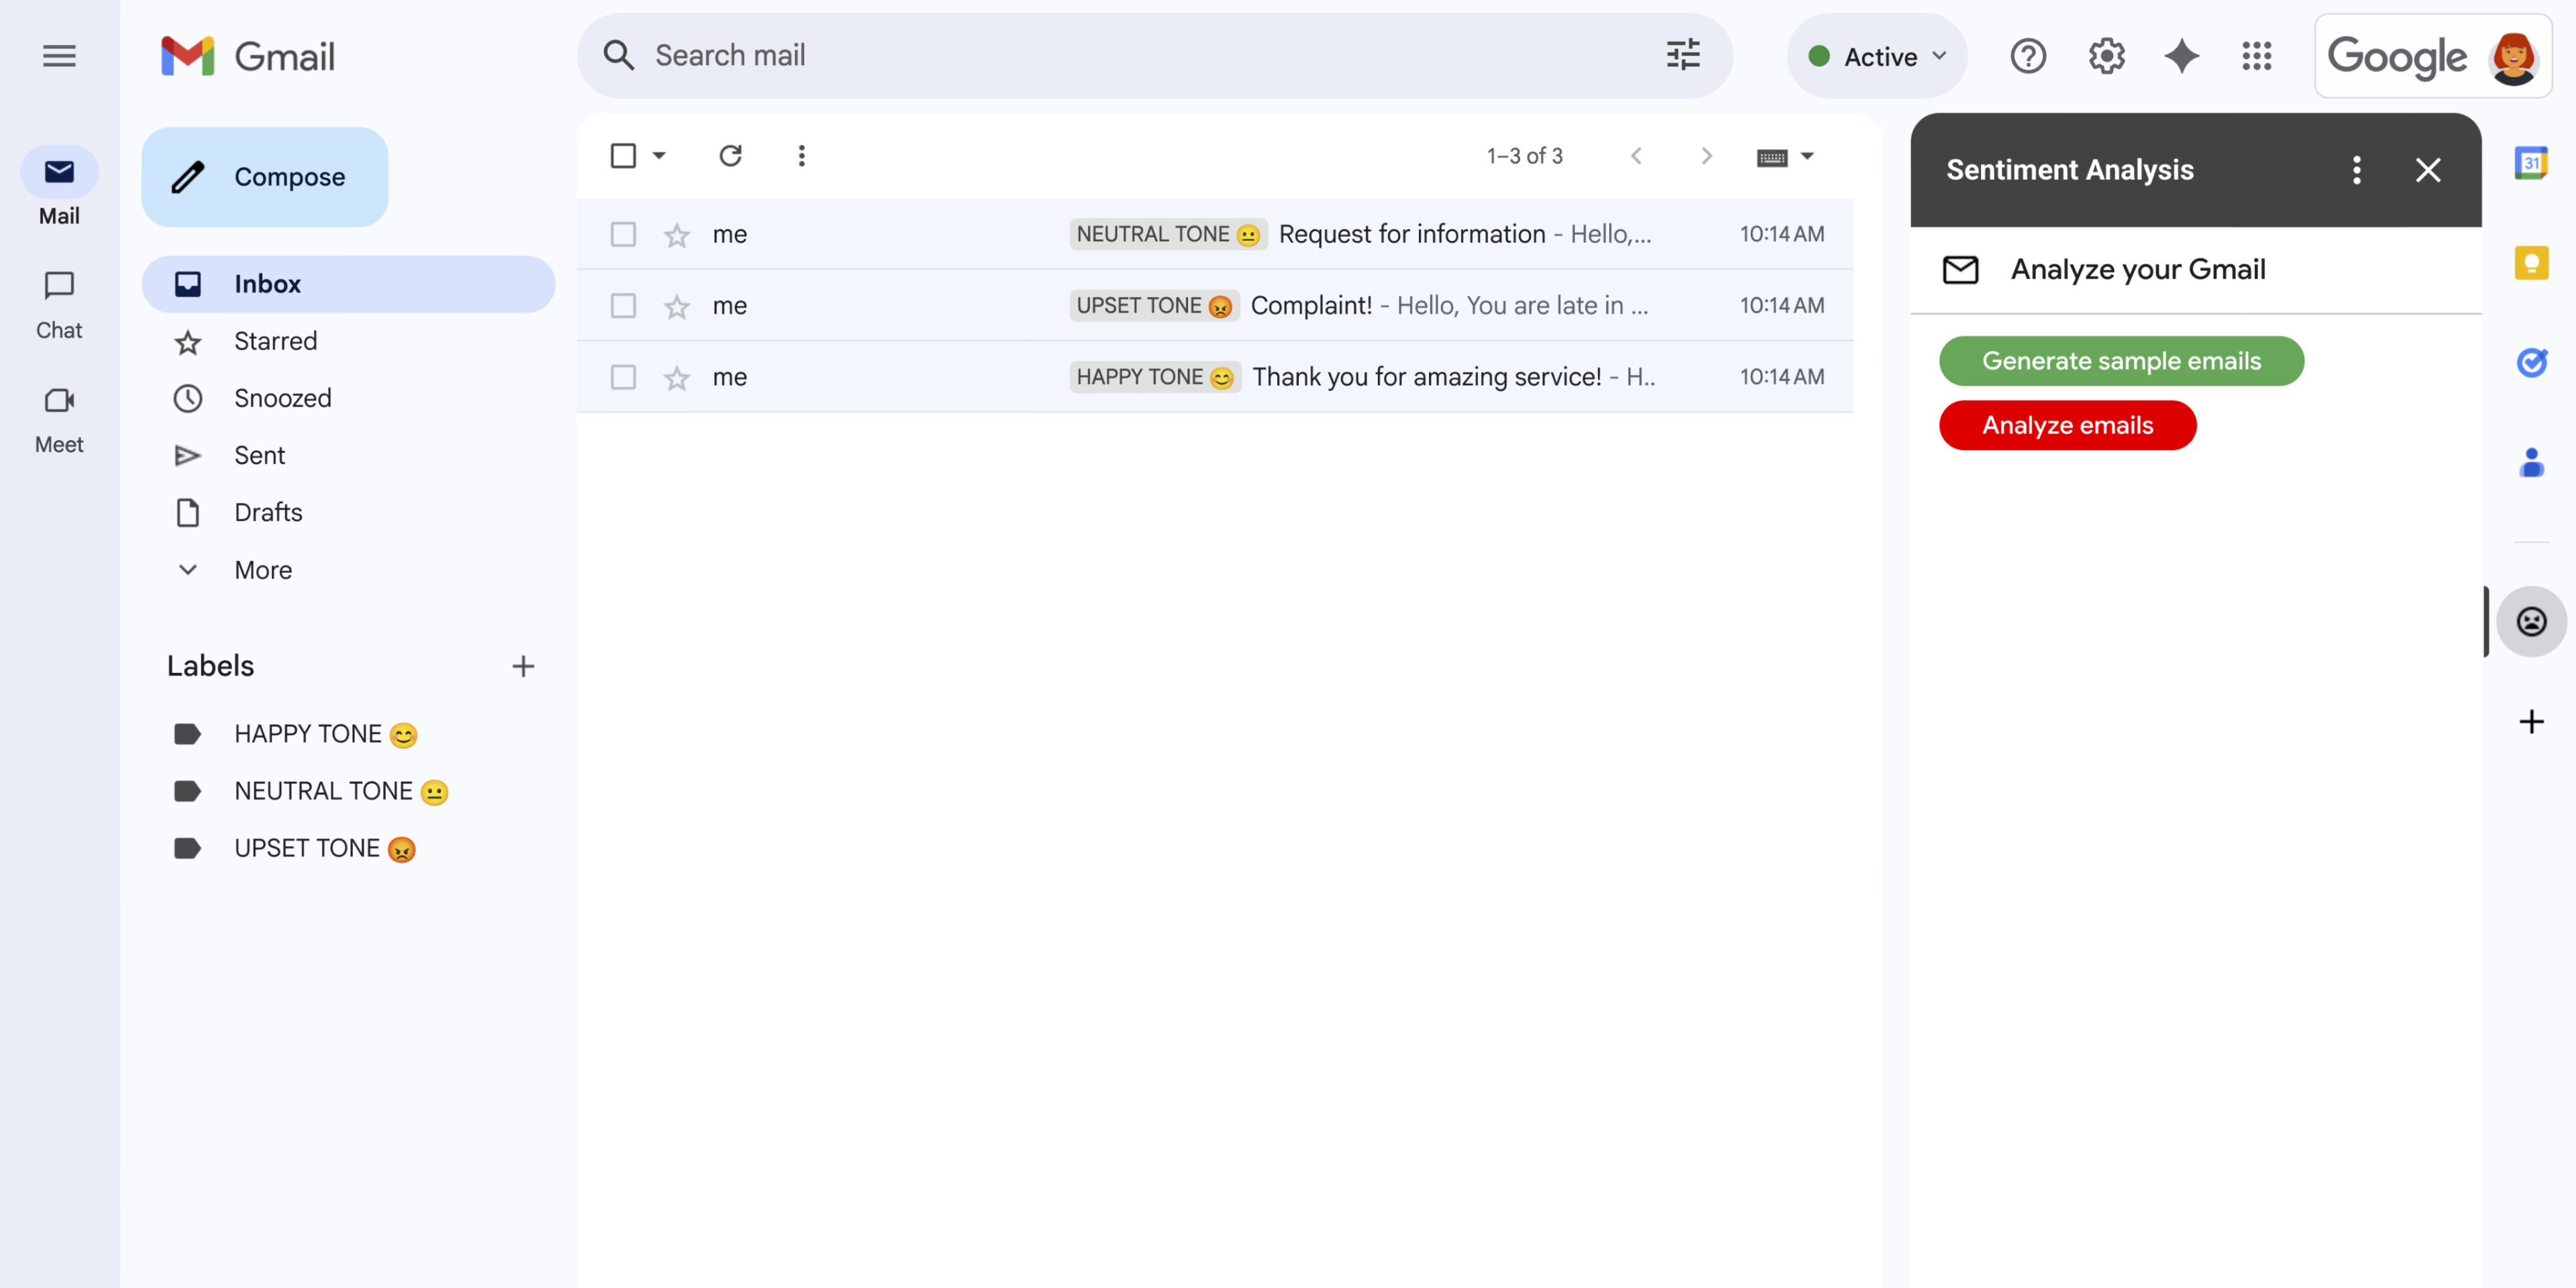
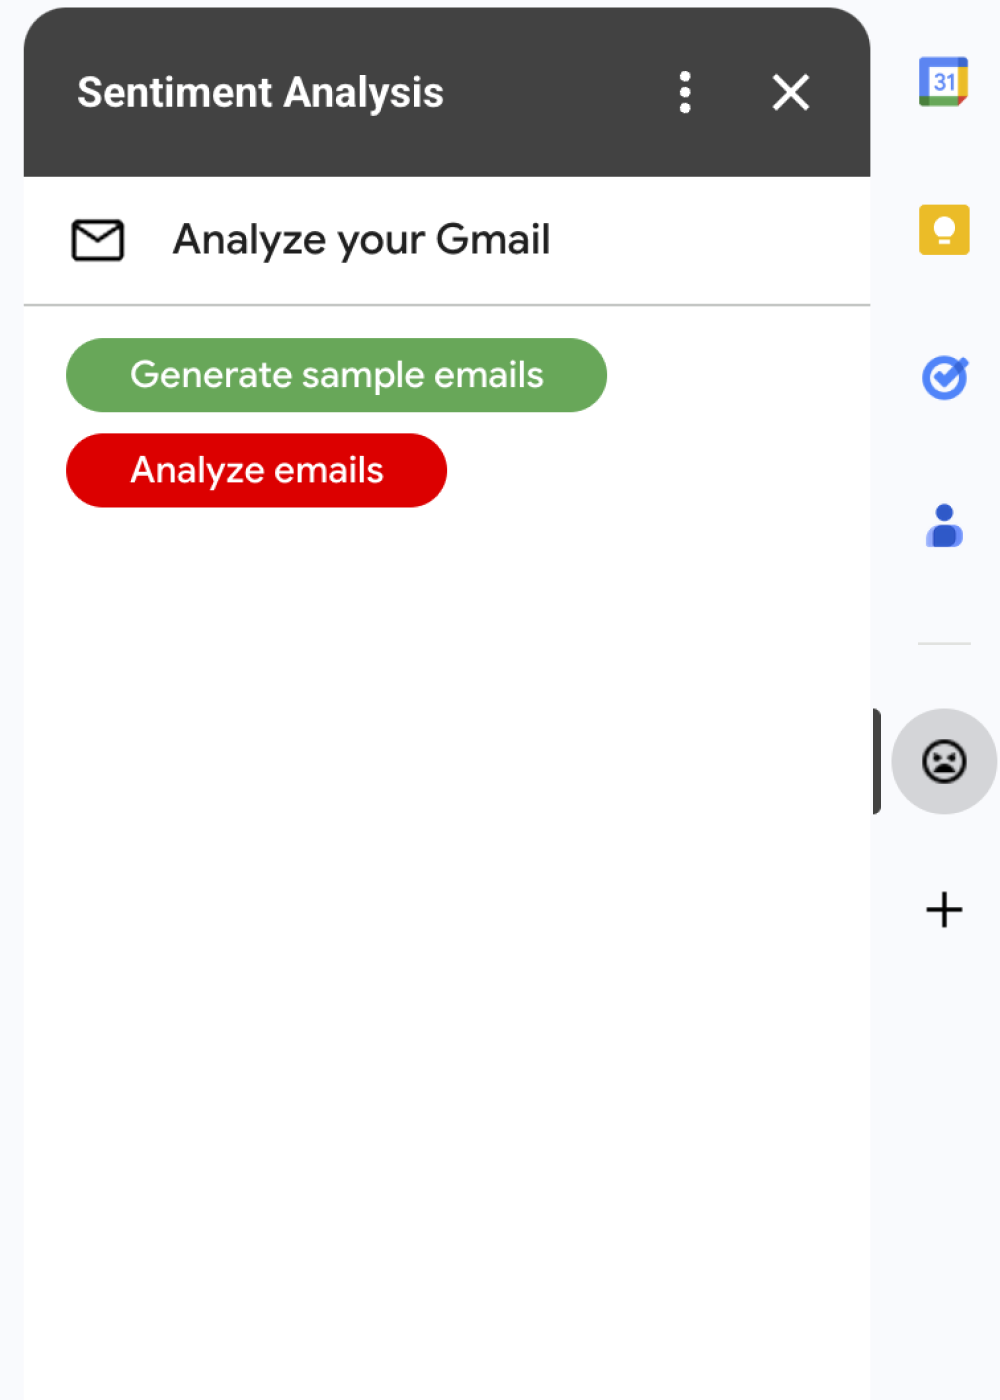
    চিত্র ১: সেন্টিমেন্ট অ্যানালাইসিস অ্যাড-অনটি Gmail-এ একটি সাইডবার প্রদর্শন করে যেখানে ব্যবহারকারীরা জেমিনিকে সেন্টিমেন্টের উপর ভিত্তি করে বার্তা বিশ্লেষণ এবং লেবেল প্রয়োগ করতে অনুরোধ করতে পারেন।
  • নিরপেক্ষ অনুভূতি সহ একটি Gmail বার্তা।
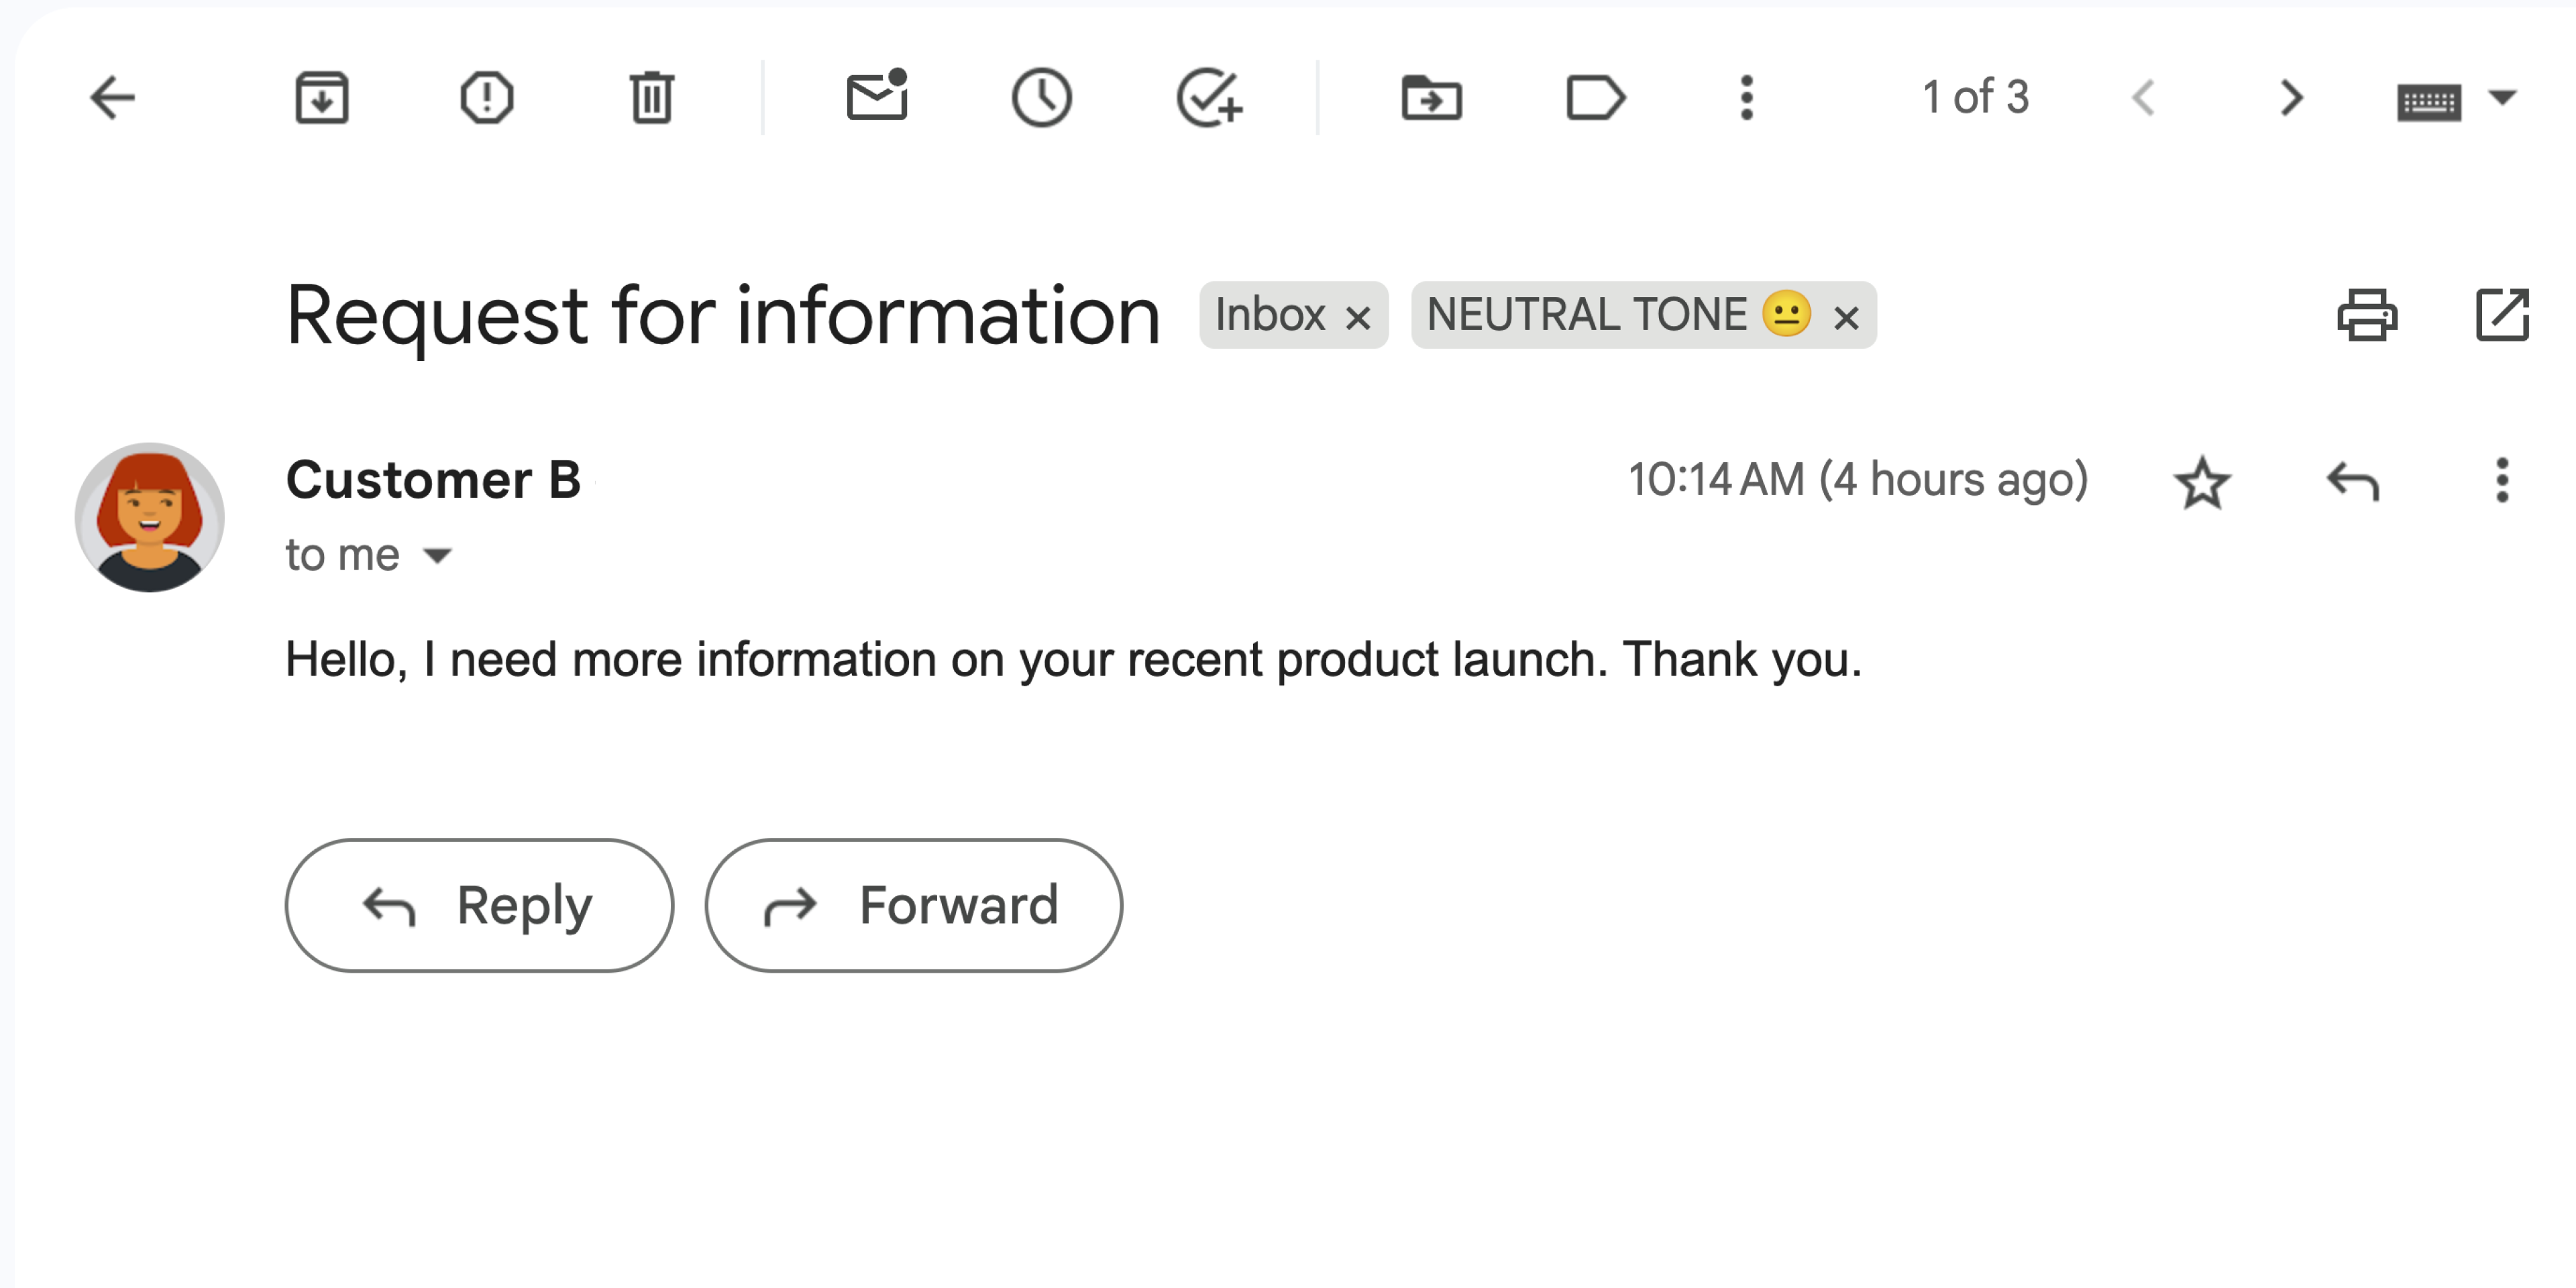
    চিত্র ২: অ্যাড-অনটি একটি Gmail বার্তাকে NEUTRAL TONE 😐 লেবেল দিয়ে লেবেল করে।
  • খুশির অনুভূতি সহ একটি জিমেইল বার্তা।
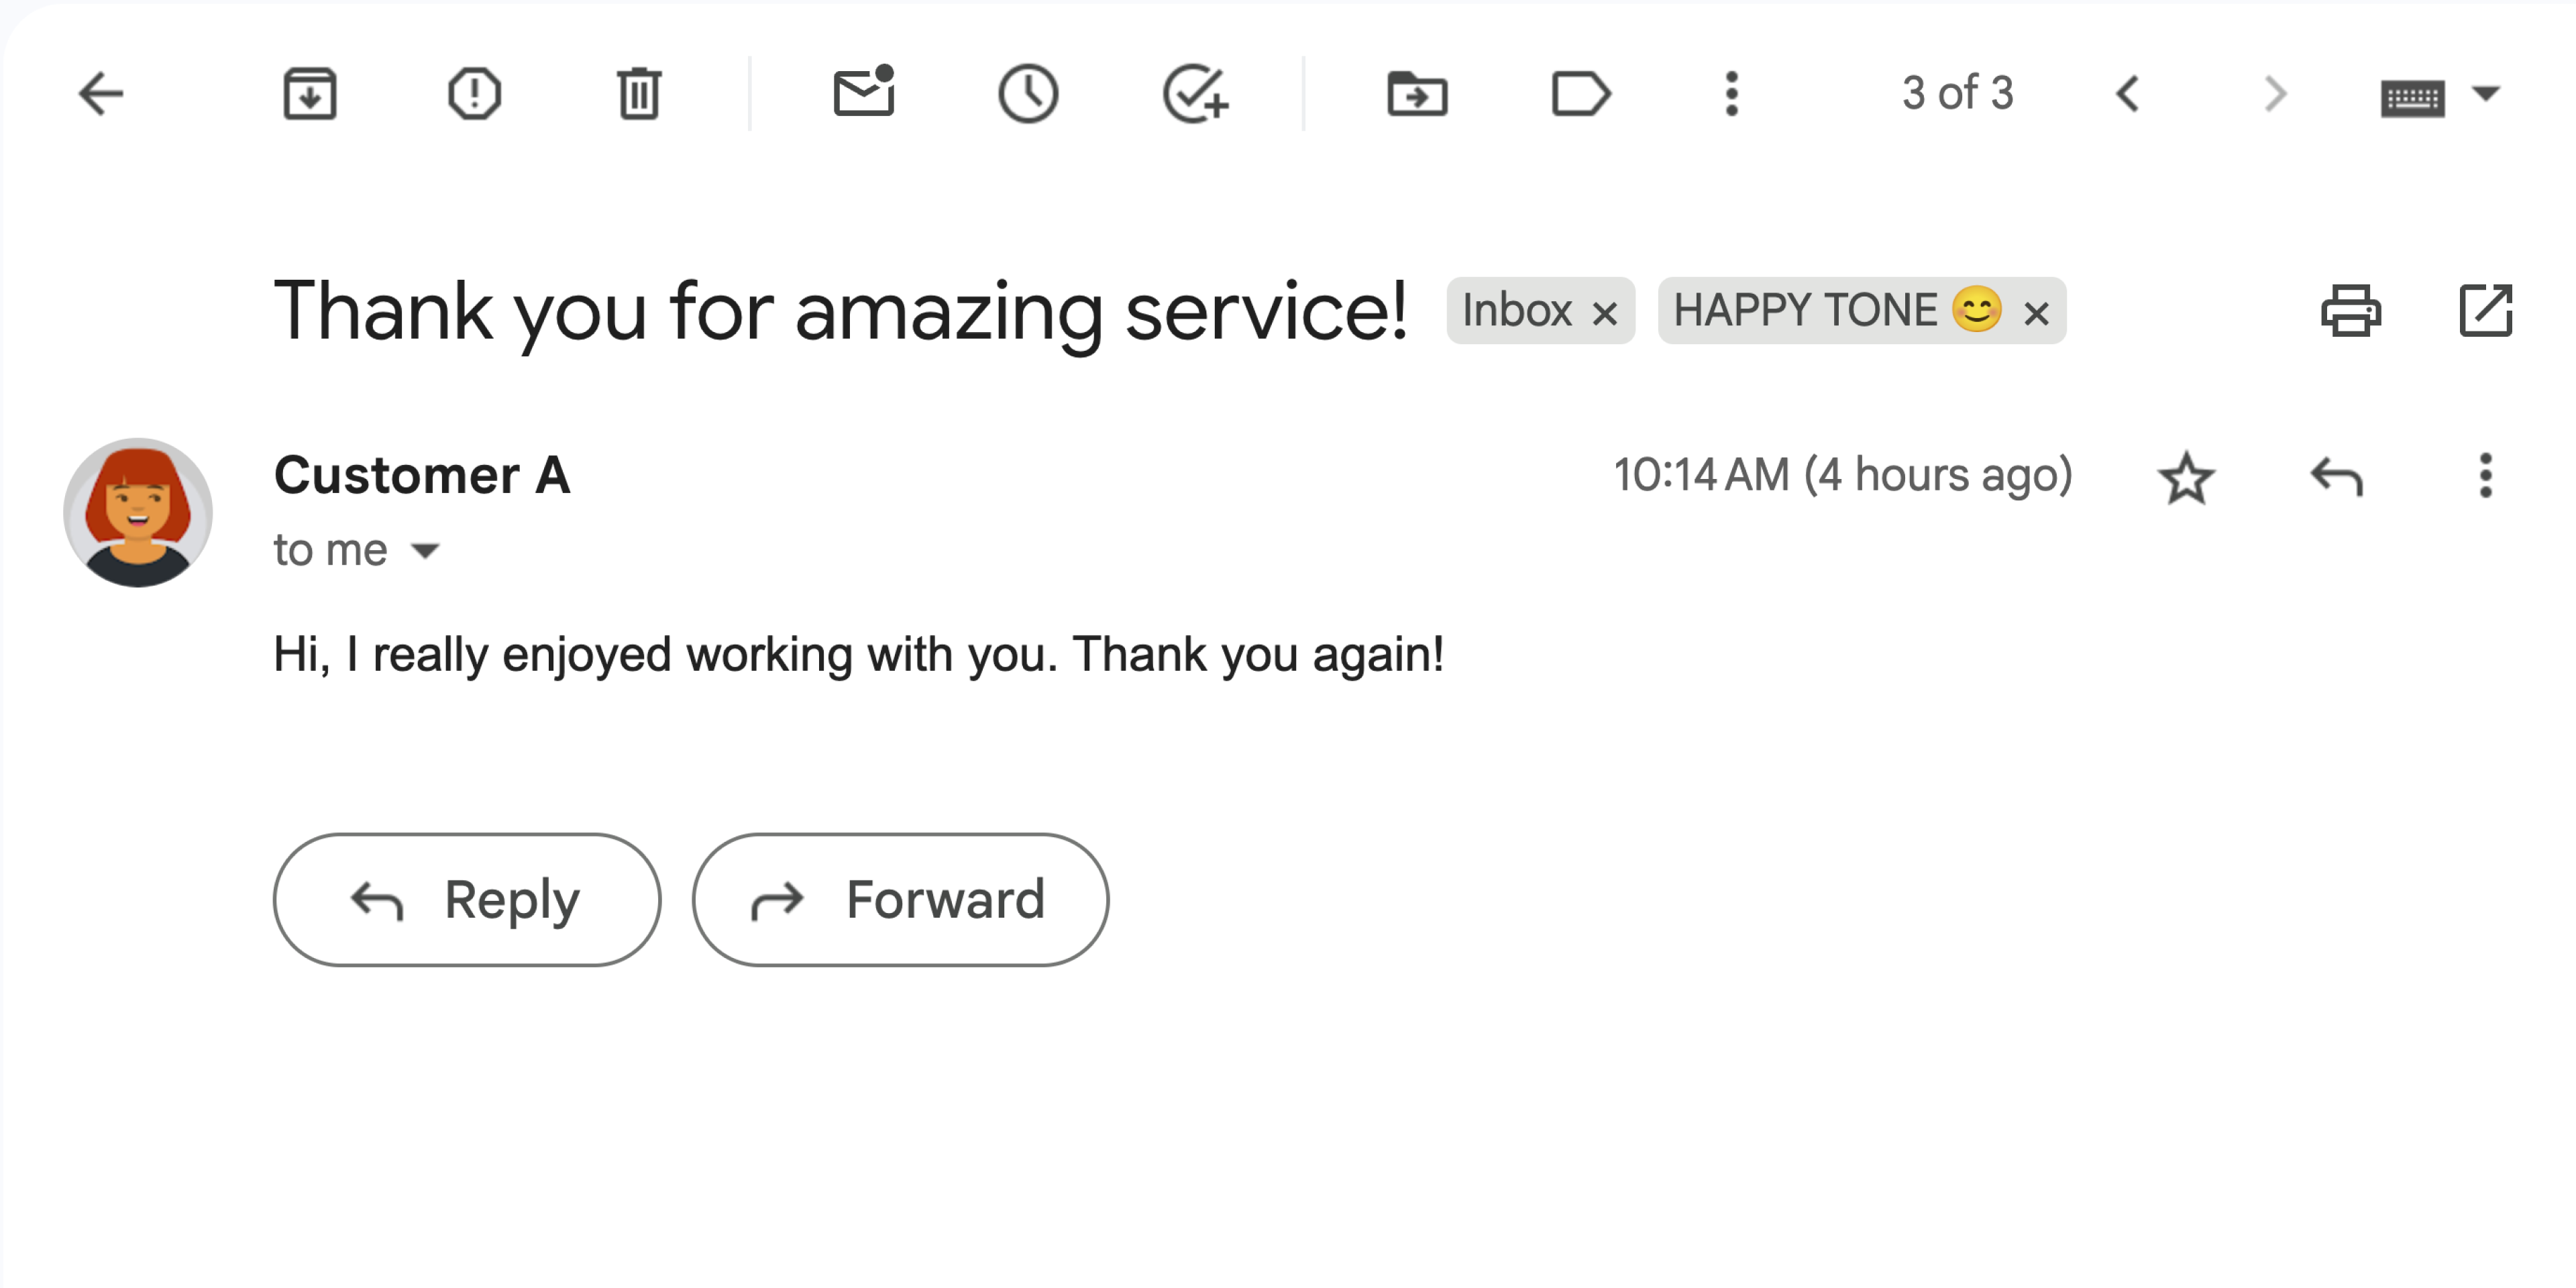
    চিত্র ৩: অ্যাড-অনটি একটি Gmail বার্তাকে HAPPY TONE 😊 লেবেল দিয়ে লেবেল করে।
  • বিরক্তিকর অনুভূতি সম্বলিত একটি জিমেইল বার্তা।
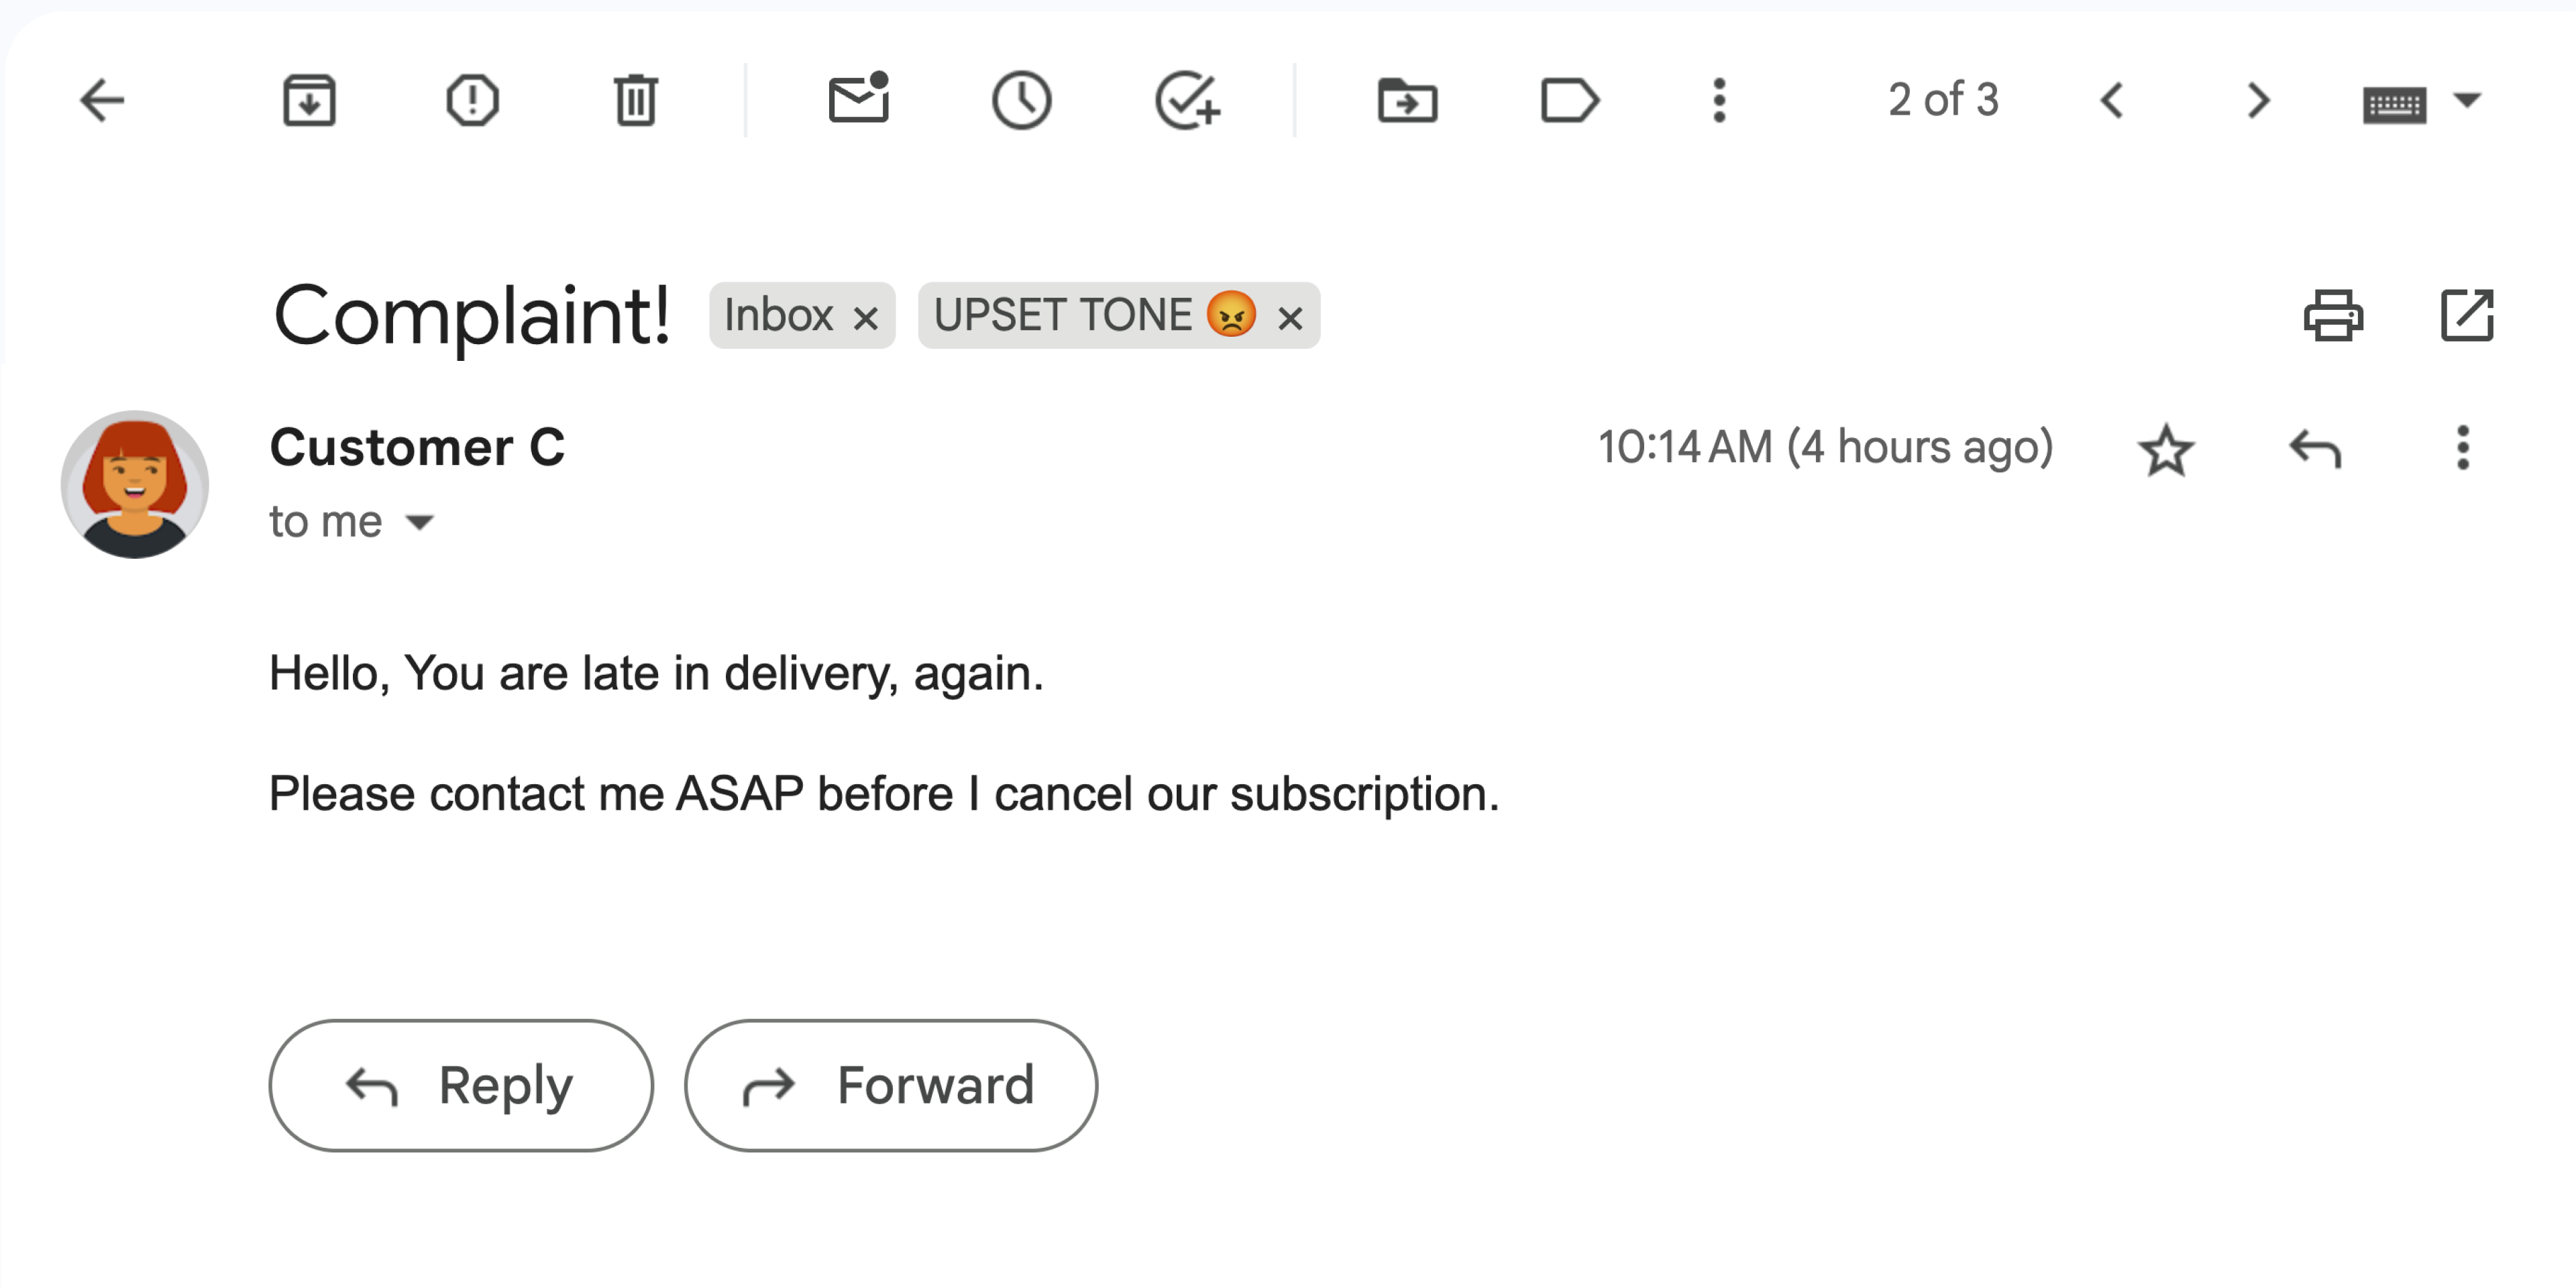
    চিত্র ৪: অ্যাড-অনটি একটি জিমেইল বার্তাকে UPSET TONE 😡 লেবেল দিয়ে লেবেল করে।

উদ্দেশ্য

  • সমাধানটি কী করে তা বুঝুন।
  • সমাধানের মধ্যে গুগল পরিষেবাগুলি কী করে তা বুঝুন।
  • পরিবেশ ঠিক করুন।
  • গুগল অ্যাপস স্ক্রিপ্ট প্রজেক্ট সেট আপ করুন।
  • স্ক্রিপ্টটি চালান।

এই সমাধান সম্পর্কে

সেন্টিমেন্ট অ্যানালাইসিস গুগল ওয়ার্কস্পেস অ্যাড-অনের স্ক্রিনশট

এই সমাধানটি একটি Google Workspace অ্যাড-অন যা Gmail বার্তাগুলির অনুভূতির উপর ভিত্তি করে লেবেল প্রয়োগ করে। বার্তার বিষয়বস্তু বিশ্লেষণ করতে, অ্যাড-অনটি Vertex AI ব্যবহার করে Gemini 2.5 Flash মডেলটি প্রম্পট করে এবং নিম্নলিখিত অনুভূতিগুলির মধ্যে একটি ফিরিয়ে দেয়:

  • ইতিবাচক
  • নেতিবাচক
  • নিরপেক্ষ

জেমিনির প্রতিক্রিয়ার সাথে সাথে, অ্যাড-অনটি বার্তাটিতে একটি সংশ্লিষ্ট জিমেইল লেবেল প্রয়োগ করে।

Vertex AI API-এর মধ্যে অনুরোধ সীমাবদ্ধ করার জন্য, এই অ্যাড-অনটি শুধুমাত্র Gmail ব্যবহারকারীর ইনবক্সে থাকা 10টি সাম্প্রতিক বার্তা বিশ্লেষণ করে এবং লেবেল প্রয়োগ করে। কোটা এবং সীমা সম্পর্কে আরও জানতে, Vertex AI ডকুমেন্টেশন দেখুন।

কিভাবে এটা কাজ করে

এই সমাধানটি Google Apps Script-এ তৈরি এবং নিম্নলিখিত Google পরিষেবা এবং পণ্যগুলি ব্যবহার করে:

পূর্বশর্ত

আপনার পরিবেশ সেট আপ করুন

এই বিভাগটি ব্যাখ্যা করে কিভাবে Google Cloud Console এবং Apps Script-এ আপনার পরিবেশ কনফিগার এবং সেট আপ করবেন।

গুগল ক্লাউড কনসোলে আপনার ক্লাউড প্রোজেক্ট কনফিগার করুন

এই বিভাগটি আপনাকে দেখাবে কিভাবে Vertex AI API সক্ষম করবেন এবং আপনার ক্লাউড প্রকল্পে OAuth সম্মতি স্ক্রিন কনফিগার করবেন।

Vertex AI API সক্ষম করুন

  1. গুগল ক্লাউড কনসোলে, আপনার গুগল ক্লাউড প্রজেক্টটি খুলুন এবং ভার্টেক্স এআই এপিআই সক্ষম করুন:

    API সক্রিয় করুন

  2. নিশ্চিত করুন যে আপনি সঠিক ক্লাউড প্রজেক্টে API সক্রিয় করছেন, তারপর Next এ ক্লিক করুন।

  3. নিশ্চিত করুন যে আপনি সঠিক API সক্রিয় করছেন, তারপর সক্ষম করুন ক্লিক করুন।

OAuth সম্মতি স্ক্রিন কনফিগার করুন

Google Workspace অ্যাড-অনগুলির জন্য একটি সম্মতি স্ক্রিন কনফিগারেশন প্রয়োজন। আপনার অ্যাড-অনের OAuth সম্মতি স্ক্রিন কনফিগার করার মাধ্যমে Google ব্যবহারকারীদের কাছে কী প্রদর্শন করে তা নির্ধারণ করা হয়।

  1. গুগল ক্লাউড কনসোলে, মেনু > এ যানGoogle Auth platform > ব্র্যান্ডিং

    ব্র্যান্ডিং-এ যান

  2. যদি আপনি ইতিমধ্যেই কনফিগার করে থাকেন Google Auth platform, আপনি ব্র্যান্ডিং , অডিয়েন্স এবং ডেটা অ্যাক্সেসে নিম্নলিখিত OAuth কনসেন্ট স্ক্রিন সেটিংস কনফিগার করতে পারেন। যদি আপনি এমন একটি বার্তা দেখতে পান যা বলে Google Auth platform এখনও কনফিগার করা হয়নি , শুরু করুন ক্লিক করুন:
    1. অ্যাপ তথ্য এর অধীনে, অ্যাপের নামে , অ্যাপটির জন্য একটি নাম লিখুন।
    2. ব্যবহারকারীর সহায়তা ইমেল বিভাগে, এমন একটি সহায়তা ইমেল ঠিকানা বেছে নিন যেখানে ব্যবহারকারীদের সম্মতি সম্পর্কে প্রশ্ন থাকলে তারা আপনার সাথে যোগাযোগ করতে পারবেন।
    3. পরবর্তী ক্লিক করুন।
    4. অডিয়েন্স এর অধীনে, অভ্যন্তরীণ নির্বাচন করুন।
    5. পরবর্তী ক্লিক করুন।
    6. যোগাযোগের তথ্য এর অধীনে, একটি ইমেল ঠিকানা লিখুন যেখানে আপনার প্রকল্পের যেকোনো পরিবর্তন সম্পর্কে আপনাকে অবহিত করা যেতে পারে।
    7. পরবর্তী ক্লিক করুন।
    8. Finish এর অধীনে, Google API পরিষেবা ব্যবহারকারীর ডেটা নীতি পর্যালোচনা করুন এবং যদি আপনি সম্মত হন, তাহলে আমি Google API পরিষেবাগুলিতে সম্মত: ব্যবহারকারীর ডেটা নীতি নির্বাচন করুন।
    9. চালিয়ে যান ক্লিক করুন।
    10. তৈরি করুন ক্লিক করুন।
  3. আপাতত, আপনি স্কোপ যোগ করা এড়িয়ে যেতে পারেন। ভবিষ্যতে, যখন আপনি আপনার Google Workspace সংস্থার বাইরে ব্যবহারের জন্য একটি অ্যাপ তৈরি করবেন, তখন আপনাকে ব্যবহারকারীর ধরণটি External এ পরিবর্তন করতে হবে। তারপর আপনার অ্যাপের জন্য প্রয়োজনীয় অনুমোদনের স্কোপগুলি যোগ করুন। আরও জানতে, সম্পূর্ণ Configure OAuth সম্মতি নির্দেশিকাটি দেখুন।

আপনার অ্যাপস স্ক্রিপ্ট প্রজেক্ট তৈরি এবং সেট আপ করুন

অ্যাড-অনের জন্য আপনার অ্যাপস স্ক্রিপ্ট প্রজেক্ট তৈরি এবং সেট আপ করতে, নিম্নলিখিত ধাপগুলি সম্পূর্ণ করুন:

  1. Gmail Sentiment Analysis with Gemini এবং Vertex AI Apps Script প্রকল্পটি খুলতে নিম্নলিখিত বোতামে ক্লিক করুন।
    অ্যাপস স্ক্রিপ্ট প্রজেক্টটি খুলুন

  2. ওভারভিউ ক্লিক করুন।

  3. ওভারভিউ পৃষ্ঠায়, একটি অনুলিপি তৈরি করুন ক্লিক করুন একটি কপি তৈরির আইকন .

  4. আপনার ক্লাউড প্রকল্পের নম্বরটি পান:

    1. গুগল ক্লাউড কনসোলে, মেনু > IAM & Admin > সেটিংস এ যান।

      IAM এবং অ্যাডমিন সেটিংসে যান।

    2. প্রজেক্ট নম্বর ক্ষেত্রে, মানটি অনুলিপি করুন।
  5. আপনার ক্লাউড প্রজেক্টকে আপনার অ্যাপস স্ক্রিপ্ট প্রজেক্টের সাথে সংযুক্ত করুন:

    1. আপনার কপি করা অ্যাপস স্ক্রিপ্ট প্রজেক্টে, প্রজেক্ট সেটিংসে ক্লিক করুন। প্রকল্প সেটিংসের আইকন .
    2. গুগল ক্লাউড প্ল্যাটফর্ম (জিসিপি) প্রজেক্টের অধীনে, প্রজেক্ট পরিবর্তন করুন এ ক্লিক করুন।
    3. GCP প্রজেক্ট নম্বরে , ক্লাউড প্রজেক্ট নম্বরটি পেস্ট করুন।
    4. প্রজেক্ট সেট করুন এ ক্লিক করুন।

অ্যাড-অনটি পরীক্ষা করুন

অ্যাড-অনটি ব্যবহার করে দেখতে, একটি পরীক্ষামূলক স্থাপনা ইনস্টল করুন এবং তারপর Gmail-এ অ্যাড-অনটি খুলুন:

  1. একটি অ্যাপস স্ক্রিপ্ট পরীক্ষামূলক স্থাপনা তৈরি এবং ইনস্টল করুন:
    1. আপনার কপি করা অ্যাপস স্ক্রিপ্ট প্রজেক্টে, এডিটর ক্লিক করুন।
    2. Code.gs ফাইলটি খুলুন এবং Run এ ক্লিক করুন। অনুরোধ করা হলে, স্ক্রিপ্টটি অনুমোদন করুন।
    3. স্থাপন > পরীক্ষা স্থাপন ক্লিক করুন।
    4. ইনস্টল করুন > সম্পন্ন ক্লিক করুন।
  2. জিমেইল খুলুন।

    জিমেইলে যান

  3. ডান সাইডবারে, অ্যাড-অন Sentiment Analysis খুলুন।

  4. যদি অনুরোধ করা হয়, তাহলে অ্যাড-অনটি অনুমোদন করুন।

  5. ঐচ্ছিক: আপনার অ্যাড-অন দিয়ে পরীক্ষা করার জন্য বার্তা তৈরি করতে, নমুনা ইমেল তৈরি করুন এ ক্লিক করুন। আপনার ইনবক্সে তিনটি বার্তা প্রদর্শিত হবে। যদি আপনি সেগুলি দেখতে না পান, তাহলে পৃষ্ঠাটি রিফ্রেশ করুন।

  6. লেবেল যোগ করতে, ইমেল বিশ্লেষণ করুন এ ক্লিক করুন।

অ্যাড-অনটি আপনার ইনবক্সের সর্বশেষ ১০টি বার্তা পর্যালোচনা করে এবং তারপর বার্তার বিষয়বস্তুর উপর ভিত্তি করে নিম্নলিখিত লেবেলগুলির মধ্যে একটি প্রয়োগ করে:

  • শুভ স্বর 😊
  • নিউট্রাল টোন 😐
  • মন খারাপ 😡

কোডটি পর্যালোচনা করুন

এই সমাধানের জন্য অ্যাপস স্ক্রিপ্ট কোডটি পর্যালোচনা করুন:

সোর্স কোড দেখুন

কোড.জিএস

জিমেইল-অনুভূতি-বিশ্লেষণ/কোড.জিএস
/*
Copyright 2024 Google LLC

Licensed under the Apache License, Version 2.0 (the "License");
you may not use this file except in compliance with the License.
You may obtain a copy of the License at

    https://www.apache.org/licenses/LICENSE-2.0

Unless required by applicable law or agreed to in writing, software
distributed under the License is distributed on an "AS IS" BASIS,
WITHOUT WARRANTIES OR CONDITIONS OF ANY KIND, either express or implied.
See the License for the specific language governing permissions and
limitations under the License.
*/

/**
 * Triggered when the add-on is opened from the Gmail homepage.
 *
 * @param {Object} e - The event object.
 * @returns {Card} - The homepage card.
 */
function onHomepageTrigger(e) {
  return buildHomepageCard();
}

কার্ড.জিএস

জিমেইল-অনুভূতি-বিশ্লেষণ/কার্ডস.জিএস
/*
Copyright 2024-2025 Google LLC

Licensed under the Apache License, Version 2.0 (the "License");
you may not use this file except in compliance with the License.
You may obtain a copy of the License at

    https://www.apache.org/licenses/LICENSE-2.0

Unless required by applicable law or agreed to in writing, software
distributed under the License is distributed on an "AS IS" BASIS,
WITHOUT WARRANTIES OR CONDITIONS OF ANY KIND, either express or implied.
See the License for the specific language governing permissions and
limitations under the License.
*/

/**
 * Builds the main card displayed on the Gmail homepage.
 *
 * @returns {Card} - The homepage card.
 */
function buildHomepageCard() {
  // Create a new card builder
  const cardBuilder = CardService.newCardBuilder();

  // Create a card header
  const cardHeader = CardService.newCardHeader();
  cardHeader.setImageUrl('https://fonts.gstatic.com/s/i/googlematerialicons/mail/v6/black-24dp/1x/gm_mail_black_24dp.png');
  cardHeader.setImageStyle(CardService.ImageStyle.CIRCLE);
  cardHeader.setTitle("Analyze your Gmail");

  // Add the header to the card
  cardBuilder.setHeader(cardHeader);

  // Create a card section
  const cardSection = CardService.newCardSection();

  // Create buttons for generating sample emails and analyzing sentiment
  const buttonSet = CardService.newButtonSet();

  // Create "Generate sample emails" button
  const generateButton = createFilledButton('Generate sample emails', 'generateSampleEmails', '#34A853');
  buttonSet.addButton(generateButton);

  // Create "Analyze emails" button
  const analyzeButton = createFilledButton('Analyze emails', 'analyzeSentiment', '#FF0000');
  buttonSet.addButton(analyzeButton);

  // Add the button set to the section
  cardSection.addWidget(buttonSet);

  // Add the section to the card
  cardBuilder.addSection(cardSection);

  // Build and return the card
  return cardBuilder.build();
}

/**
 * Creates a filled text button with the specified text, function, and color.
 *
 * @param {string} text - The text to display on the button.
 * @param {string} functionName - The name of the function to call when the button is clicked.
 * @param {string} color - The background color of the button.
 * @returns {TextButton} - The created text button.
 */
function createFilledButton(text, functionName, color) {
  // Create a new text button
  const textButton = CardService.newTextButton();

  // Set the button text
  textButton.setText(text);

  // Set the action to perform when the button is clicked
  const action = CardService.newAction();
  action.setFunctionName(functionName);
  textButton.setOnClickAction(action);

  // Set the button style to filled
  textButton.setTextButtonStyle(CardService.TextButtonStyle.FILLED);

  // Set the background color
  textButton.setBackgroundColor(color);

  return textButton;
}

/**
 * Creates a notification response with the specified text.
 *
 * @param {string} notificationText - The text to display in the notification.
 * @returns {ActionResponse} - The created action response.
 */
function buildNotificationResponse(notificationText) {
  // Create a new notification
  const notification = CardService.newNotification();
  notification.setText(notificationText);

  // Create a new action response builder
  const actionResponseBuilder = CardService.newActionResponseBuilder();

  // Set the notification for the action response
  actionResponseBuilder.setNotification(notification);

  // Build and return the action response
  return actionResponseBuilder.build();
}

জিমেইল.জিএস

জিমেইল-অনুভূতি-বিশ্লেষণ/Gmail.gs
/*
Copyright 2024-2025 Google LLC

Licensed under the Apache License, Version 2.0 (the "License");
you may not use this file except in compliance with the License.
You may obtain a copy of the License at

    https://www.apache.org/licenses/LICENSE-2.0

Unless required by applicable law or agreed to in writing, software
distributed under the License is distributed on an "AS IS" BASIS,
WITHOUT WARRANTIES OR CONDITIONS OF ANY KIND, either express or implied.
See the License for the specific language governing permissions and
limitations under the License.
*/

/**
 * Analyzes the sentiment of the first 10 threads in the inbox
 * and labels them accordingly.
 *
 * @returns {ActionResponse} - A notification confirming completion.
 */
function analyzeSentiment() {
  // Analyze and label emails
  analyzeAndLabelEmailSentiment();

  // Return a notification
  return buildNotificationResponse("Successfully completed sentiment analysis");
}

/**
 * Analyzes the sentiment of emails and applies appropriate labels.
 */
function analyzeAndLabelEmailSentiment() {
  // Define label names
  const labelNames = ["HAPPY TONE 😊", "NEUTRAL TONE 😐", "UPSET TONE 😡"];

  // Get or create labels for each sentiment
  const positiveLabel = GmailApp.getUserLabelByName(labelNames[0]) || GmailApp.createLabel(labelNames[0]);
  const neutralLabel = GmailApp.getUserLabelByName(labelNames[1]) || GmailApp.createLabel(labelNames[1]);
  const negativeLabel = GmailApp.getUserLabelByName(labelNames[2]) || GmailApp.createLabel(labelNames[2]);

  // Get the first 10 threads in the inbox
  const threads = GmailApp.getInboxThreads(0, 10);

  // Iterate through each thread
  for (const thread of threads) {
    // Iterate through each message in the thread
    const messages = thread.getMessages();
    for (const message of messages) {
      // Get the plain text body of the message
      const emailBody = message.getPlainBody();

      // Analyze the sentiment of the email body
      const sentiment = processSentiment(emailBody);

      // Apply the appropriate label based on the sentiment
      if (sentiment === 'positive') {
        thread.addLabel(positiveLabel);
      } else if (sentiment === 'neutral') {
        thread.addLabel(neutralLabel);
      } else if (sentiment === 'negative') {
        thread.addLabel(negativeLabel);
      }
    }
  }
}

/**
 * Generates sample emails for testing the sentiment analysis.
 *
 * @returns {ActionResponse} - A notification confirming email generation.
 */
function generateSampleEmails() {
  // Get the current user's email address
  const userEmail = Session.getActiveUser().getEmail();

  // Define sample emails
  const sampleEmails = [
    {
      subject: 'Thank you for amazing service!',
      body: 'Hi, I really enjoyed working with you. Thank you again!',
      name: 'Customer A'
    },
    {
      subject: 'Request for information',
      body: 'Hello, I need more information on your recent product launch. Thank you.',
      name: 'Customer B'
    },
    {
      subject: 'Complaint!',
      body: '',
      htmlBody: `<p>Hello, You are late in delivery, again.</p>
<p>Please contact me ASAP before I cancel our subscription.</p>`,
      name: 'Customer C'
    }
  ];

  // Send each sample email
  for (const email of sampleEmails) {
    GmailApp.sendEmail(userEmail, email.subject, email.body, {
      name: email.name,
      htmlBody: email.htmlBody
    });
  }

  // Return a notification
  return buildNotificationResponse("Successfully generated sample emails");
}

ভার্টেক্স.জিএস

জিমেইল-অনুভূতি-বিশ্লেষণ/ভার্টেক্স.জিএস
/*
Copyright 2024-2025 Google LLC

Licensed under the Apache License, Version 2.0 (the "License");
you may not use this file except in compliance with the License.
You may obtain a copy of the License at

    https://www.apache.org/licenses/LICENSE-2.0

Unless required by applicable law or agreed to in writing, software
distributed under the License is distributed on an "AS IS" BASIS,
WITHOUT WARRANTIES OR CONDITIONS OF ANY KIND, either express or implied.
See the License for the specific language governing permissions and
limitations under the License.
*/

// Replace with your project ID
const PROJECT_ID = '[ADD YOUR GCP PROJECT ID HERE]';

// Location for your Vertex AI model
const VERTEX_AI_LOCATION = 'us-central1';

// Model ID to use for sentiment analysis
const MODEL_ID = 'gemini-2.5-flash';

/**
 * Sends the email text to Vertex AI for sentiment analysis.
 *
 * @param {string} emailText - The text of the email to analyze.
 * @returns {string} - The sentiment of the email ('positive', 'negative', or 'neutral').
 */
function processSentiment(emailText) {
  // Construct the API endpoint URL
  const apiUrl = `https://${VERTEX_AI_LOCATION}-aiplatform.googleapis.com/v1/projects/${PROJECT_ID}/locations/${VERTEX_AI_LOCATION}/publishers/google/models/${MODEL_ID}:generateContent`;

  // Prepare the request payload
  const payload = {
    contents: [
      {
        role: "user",
        parts: [
          {
            text: `Analyze the sentiment of the following message: ${emailText}`
          }
        ]
      }
    ],
    generationConfig: {
      temperature: 0.9,
      maxOutputTokens: 1024,
      responseMimeType: "application/json",
      // Expected response format for simpler parsing.
      responseSchema: {
        type: "object",
        properties: {
          response: {
            type: "string",
            enum: ["positive", "negative", "neutral"]
          }
        }
      }
    }
  };

  // Prepare the request options
  const options = {
    method: 'POST',
    headers: {
      'Authorization': `Bearer ${ScriptApp.getOAuthToken()}`
    },
    contentType: 'application/json',
    muteHttpExceptions: true, // Set to true to inspect the error response
    payload: JSON.stringify(payload)
  };

  // Make the API request
  const response = UrlFetchApp.fetch(apiUrl, options);

  // Parse the response. There are two levels of JSON responses to parse.
  const parsedResponse = JSON.parse(response.getContentText());
  const sentimentResponse = JSON.parse(parsedResponse.candidates[0].content.parts[0].text).response;

  // Return the sentiment
  return sentimentResponse;
}

অ্যাপস্ক্রিপ্ট.জেসন

জিমেইল-অনুভূতি-বিশ্লেষণ/অ্যাপস্ক্রিপ্ট.জেসন
{
  "timeZone": "America/Toronto",
  "oauthScopes": [
    "https://www.googleapis.com/auth/cloud-platform",
    "https://www.googleapis.com/auth/gmail.addons.execute",
    "https://www.googleapis.com/auth/gmail.labels",
    "https://www.googleapis.com/auth/gmail.modify",
    "https://www.googleapis.com/auth/script.external_request",
    "https://www.googleapis.com/auth/userinfo.email"
  ],
  "addOns": {
    "common": {
      "name": "Sentiment Analysis",
      "logoUrl": "https://fonts.gstatic.com/s/i/googlematerialicons/sentiment_extremely_dissatisfied/v6/black-24dp/1x/gm_sentiment_extremely_dissatisfied_black_24dp.png"
    },
    "gmail": {
      "homepageTrigger": {
        "runFunction": "onHomepageTrigger",
        "enabled": true
      }
    }
  },
  "exceptionLogging": "STACKDRIVER",
  "runtimeVersion": "V8"
}

পরিষ্কার কর

এই টিউটোরিয়ালে ব্যবহৃত রিসোর্সের জন্য আপনার Google ক্লাউড অ্যাকাউন্টে চার্জ এড়াতে, আমরা আপনাকে ক্লাউড প্রকল্পটি মুছে ফেলার পরামর্শ দিচ্ছি।

  1. গুগল ক্লাউড কনসোলে, রিসোর্স পরিচালনা পৃষ্ঠায় যান। মেনু > IAM & Admin > রিসোর্স পরিচালনা করুন এ ক্লিক করুন।

    রিসোর্স ম্যানেজারে যান

  2. প্রকল্পের তালিকায়, আপনি যে প্রকল্পটি মুছতে চান তা নির্বাচন করুন এবং তারপরে মুছুন ফেলুন ক্লিক করুন।
  3. ডায়ালগে, প্রজেক্ট আইডি টাইপ করুন এবং তারপর প্রজেক্টটি মুছে ফেলতে Shut down এ ক্লিক করুন।

পরবর্তী পদক্ষেপ