Page Summary
-
This guide explains how to configure the Google tag using gtag.js to send data to Google products like Google Ads and Google Analytics.
-
You can establish data flow between your website and Google products using the
configcommand with the product's tag ID. -
Use the
eventcommand to send specific events, like newsletter signups or purchases, to your connected Google products. -
The
setcommand allows you to define parameters that will be sent with every subsequent event on the page, although usingconfigoreventcommands is generally preferred. -
After setup, you can optionally explore advanced data management features, such as grouping and routing data for multiple products.
This page is for developers who need to configure the Google tag using gtag.js. The Google tag also lets you adjust some settings in the user interface, see Configure your Google tag settings.
After installing the Google tag, you can call gtag() commands anywhere in your
code after the Google tag snippet.
This page shows you how to:
- Establish data flow between your website and Google products using the
configcommand - Send events to your Google products using the
eventcommand - Set values that are sent with every event using the
setcommand
Before you begin
This guide assumes you have done the following:
- Made yourself familiar with how the Google tag works
- Installed the Google tag
To set up the data flow, you need:
- Access to the website code where you installed the Google tag
- The tag ID of the Google product you want to connect to the Google tag
Find your tag ID:
What is a tag ID and where to find it?
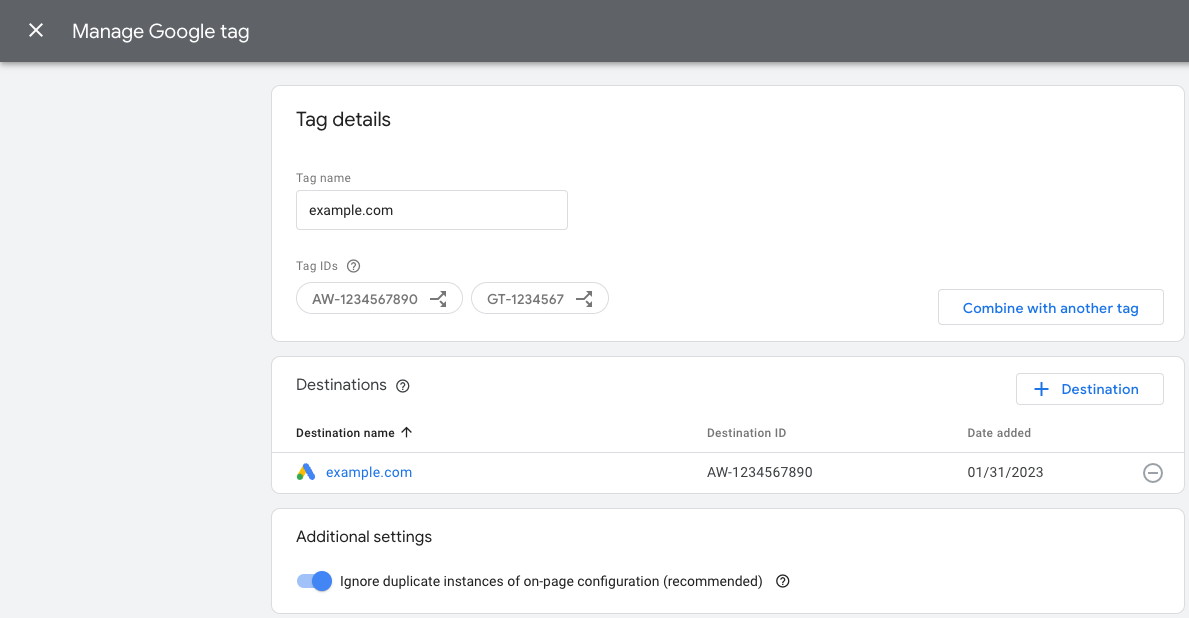
A tag ID identifies a Google tag. A single Google tag can have multiple tag IDs.
For example, if you use Google Ads, your tag now has two IDs: One legacy ID (AW) and one Google tag ID (GT).
 The tag IDs are interchangeable. The following table contains an overview of which tags are
compatible with the Google tag.
The tag IDs are interchangeable. The following table contains an overview of which tags are
compatible with the Google tag.
Universal Analytics (UA) tags are not compatible with the Google tag (GT).
Prefix
ID type
Description
GT-XXXXXX
Google tag
Each newly created Google tag gets a GT prefix and unique ID.
G-XXXXXX
Google tag (legacy prefix)
Google Analytics 4 tags are Google tags with a G prefix and unique ID.
AW-XXXXXX
Google tag (legacy prefix)
Google Ads tags are Google tags with a AW prefix and unique ID.
DC-XXXXXX
Google tag (legacy prefix)
Google Floodlight tags are Google tags with a DC prefix and unique ID.
Step 1: Connect Google products to your tag
Use the config command to establish data flow to Google products.
About the config command
The config command specifies Google products you want to send event data to.
The command has the following format:
gtag('config', 'TAG_ID', {<additional_config_params>});
Additional configuration parameters
You can adjust and extend a config command by specifying parameters in the
optional {<additional_config_params>} object. For example, adding the following
parameter will prevent a Google Analytics pageview from being automatically
sent:
gtag('config', 'TAG_ID', {'send_page_view': false});
Set up data collection
To set up data collection for a Google product, add the config command with a
tag ID.
Example
The Google tag (GT-XXXXXX) sends data to the
destinations you
defined for it, for example Google Ads and GA4.
The following example shows how to update your code to load a second Google tag that is connected to a Floodlight destination.
To send data to Floodlight (tag ID DC-ZZZZZZ), add another config command
after initializing the first Google tag (tag ID GT-XXXXXX):
<head>
 ...
<!-- Google tag (gtag.js) -->
<script async src="https://www.googletagmanager.com/gtag/js?id=G-XXXXXX"></script>
<script>
  window.dataLayer = window.dataLayer || [];
  function gtag(){dataLayer.push(arguments)};
  gtag('js', new Date());
  gtag('config', 'GT-XXXXXX');
  gtag('config', 'DC-ZZZZZZ');
</script>
</head>
Product-specific config behavior
Depending on the product specified in TAG_ID, the config command may also
initiate certain behavior for that product. For example, in some cases the
config command tells gtag.js to initiate a pageview event.
To learn more about how the config command behaves in relation to individual
products, read the product-specific documentation:
- Google Ads conversions and remarketing
- Campaign Manager and Display & Video 360
- Search Ads 360
- Google Analytics
Step 2: Send data with event
After you configure connections to Google products, you need to use the event
command to send data.
About the event command
The event command lets you send event data to the products you specified with
config. The command has the following format:
gtag('event', 'event_name', {
  'key': 'value',
});
About event names and key-value pairs
Recommended events: Recommended events are events that you implement, but that have predefined key-value pairs. These events unlock existing and future reporting capabilities.
Custom events: To define your own events and data structures, you can enter custom values to send a custom event.
Set up events
You can call the event method anywhere in your code after initializing the
Google tag.
Define an event. If you are using a recommended event, make sure you use the standardized event names and predefined key-value pairs.
Define when the event will be triggered, for example if it gets sent with a page load or when someone clicks on a button.
Example
The following example illustrates one possible way to measure newsletter signups when a user clicks a button. The example uses a custom event and sends it to a Google Analytics 4 property.
<head>
   ...
   /* 1. Initialize the Google tag and gtag.js library */
   <!-- Google tag (gtag.js) -->
   <script async src="https://www.googletagmanager.com/gtag/js?id=TAG_ID"></script>
   <script>
     window.dataLayer = window.dataLayer || [];
     function gtag(){dataLayer.push(arguments)};
     gtag('js', new Date());
     gtag('config', 'TAG_ID');
   </script>
</head>

<body>
   <script>
     let date = Date.now();
     /* 2. Define your event. */
     function newsletterSignup() {
       gtag('event', 'newsletter_signup', {
       'time': date,
       });
   }
   </script>
   ...
   /* 3. Trigger your event */
   <button type="submit" onclick="newsletterSignup()">Sign me up!</button>
   ...
</body>
Optional: Send data with every event using set
The set command lets you define parameters that will be associated with every
subsequent event on the page.
For example, you can share campaign parameters so that they can be accessed by multiple tags on the same page.
The command has the following format:
gtag('set', 'parameterName');
Step 3: Validate your setup
To make sure that your event data is sent properly:
- Open the Google product you expect to see data in.
- Check if data is coming in. Each product has a different place where you can
check if data is being received:
- Google Analytics: Check the Realtime report.
- Google Ads: Check your Conversion actions table and look at the Status column (it may take up to 24 hours to update).
- Floodlight: Use Tag Assistant to verify that Floodlight tags are firing.
Next steps
After setting up your Google products and events, you are done with the basic Google tag configuration.
If you are managing multiple products and want to manage their data flow in more detail, see Group and route data.