Fleet Engine
Fleet Engine
Fleet Engine 是您整合至交通管理系統的後端服務。它可與各種 API 和 SDK 互通,以改善地圖、路線和位置管理功能,包括下列 Mobility SDK:
- Driver SDK
- 消費者 SDK
- 機群操作
駕駛體驗

駕駛體驗
Navigation SDK 和 Driver SDK 會搭配運作,根據您的運送模式調整駕駛體驗。
- Navigation SDK:在應用程式中建立即時路線導航體驗,為司機即時提供指引。
- Driver SDK:透過 Fleet Engine 呈現駕駛員位置和路線進度。
消費者體驗

消費者體驗
Consumer SDK 提供的介面可模擬行程資料,並追蹤 Fleet Engine 中的行程工作階段,讓您為消費者使用者提供以地圖為基礎的豐富行程資訊顯示畫面。您可以使用下列強化功能:
- 樣式地圖:地圖與品牌相符。
- 車輛位置:讓消費者追蹤行程或送貨進度。
- 預估時間:根據即時路況提供抵達時間。
機群操作

機群操作
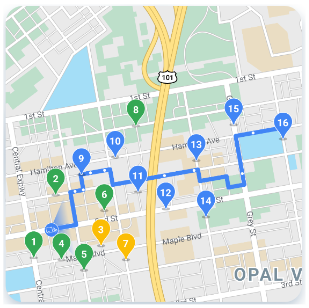
以近乎即時的方式,呈現運輸車輛的所在位置和停靠站。如果已知路線,地圖檢視元件會在車輛沿著預測路徑移動時,顯示該車輛的動畫。機群作業包括以下功能:
- 車隊追蹤:顯示車隊中車輛的即時位置、預計到達時間、路線、預計停靠站和已完成的任務。
- Cloud Logging:取得大量記錄檔,以便分析並用於產生指標,進而改善車隊的效能。
Google 地圖平台行動服務
行動管理工具是一種開發工具包,可用來為貴公司建立運輸和物流作業。這種服務包含多種 API 和 SDK,可以整合至應用程式中,有以下兩種基本用途:
- 隨選司機服務,例如共乘和餐點外送
- 預定司機服務,例如貨品交付
這個工具包提供網路服務及一組 API,可將地圖、路線和地點的功能納入專為這些產業用途所設計的介面中。它還包含後端服務,協助車隊營運團隊自動調度管理驅動程式、分析和追蹤服務。
瀏覽右側資訊,瞭解各行動輔助服務提供的功能。


