
Building a better web, together
We want to help you build beautiful, accessible, fast, and secure websites that work cross-browser, and for all of your users. This site is our home for content to help you on that journey, written by members of the Chrome team, and external experts.
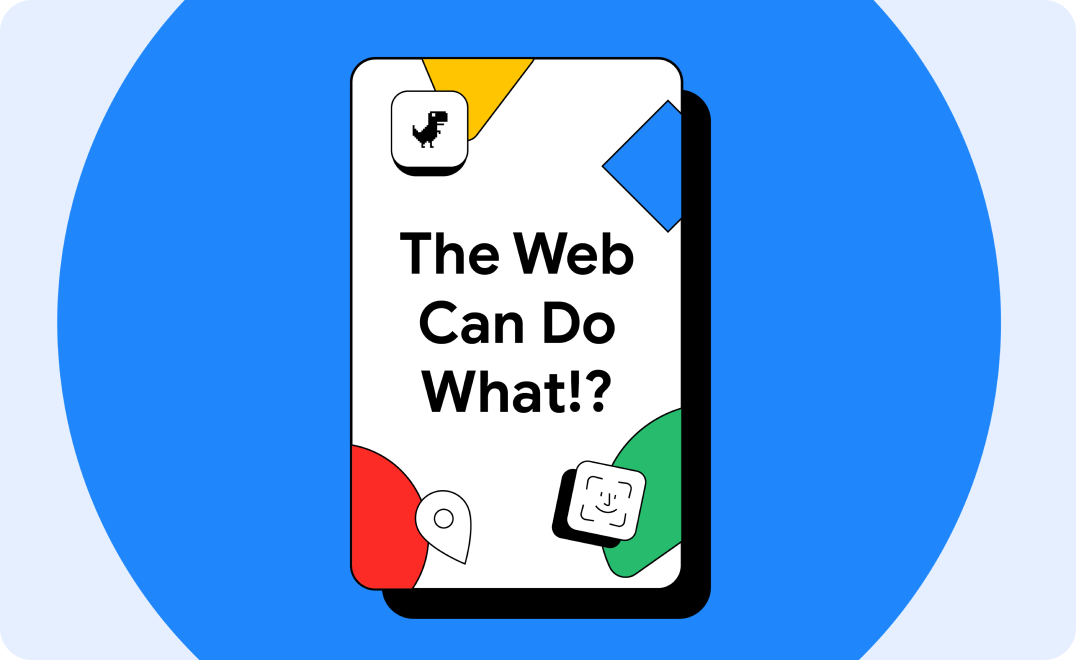
Learn how modern web technology can help you succeed
Learn about use cases that have been made much easier by innovative new web technologies.

A new way to measure interaction responsiveness
Start measuring and optimizing your site's Interaction to Next Paint (INP) performance. It officially became a Core Web Vital metric on March 12.
What's new?
Introducing Baseline
At Google I/O 2023 we announced Baseline, learn more about this initiative and why we think it's important.

New to the web platform in April.
Discover some of the interesting features that landed in stable and beta web browsers during April 2024.

The CSS Podcast
Follow Una Kravets and Adam Argyle, developer advocates from Google, who gleefully break down complex aspects from CSS into disgestible episodes of this podcast.
CSS and UI design
Learn the latest tips and techniques to use in your work, right now.
Adapting typography to user preference using CSS
Adapt a font to your users' preferences, so they're maximally comfortable reading your content.
New CSS color spaces and functions in all major engines
All major engines now support the new CSS color spaces and functions. Find out how they can bring vibrancy to your designs.
What are source maps?
Improve web debugging experience with source maps.
CSS subgrid
Subgrid is now interoperable across all three major engines. Find out how to use it.
Core Web Vitals
Build faster websites and apps by understanding Core Web Vitals and other metrics.
Interaction to Next Paint becomes a Core Web Vital on March 12
Interaction to Next Paint will officially become a Core Web Vital and will replace First Input Delay on March 12.
How to optimize INP
Learn how to optimize for the Interaction to Next Paint metric.
Our top Core Web Vitals recommendations for 2023
A collection of best practices for optimizing websites' Core Web Vitals performance based on the state of the web in 2023.
Use the Web Vitals extension to debug Core Web Vitals issues.
The Web Vitals extension now shows you more debugging information to help you identify the root causes of Core Web Vitals issues.
Progressive Web Apps
Create capable web experiences.
Learn PWA
A course that breaks down every aspect of modern progressive web app development.
TransformStream is now supported cross browser.
Now that transform streams are supported in Safari, Firefox, and Chrome they are finally ready for prime time.
New patterns for amazing apps
Dive into a fantastic collection of new patterns for amazing apps, including clipboard patterns, file patterns, and advanced app patterns.
Project Fugu API showcase
On the Chrome Developers site, explore capabilities APIs.
Accessible for all
Learn how to make your sites more accessible for people with disabilities, whether permanent, temporary, or situational.
Learn Accessibility
Our new course is a great entry point and reference for accessibility topics.
Testing web design color contrast
An overview of three tools and techniques for testing and verifying accessible color contrast of your design.
Building the main navigation for a website
This tutorial describes how to build an accessible main navigation of a website. You learn about semantic HTML, accessibility, and how using ARIA attributes can sometimes do more harm than good.
Community highlight: Melanie Sumner
Read our interview with Melanie, a software engineer who specializes in digital accessibility.
Payments and identity
Find the latest techniques and best practices for payments and helping users safely log into your sites and apps.
Create a passkey for passwordless logins
Passkeys make user accounts safer, simpler, easier to use.
Sign in with a passkey
Create a sign in experience that uses passkeys while still accommodating existing password users.
Web payments overview
Learn more about Web Payments and how they work.
Payment and address form best practices
Maximize conversions by helping your users complete address and payment forms as quickly and easily as possible.
Developer Newsletter
Get the latest news, techniques and updates straight to your inbox.