
Actions 專案會將所有動作封裝至單一容器。您會將這項專案發布至 Actions on Google,讓 Google 助理瞭解如何探索及叫用您的對話體驗。

請使用下列低階元件來建構動作專案:
設定和資源:定義專案中繼資料和資源,例如專案圖示。Google 會使用這些資訊將您的動作發布至 Google 助理目錄,讓使用者能夠探索並叫用這些動作。
意圖代表要執行的工作,例如某些使用者輸入內容或需要處理的系統事件。最常見的意圖類型是使用者意圖。這些意圖可讓您宣告由 NLU (自然語言理解) 引擎自然擴展的訓練詞組,以納入許多更多類似的詞組。NLU 會使用這些詞組的匯總來訓練 Google 助理用來比對使用者輸入內容的語言模型。在對話期間,如果使用者輸入內容與意圖的語言模型相符,Google 助理執行階段就會將意圖傳送至動作,以便系統處理該動作並回應使用者。
類型可讓您從使用者輸入內容中擷取結構化資料。為訓練詞組加上類型註解後,NLU 就能擷取相關的結構化資料,因此您不必剖析開放式輸入。
Scenes 會處理意圖,且是動作的主要邏輯執行工具。可執行運算單元填充、評估條件邏輯、向使用者回傳提示,甚至呼叫外部網路服務來執行商業邏輯。藉由結合意圖使用情境,您可以有效地偵測特定使用者輸入或系統事件,並執行對應的邏輯。
「提示」會定義您要用來回應使用者的靜態或動態回應。
Webhook 可讓您將額外工作委派給網路服務 (執行要求),例如驗證資料或產生提示。您的動作會透過以 JSON 為基礎的 Webhook 通訊協定與執行要求進行通訊。
互動式畫布可讓您在使用 HTML、CSS 和 JavaScript 的網頁應用程式中提供豐富的沉浸式體驗。
建立專案
您必須在 Actions 主控台建立專案,才能針對 Google 助理進行開發。建立專案的步驟如下:
- 前往動作控制台。
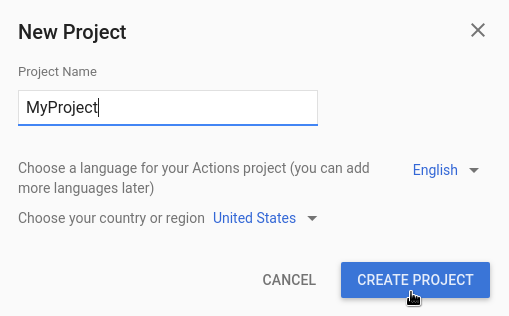
- 按一下 [新專案]。
- 輸入專案名稱,然後按一下「Create Project」(建立專案)。
- 在「What type of Action you want to build?」畫面中,選取最符合您專案的類別,然後點選「Next」。
- 在「How do to build it」畫面中,選取建構方式,然後按一下「Start building」。舉例來說,您可以從空白專案或範例開始著手。
建立本機 Actions SDK 專案
在 Actions 主控台建立 Actions 專案後,就可以在本機開發環境中初始化專案。
如要從現有 Actions 專案中初始化 Actions SDK 專案,請按照下列步驟操作:
- 在本機檔案系統上為 Actions 專案建立空白目錄。
- 在這個空白目錄中建立
sdk目錄。 - 將工作目錄變更為終端機的
sdk目錄。
從空白專案開始
如要從剛剛在控制台中建立的空白專案著手,請執行 gactions pull --project-id <my-project-id>。
$ mkdir myAction
$ cd myAction
$ mkdir sdk
$ cd sdk
$ gactions pull --project-id my-project-id
Pulling your project files from Draft for a project id: "my-project-id"
✔ Done. You should see the files written in path/to/myAction/sdk
從範例專案開始
如要從範例專案開始操作,請執行 gactions init <sample name>。
$ mkdir actions-test
$ cd actions-test
$ mkdir sdk
$ cd sdk
$ gactions init question
Writing sample files for question.
✔ Done. Please checkout the following documentation - https://developers.google.com/assistant/conversational/build on the next steps on how to get started.
定義專案資訊
專案的設定和資源定義了專案的相關資訊,例如功能和介面支援、支援的語言代碼、顯示名稱、說明、標誌等。下表說明您提供的主要設定和資源。Actions on Google 會使用這些資訊部署專案,並將專案發布至 Google 助理目錄。
| 名稱 | 說明 |
|---|---|
| 目錄資訊 | 提供相關資訊,讓 Actions on Google 將專案發布至 Google 助理目錄。包含專案的中繼資料和相關說明,以及標誌和橫幅圖片的圖片資源。 |
| 指定地區 | 設定動作可使用的語言代碼。 |
| 途徑功能 | 設定動作可用的介面。 |
| 公司詳細資料 | 指定貴公司的聯絡資訊。 |
| 品牌驗證 | 連結您擁有的網站或 Android 應用程式,以獲得額外的好處,例如在動作中保留的叫用名稱和網站連結。 |
| 發布 | 為動作設定不同的測試和正式版,以便用於測試和正式版。 |
| Google 助理連結 | 允許使用者從網站資源叫用您的動作。 |
如何定義專案資訊:
在
sdk/settings/settings.yaml中為動作專案定義全域設定。如要查看支援的值,請參閱設定參考說明文件。以下程式碼片段為
sdk/settings/settings.yaml檔案範例:accountLinking: enableAccountCreation: true linkingType: GOOGLE_SIGN_IN category: GAMES_AND_TRIVIA projectId: my-project-id ...
在
sdk/settings/<locale>/settings.yaml檔案中定義可根據使用者語言代碼 (例如不同語言叫用詞組) 的設定,並將語言代碼替換為您的目標語言代碼。如要瞭解支援的值,請參閱 LocalizedSettings 參考說明文件。
以下程式碼片段是
sdk/settings/en/settings.yaml檔案中定義的英文設定範例:localizedSettings: developerEmail: developer@developers.com developerName: Developer Name displayName: My Display Name fullDescription: full description of the action largeBannerImage: https://path/to/large/banner privacyPolicyUrl: http://path/to/privacy/policy sampleInvocations: - Talk to My Display Name shortDescription: short description of the action smallLogoImage: https://path/to/small/logo voice: female_1 ...
新增資源
您可以在動作專案中儲存圖片檔案、音訊檔案和字串等資源,然後使用系統定義的 $resources 變數,從設定檔 (例如提示定義或條件) 參照這些資源。
專案資源會儲存在 resources/ 底下,每個資源類型都會指派到目錄中的資料夾。
您可以在資源類型資料夾中建立特定語言代碼的資料夾,將資源本地化,例如,您可以在 resources/strings/es/<filename>.yaml 中儲存西班牙文版本的字串。
圖片
圖片檔會儲存在 resources/images/ 中,您可以使用 $resources.images.<name of the image file without file extension> 參照這些檔案。允許的副檔名如下:
gifpngjpgjpeg
舉例來說,如果小型標誌的英文版本儲存在 resources/images/en/square.png 中,而大型橫幅的英文版本分別儲存在 resources/images/en/landscape.jpg 中,則上一個範例的 sdk/settings/en/settings.yaml 會變成:
localizedSettings:
  developerEmail: developer@developers.com
  developerName: Developer Name
  displayName: My Display Name
  fullDescription: full description of the action

  largeBannerImage: $resources.images.landscape
  privacyPolicyUrl: http://path/to/privacy/policy
  sampleInvocations:
  - Talk to My Display Name
  shortDescription: short description of the action

  smallLogoImage: $resources.images.square
  voice: female_1
...
音訊檔案
音訊檔案會儲存在 resources/audio/ 中,您可以使用 $resources.audio.<name of the audio file without file extension> 參照這些檔案。
允許的副檔名如下:
mp3mpeg
舉例來說,你可以參考提示中的音訊錄音:
candidates:
  - first_simple:
      variants:
        - speech: your speech response
    content:
      media:
        mediaType: audio
        mediaObjects:
          - name: media name
            description: media description
            url: $resources.audio.intro
字串
字串會以 .yaml 檔案形式儲存在 resources/strings/ 中。每個檔案都含有字串鍵與相關值的對應,可以是單一字串或字串清單。您可以使用 $resources.strings.<name of the image file without file extension>.<key> 參照單一字串值,或從清單中取得隨機值;以及針對清單中的特定字串值使用 $resources.strings.<name of the image file without file extension>.<key>.<numerical index>。
例如,如果使用資源字串本地化字串,前例中的 sdk/settings/en/settings.yaml 可能會變成:
localizedSettings:
  developerEmail: developer@developers.com
  developerName: $resources.strings.appinfo.developerName
  displayName: $resources.strings.appinfo.displayName
  fullDescription: $resources.strings.appinfo.fullDescription
  largeBannerImage: $resources.images.landscape
  privacyPolicyUrl: $resources.strings.appinfo.privacyPolicyUrl
  sampleInvocations:
  - $resources.strings.invocations.sample
  shortDescription: $resources.strings.appinfo.shortDescription
  smallLogoImage: $resources.images.square
  voice: female_1
...
在模擬器中測試專案
Actions 主控台提供模擬工具,讓您預覽動作。模擬工具可讓您查看偵錯資訊、設定裝置功能、模擬語言代碼等等。
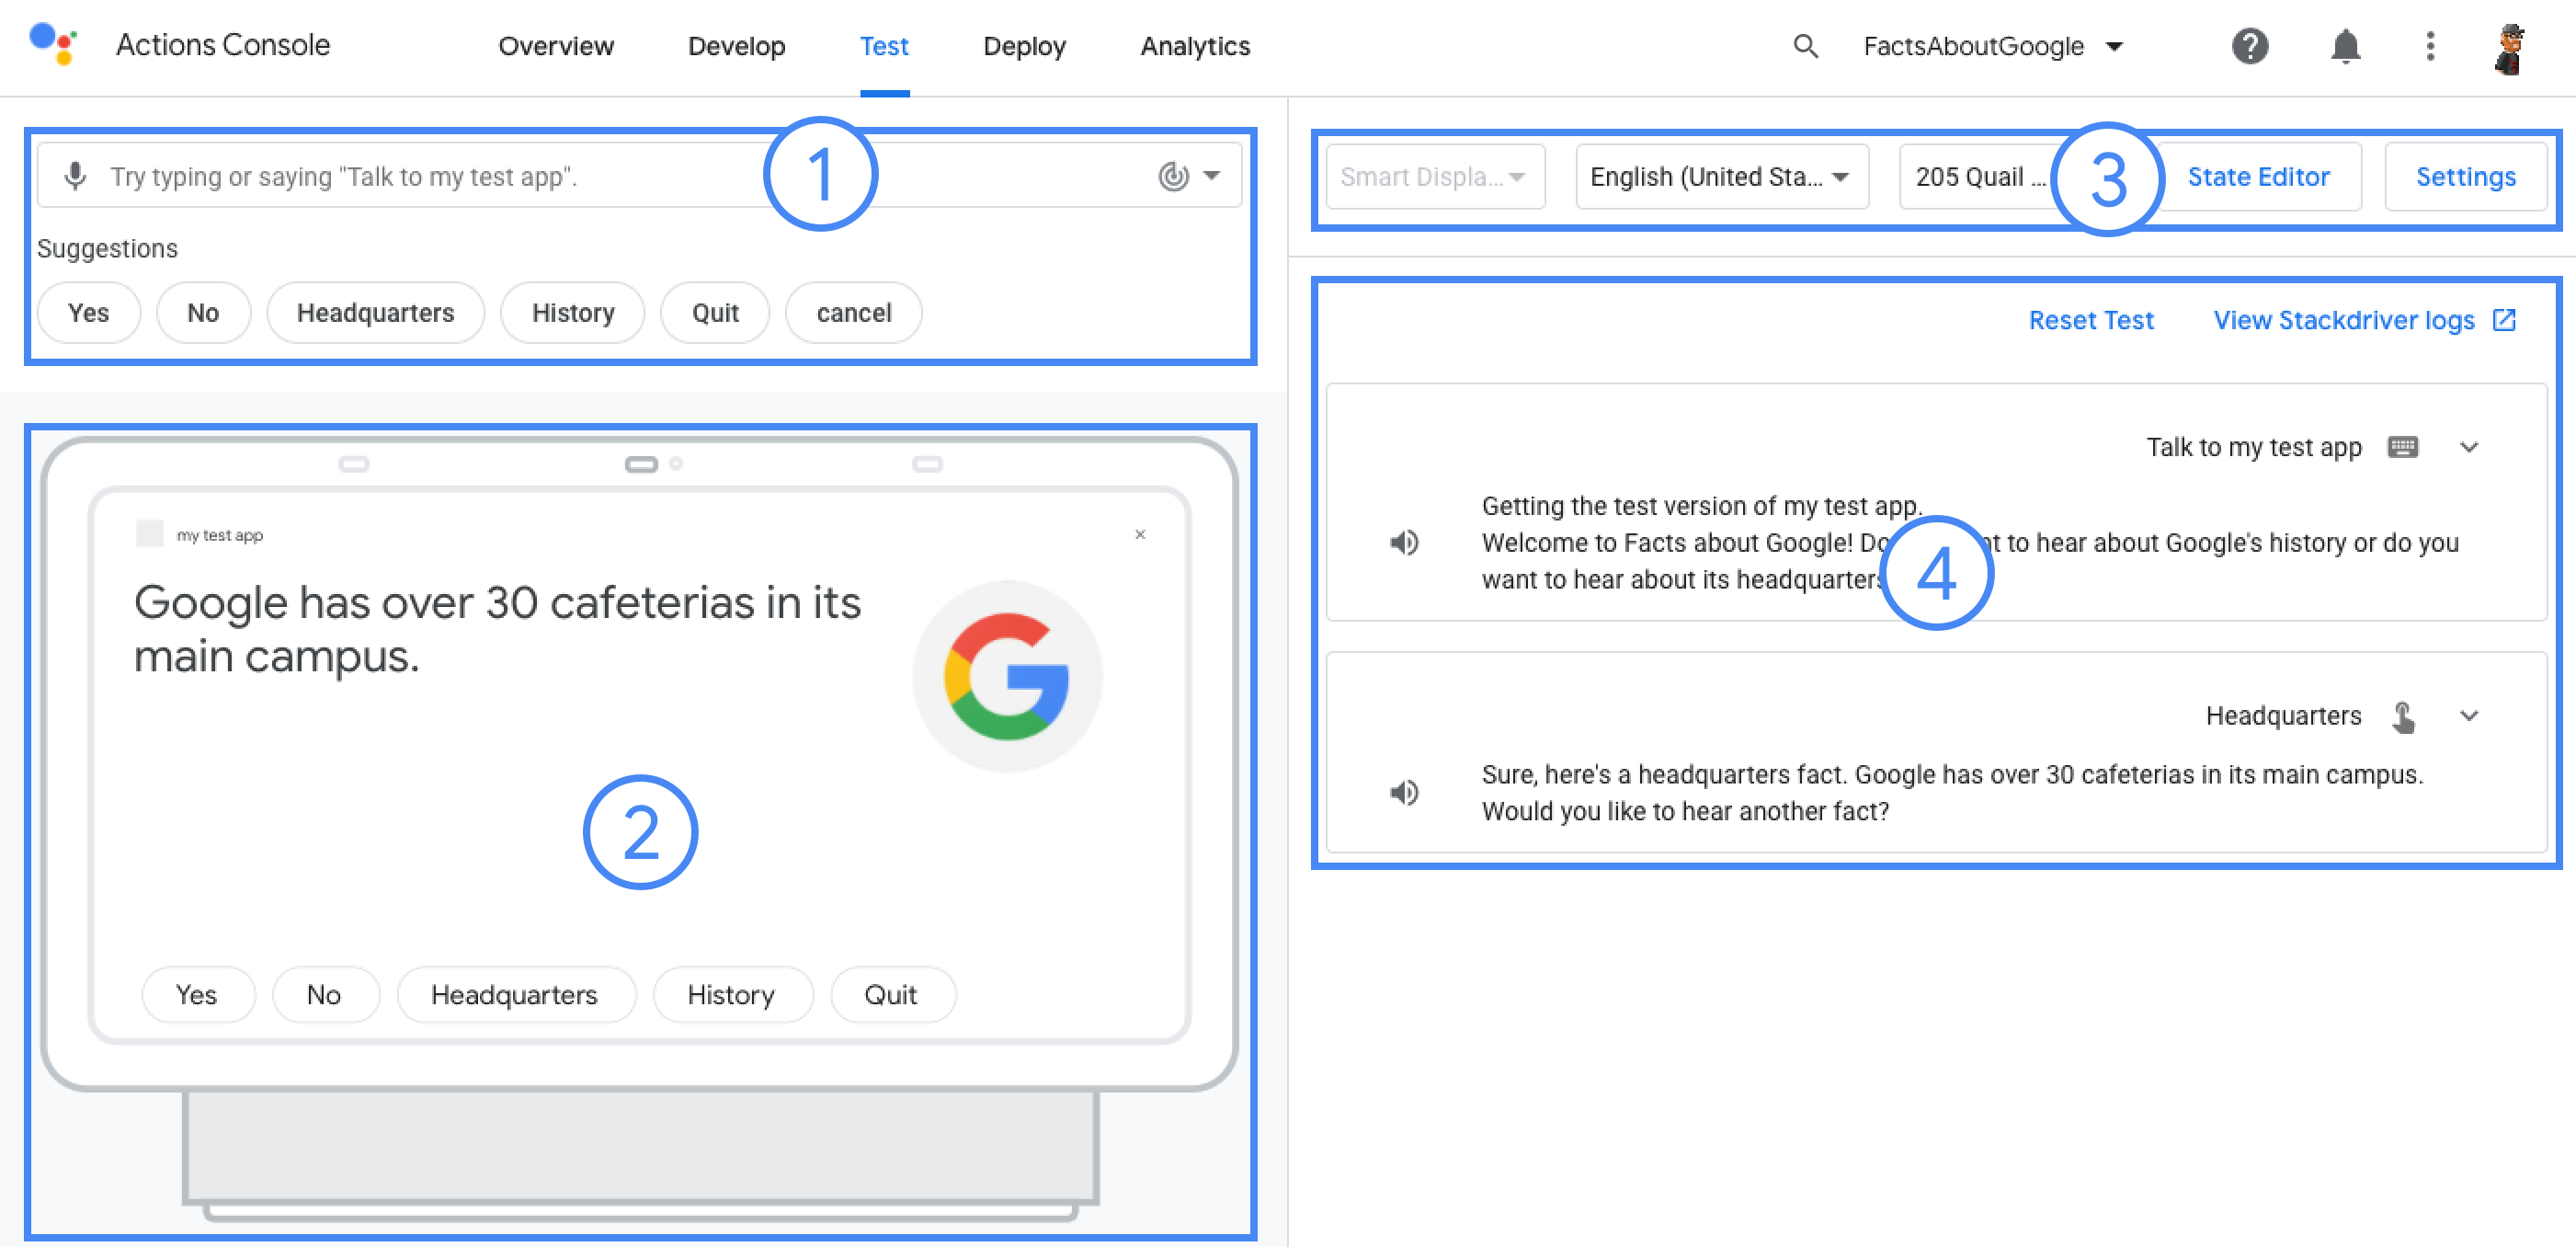
測試專案的方法如下:
- 執行
gactions deploy preview將動作部署至「預覽」,並在模擬器中啟用測試功能。 - 在指令輸出中開啟網址,即可存取模擬器。
$ gactions deploy preview
Deploying your project files to your Actions console preview for a project id: "my-project". This may take a few minutes.
Sending configuration files
Waiting for server to respond.
✔ Done. You can now navigate to the Actions Console simulator to test your changes: http://console.actions.google.com/project/my-project/simulator?disableAutoPreview